Mac and cheese was one of my favorite dishes when I was a kid. My mom would make a huge casserole pan from scratch and there was rarely any leftovers. This mama is a little too busy too for that recipe. Instead, I doctored up a box of regular mac and cheese with a Southern Cali twist. The result is easy bacon avocado mac and cheese.

The inspiration for my bacon avocado mac and cheese recipe comes from my love of a local Southern California social house, 127 West. They have some of the most amazing entrees, with mouth-watering ingredients. I wanted to bring a taste of that into my own kitchen. Side note: My original plan for this recipe was for it to include garlic aioli as one of the ingredients. Thank goodness for recipe testing! The garlic was too overpowering for me, but if you’d like to give it a true Cali kick, add a few teaspoons of garlic aioli to your bacon avocado mac and cheese.
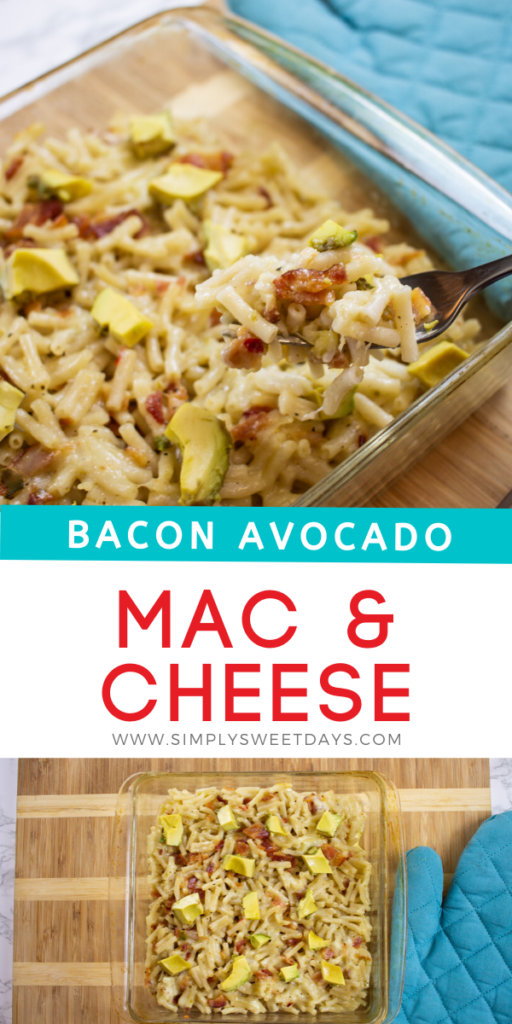
Easy Bacon Avocado Mac and Cheese
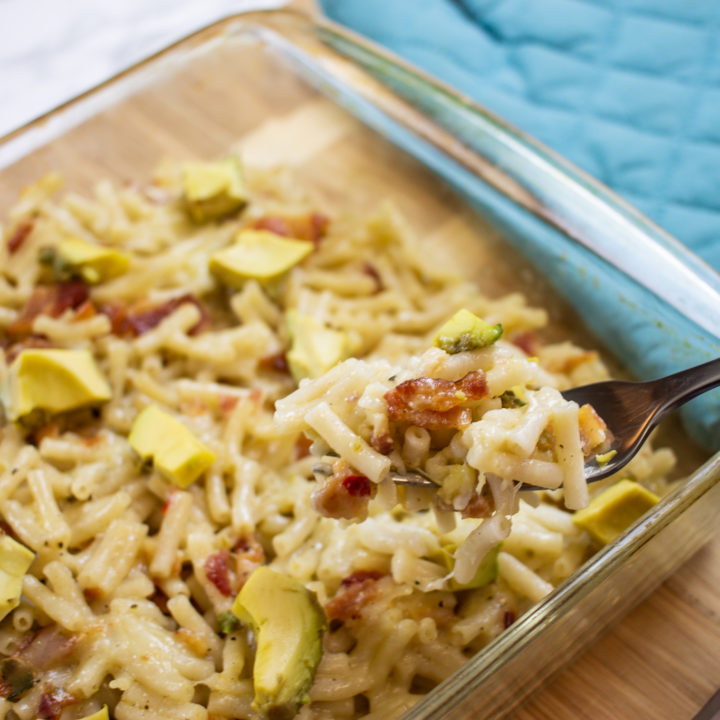
Easy Bacon Avocado Mac and Cheese
Taking boxed mac and cheese up a notch! Add bacon, avocado, and one egg to this easy bacon avocado mac and cheese.
Ingredients
- 1 box mac and cheese (discard cheese powder)
- 4 Tbsp. butter
- 1/4 cup milk
- 4 slices thick-cut applewood smoked bacon, or plain bacon if you can't find applewood (I used Smithfield)
- 1 egg
- salt and pepper to taste
- 1 cup shredded Pepper Jack cheese (see note below)
- 1/2 of an avocado, cut into chunks
Instructions
- Cook bacon and chop into crumbles. Meanwhile, cook the pasta according to package directions.
- Drain the water from the cooked pasta and stir in the butter and cheese. Mix well to combine. It's ok if the butter doesn't completely melt, because you'll be baking this later.
- In a separate bowl, whisk together the egg, milk, salt and pepper.
- Add the bacon and egg mixture to the pasta. Stir to Combine.
- Bake, uncovered, at 350° for 20 minutes.
- Remove from the oven, top with avocado, and serve immediately.
Notes
Pepper Jack cheese includes ingredients that are mild, but if your palate is sensitive to spicy foods you may prefer to substitute it for Monterey Jack cheese instead.
Recommended Products
As an Amazon Associate and member of other affiliate programs, I earn from qualifying purchases.


Nutrition Information:
Yield: 4 Serving Size: 1Amount Per Serving:Calories: 618Total Fat: 42gSaturated Fat: 18gTrans Fat: 2gUnsaturated Fat: 21gCholesterol: 121mgSodium: 1072mgCarbohydrates: 39gFiber: 3gSugar: 7gProtein: 21g
More easy family dinner ideas: