• Skip to main content
  • Skip to primary sidebar
  • About Me
  • Contact
  • Media Kit
  • Privacy Policy

Simply Sweet Days

Simple discoveries that make every day count.

  • Twins
    • Life With Twins
    • The First Year
    • Twin Pregnancy
  • Family
    • 52 Project
    • DIY
    • Motherhood
    • Parenting
    • Precious Moments
    • Products and Reviews
    • Summer Fun
  • Recipes
    • Quick and Easy Dinners
    • Crock Pot
    • Family Favorites
    • Meal Planning
    • Desserts
  • Finding Balance
    • Home Organization
    • Time Management
    • Working Motherhood

Family Favorites

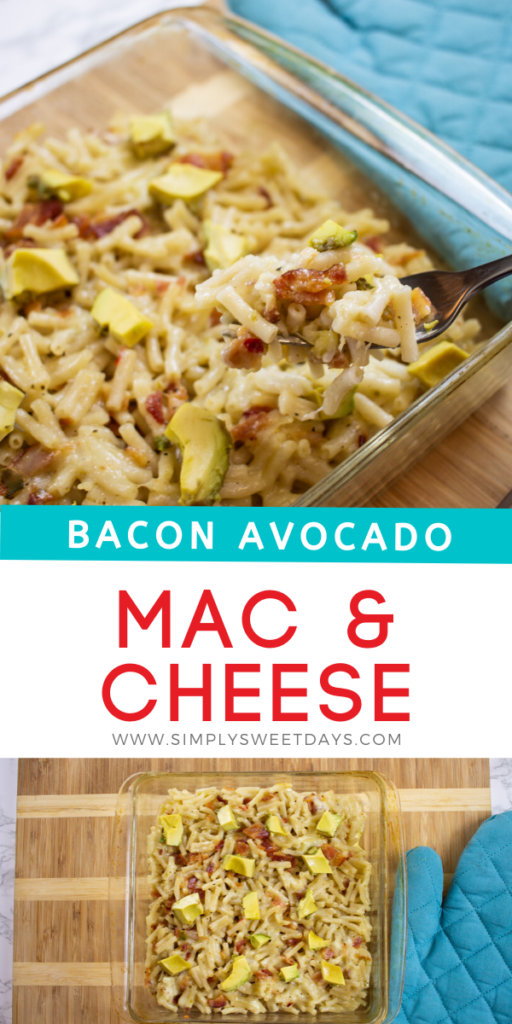
Easy Bacon Avocado Mac and Cheese

Mac and cheese was one of my favorite dishes when I was a kid. My mom would make a huge casserole pan from scratch and there was rarely any leftovers. This mama is a little too busy too for that recipe. Instead, I doctored up a box of regular mac and cheese with a Southern Cali twist. The result is easy bacon avocado mac and cheese.

bacon avocado mac and cheese recipe

The inspiration for my bacon avocado mac and cheese recipe comes from my love of a local Southern California social house, 127 West. They have some of the most amazing entrees, with mouth-watering ingredients. I wanted to bring a taste of that into my own kitchen. Side note: My original plan for this recipe was for it to include garlic aioli as one of the ingredients. Thank goodness for recipe testing! The garlic was too overpowering for me, but if you’d like to give it a true Cali kick, add a few teaspoons of garlic aioli to your bacon avocado mac and cheese.

Easy Bacon Avocado Mac and Cheese
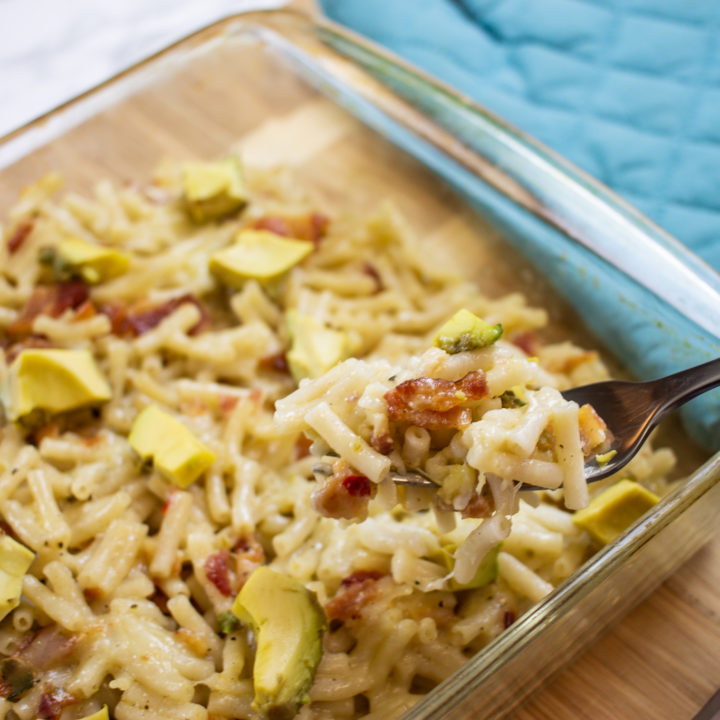
Easy Bacon Avocado Mac and Cheese

Easy Bacon Avocado Mac and Cheese

Yield: 4 servings
Prep Time: 20 minutes
Cook Time: 20 minutes
Total Time: 40 minutes

Taking boxed mac and cheese up a notch! Add bacon, avocado, and one egg to this easy bacon avocado mac and cheese.

Ingredients

  • 1 box mac and cheese (discard cheese powder)
  • 4 Tbsp. butter
  • 1/4 cup milk
  • 4 slices thick-cut applewood smoked bacon, or plain bacon if you can't find applewood (I used Smithfield)
  • 1 egg
  • salt and pepper to taste
  • 1 cup shredded Pepper Jack cheese (see note below)
  • 1/2 of an avocado, cut into chunks

Instructions

  1. Cook bacon and chop into crumbles. Meanwhile, cook the pasta according to package directions.
  2. Drain the water from the cooked pasta and stir in the butter and cheese. Mix well to combine. It's ok if the butter doesn't completely melt, because you'll be baking this later.
  3. In a separate bowl, whisk together the egg, milk, salt and pepper.
  4. Add the bacon and egg mixture to the pasta. Stir to Combine.
  5. Bake, uncovered, at 350° for 20 minutes.
  6. Remove from the oven, top with avocado, and serve immediately.

Notes

Pepper Jack cheese includes ingredients that are mild, but if your palate is sensitive to spicy foods you may prefer to substitute it for Monterey Jack cheese instead.

Recommended Products

As an Amazon Associate and member of other affiliate programs, I earn from qualifying purchases.

  • OXO Good Grips 7 Piece Glass Bowl Set
    OXO Good Grips 7 Piece Glass Bowl Set
  • Professional Box Grater, Stainless Steel with 4 Sides, Best for Parmesan Cheese, Vegetables, Ginger, XL Size
    Professional Box Grater, Stainless Steel with 4 Sides, Best for Parmesan Cheese, Vegetables, Ginger, XL Size
Nutrition Information:
Yield: 4 Serving Size: 1
Amount Per Serving:Calories: 618Total Fat: 42gSaturated Fat: 18gTrans Fat: 2gUnsaturated Fat: 21gCholesterol: 121mgSodium: 1072mgCarbohydrates: 39gFiber: 3gSugar: 7gProtein: 21g
Category: Family Favorites

More easy family dinner ideas:
1

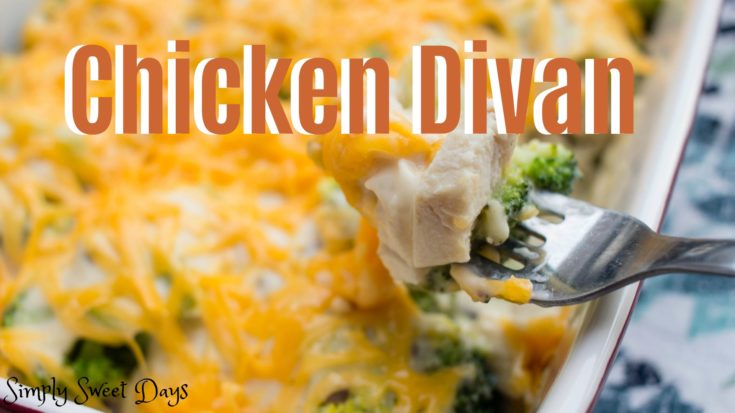
Chicken Divan

2

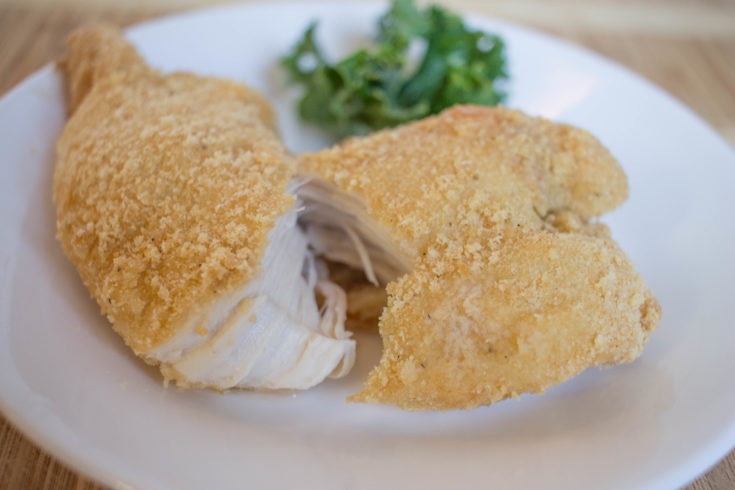
Crunchy Oven Baked Chicken

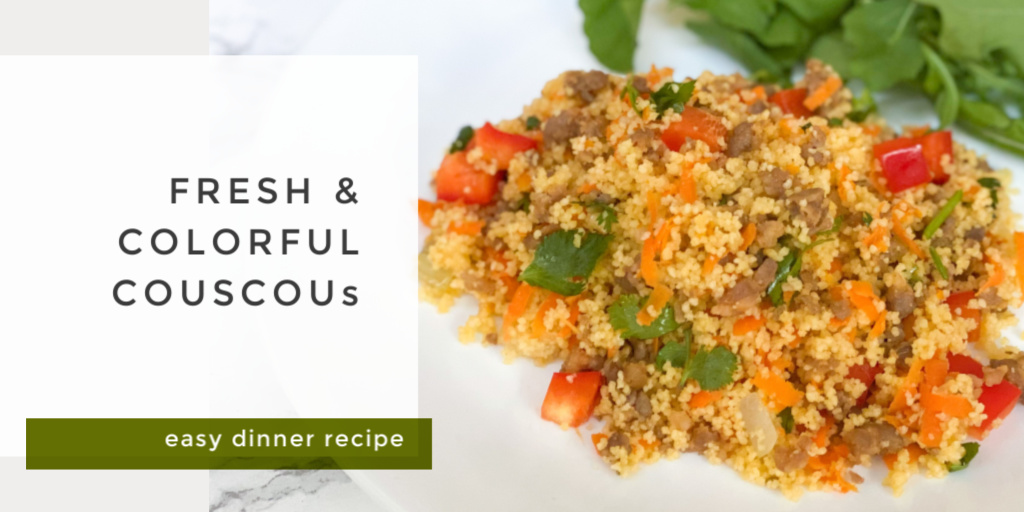
Colorful Couscous and Sausage Recipe

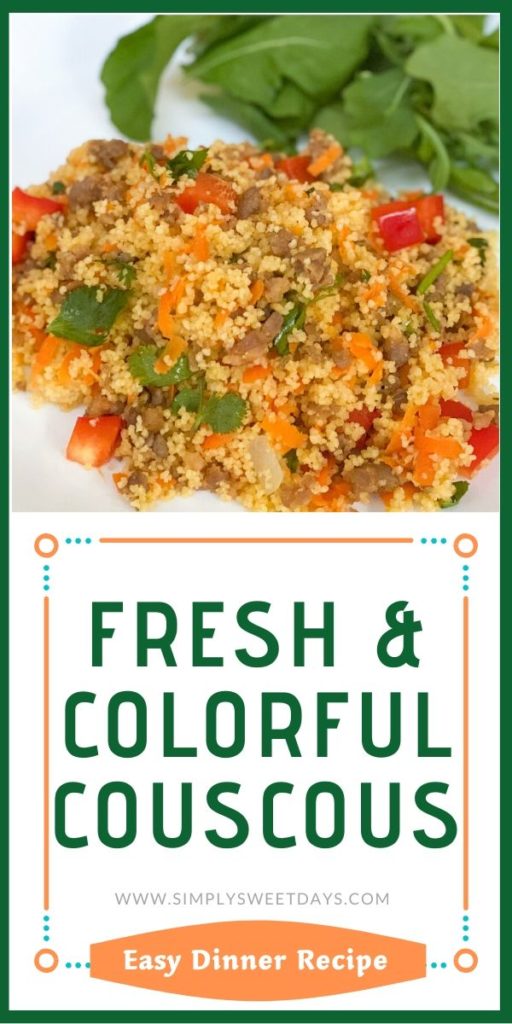
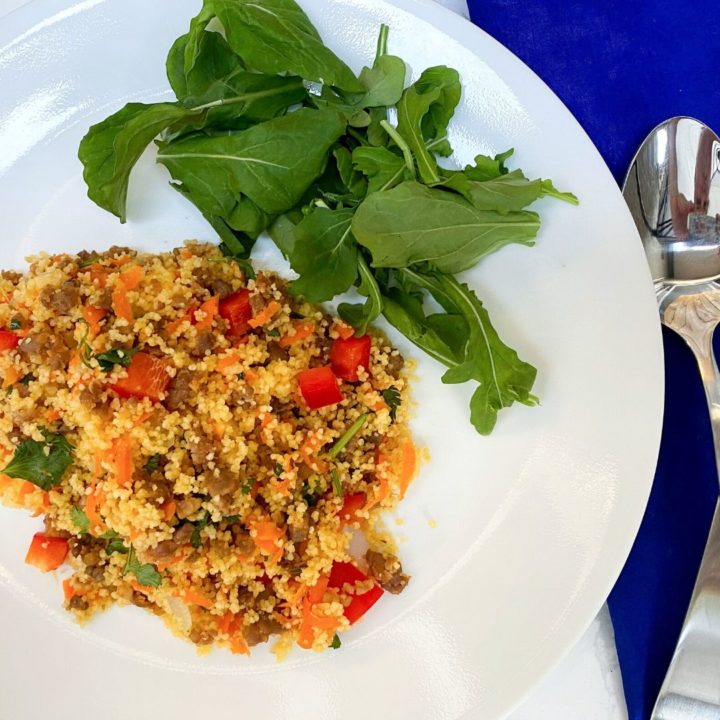
This colorful couscous and sausage dish is the perfect light meal on a warm summer afternoon. Couscous always gives me a satisfying, comfort-food happy tummy. When I found myself with some extra time recently, I knew I wanted to do some recipe testing with couscous. 

Why cook with couscous?

Two words, sister: BUSY.MOM. Couscous is awesome to serve for dinner on busy weeknights or nights when you just don’t feel like cooking because it’s easy to cook, it’s low-maintenance, and it’s ready in 10 minutes. 

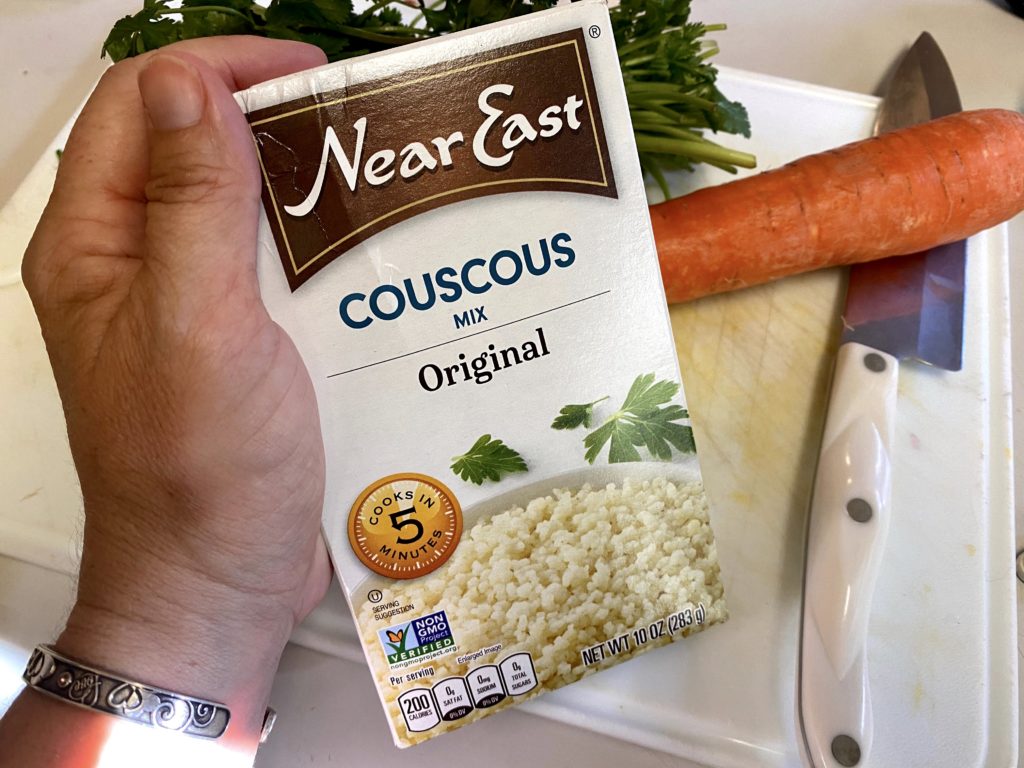
The preparation for each brand of couscous may vary. Some cook with a 1:1 water (or broth) to couscous ratio, and others call for more liquid. Before you head to the store for ingredients, make a note on your shopping list to grab the couscous first. Then you can check to see how much broth that brand of couscous needs in order to cook to its full, puffed-up goodness. We used this kind. It called for 1 Tbsp. oil and 2 cups water or broth. I used broth.

Prep the veggies first

Since couscous cooks so quickly, and plus you’ll be tossing the carrot in with it, it’s a good idea to do all the chopping, grating and dicing beforehand. Grate 1 carrot, mince 1 garlic clove, chop up ½ cup diced onion and1 smallish red bell pepper. Quickly cut ½ cup loosely packed cilantro too. Keep everything separate because it doesn’t all go into the same pot or at the same time.  

Cook the sausage and couscous

Add the oil to a large fry pan and add the ground sausage. It wants to clump back together, so break it up with a spatula frequently. When the meat is browned, add in the onions and garlic. Saute, stirring occasionally, for 3-5 minutes or until the onion is translucent. The first time I cooked this couscous and sausage recipe, I used a brand of Italian sausage that had just the faintest hint of crushed red pepper in it. Unfortunately, it was enough that my kids noticed. It was way too “spicy” for them. The next time we made this I was careful to choose an Italian sausage that was marked “mild”, and it the kids were much happier. In fact, Johnny (5) said, “Mommy I thought this was going to be yucky but it’s not!” Thanks for the compliment, kiddo… I think.  

Meanwhile, cook the couscous according to package directions, adding in the carrot when you put the couscous in the water.  

Mix everything together  

When the couscous is cooked, add it to the fry pan with the sausage mixture. Add in the diced red bell pepper and toss everything together. Serve it alongside a simple baby arugula salad and dinner is done!

colorful couscous

Colorful Couscous and Sausage

Yield: 6 servings
Prep Time: 10 minutes
Cook Time: 20 minutes
Total Time: 30 minutes

Ingredients

  • 1 Tbsp. olive oil, or more depending on couscous preparation instructions
  • 1 lb. ground mild Italian sausage
  • 1 minced garlic
  • 1/2 cup diced onion
  • 1 (10 oz.) pkg couscous
  • 2 cups chicken or vegetable broth (optional and depending on couscous preparation instructions)
  • 1 shredded carrot
  • 1 diced red bell pepper
  • 1/2 cup chopped cilantro
  • 1 package baby arugula lettuce, optional

Instructions

  1. Heat 1 Tbsp. oil in a large fry pan. Saute the sausage in oil until browned, breaking it up with a spatula.
  2. Add garlic and onions to the sausage and cook for 3-5 minutes. Drain the sausage and return to the pan.
  3. Meanwhile, prepare the couscous according to package directions. Put the shredded carrots into the boiling water or broth when you add the couscous.
  4. When couscous and sausage are finished cooking, mix them together in a large dish, or in the fry pan if there is enough room.
  5. Stir the red bell pepper and cilantro into the couscous and sausage mixture.
  6. Serve warm and garnished with arugula lettuce, if desired.
Nutrition Information:
Yield: 6 Serving Size: 1
Amount Per Serving:Calories: 461Total Fat: 29gSaturated Fat: 10gTrans Fat: 0gUnsaturated Fat: 21gCholesterol: 85mgSodium: 717mgCarbohydrates: 21gFiber: 2gSugar: 4gProtein: 28g
Category: Quick and Easy Dinners

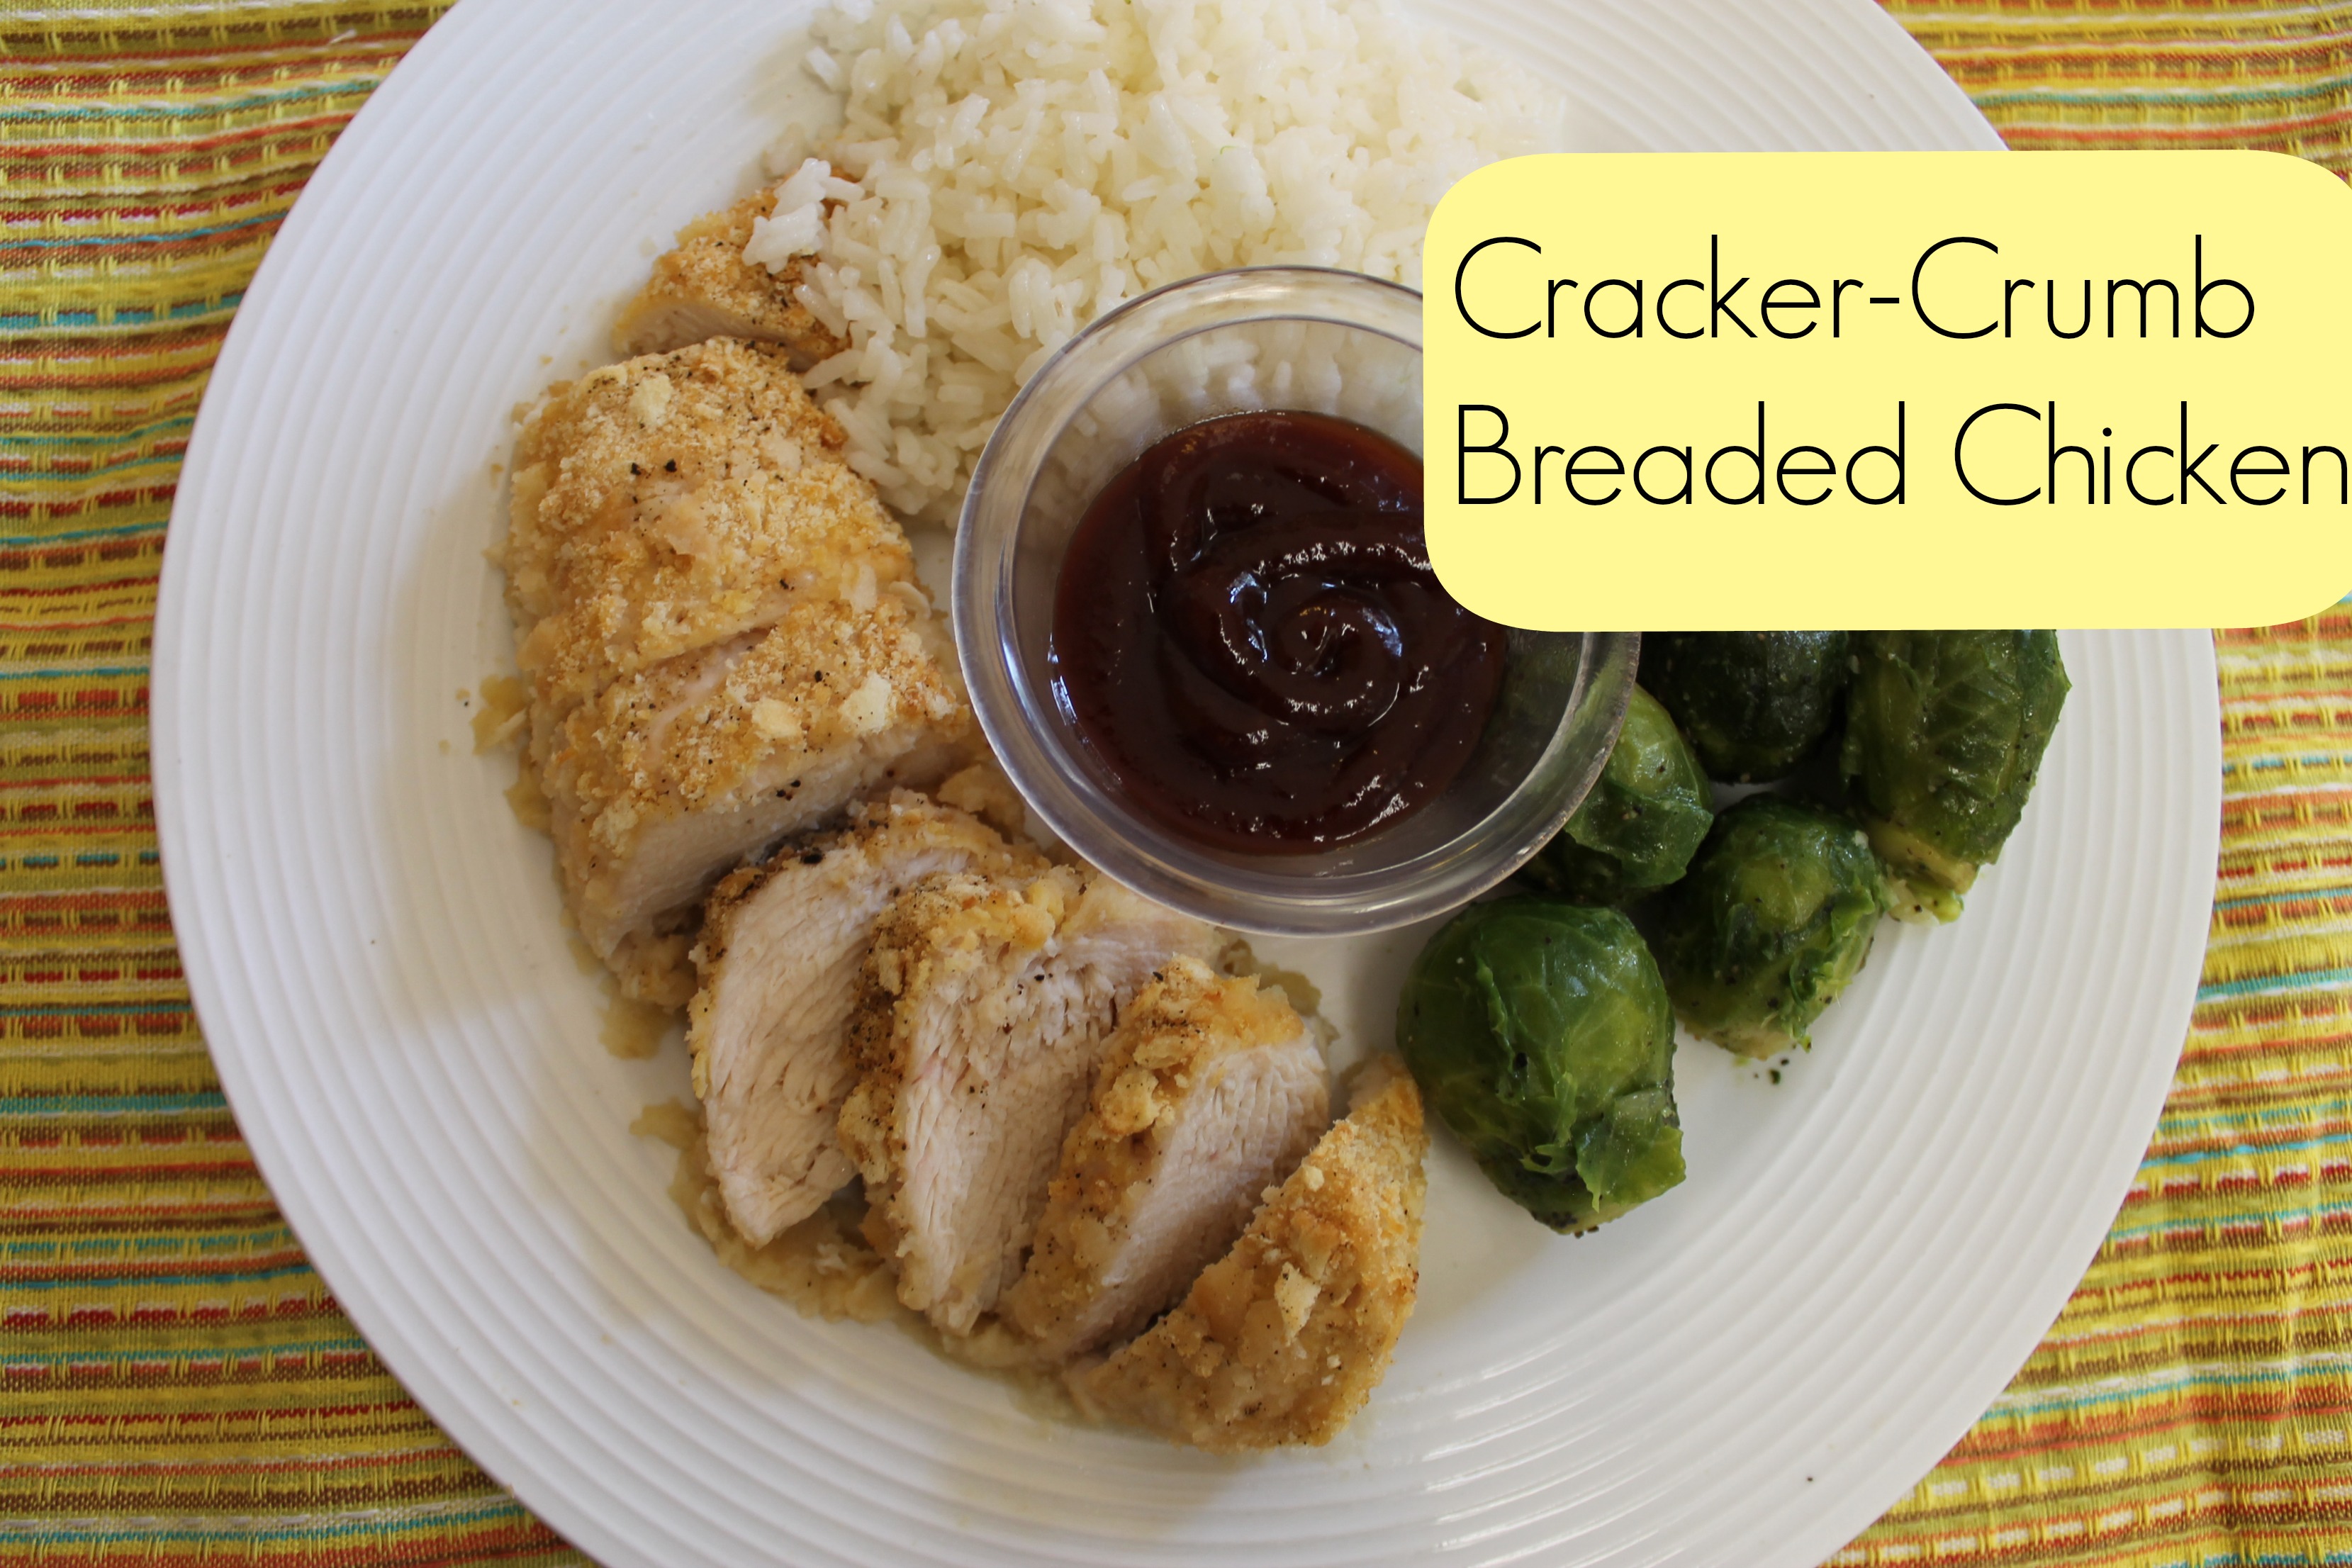
Cracker-Crumb Breaded Chicken

This is a tasty version of breaded chicken that our whole family loves. It’s easy, no-fuss, and perfect for a busy weeknight dinner.

When I first moved out of my parents’ house, I knew how to cook 2 thing: Spaghetti and Shake ‘N Bake chicken. I thought I was pretty hot stuff for knowing those recipes down pat, too. Now, many years later (not gonna say how many), I’ve modified the Shake ‘N Bake recipe a bit. The crackers give it a sweet, buttery flavor, while the garlic salt and pepper give it some zippy seasoning.

We’ve got one picky eater in the family, and even she loves this cracker crumb breaded chicken recipe. It’s got a very kid-friendly flavor and is so easy to make! Pair it with some brown rice and steamed veggies and dinner is served!

breaded chicken

Ingredients:
2 eggs
1 sleeve (about 1 ½ cups) of crushed buttery snack crackers
½ teaspoon garlic salt
½ teaspoon ground black pepper
4 boneless, skinless chicken breast halves

breaded chicken

Beat eggs in a shallow bowl.

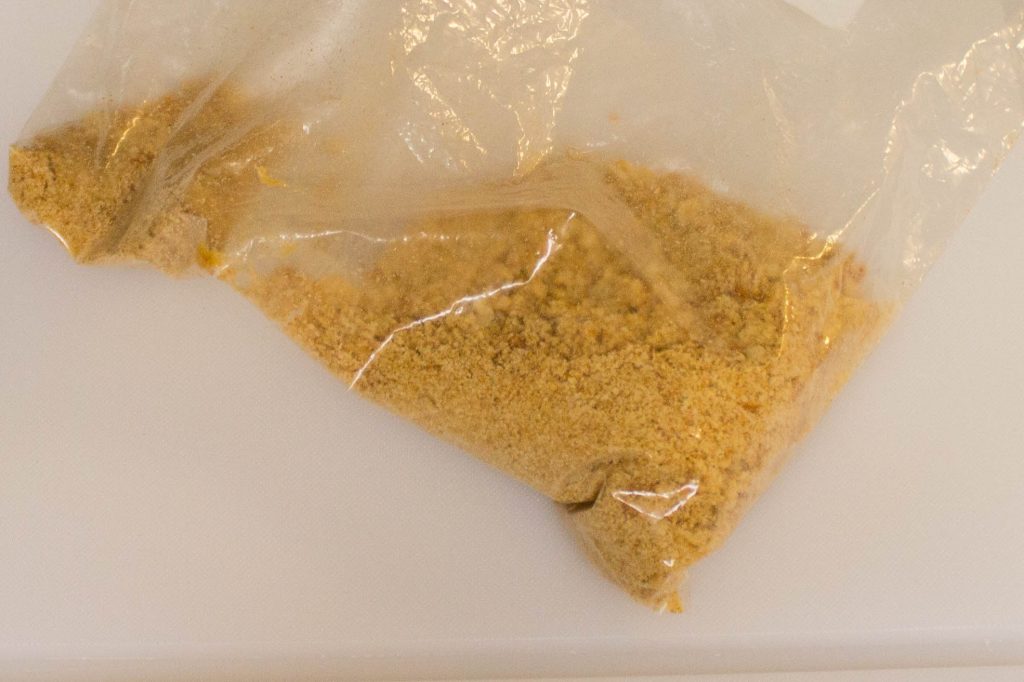
Place cracker crumbs in a large Ziploc bag with garlic salt and pepper.

IMG_5098

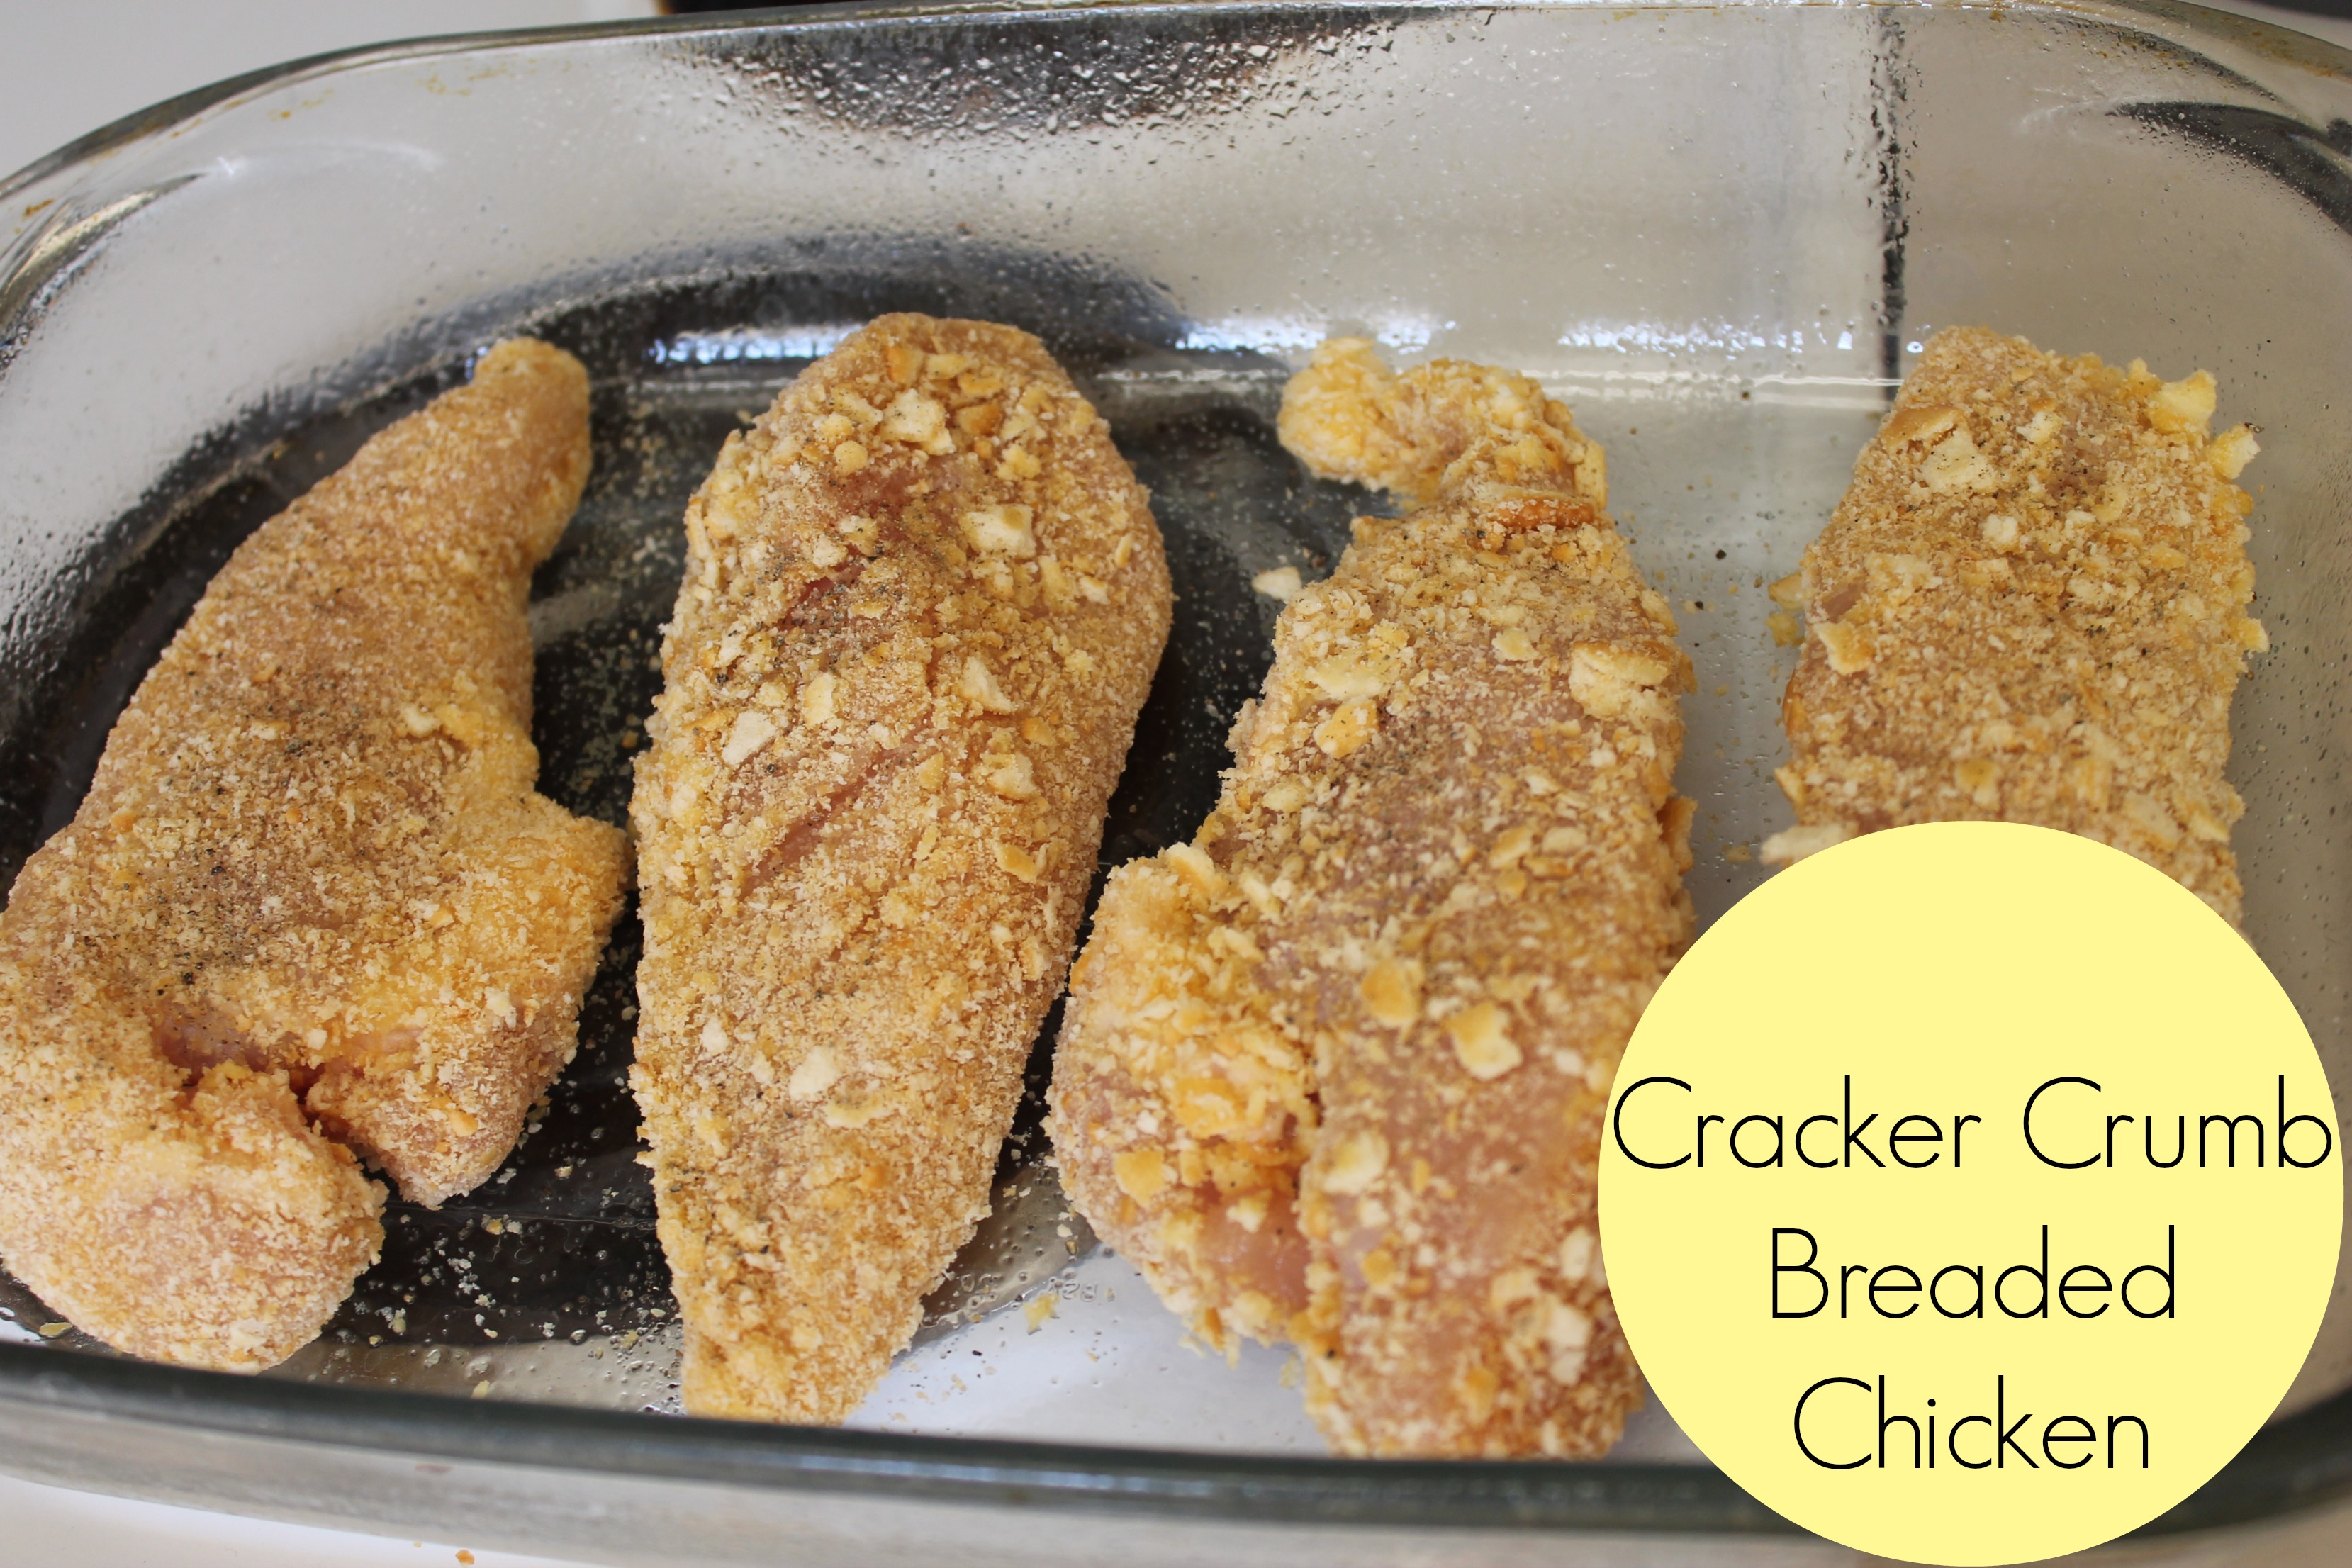
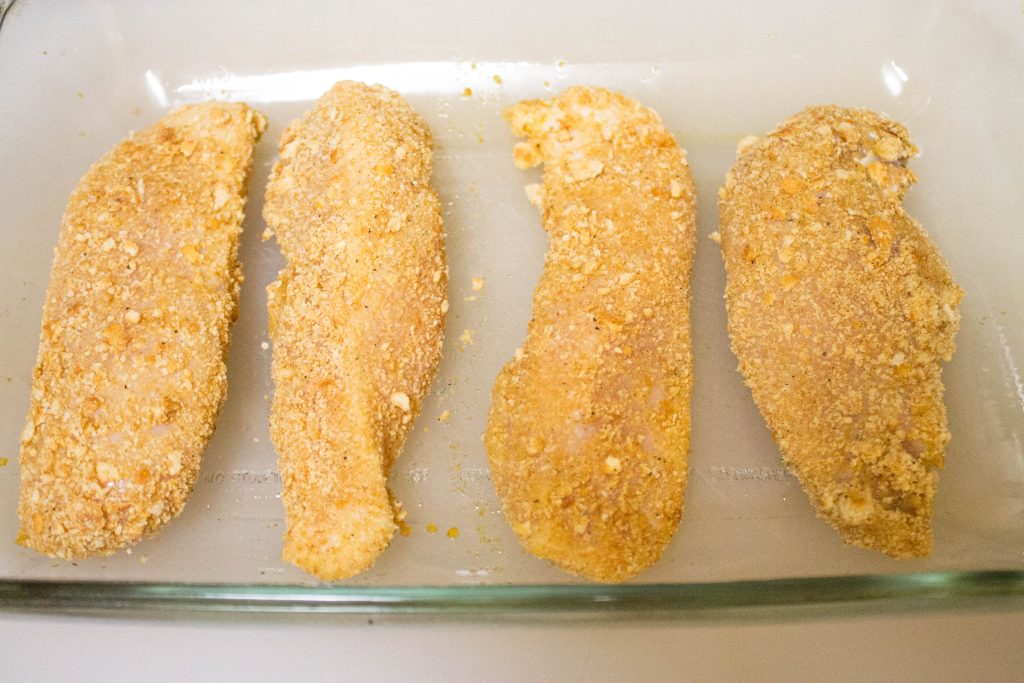
Dip chicken breasts in egg, then shake (1 at a time) in the Ziploc bag of cracker crumbs. Arrange breaded chicken in a greased baking dish and bake at 375° for 35-40 minutes, or until internal temperature reaches 165°. Serve it with your favorite sauce or by itself-it’s got enough flavor to stand on its own 😉

IMG_5100

Seriously, how easy is that? I hope you enjoy this recipe, and don’t forget to check back for more family-friendly meals!

cracker crumb breaded chicken

Crock Pot Chicken and Dumplings

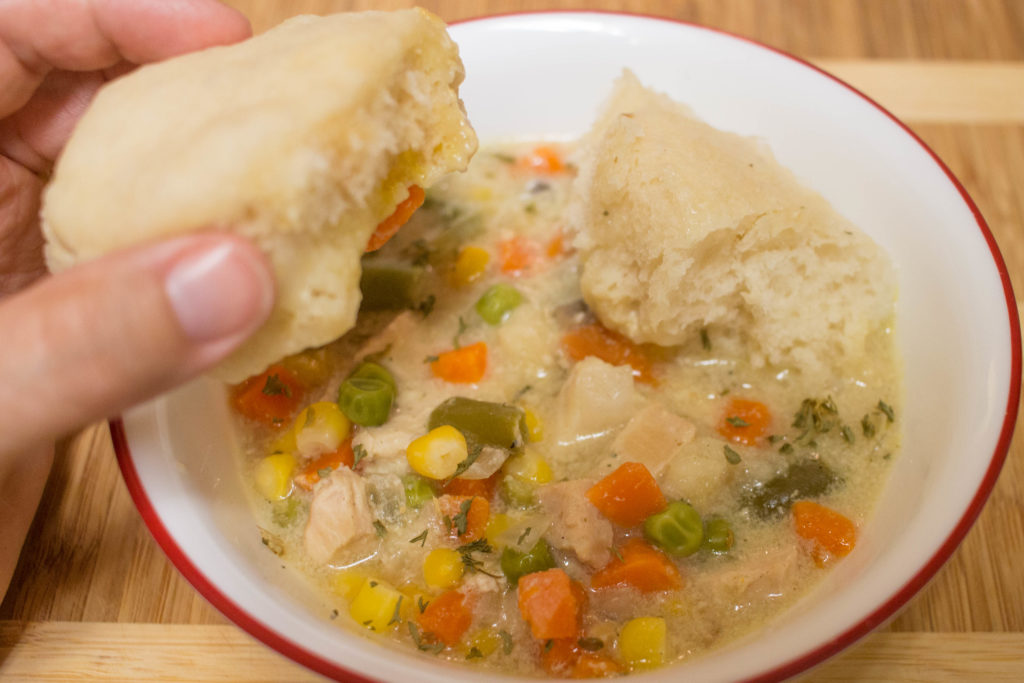
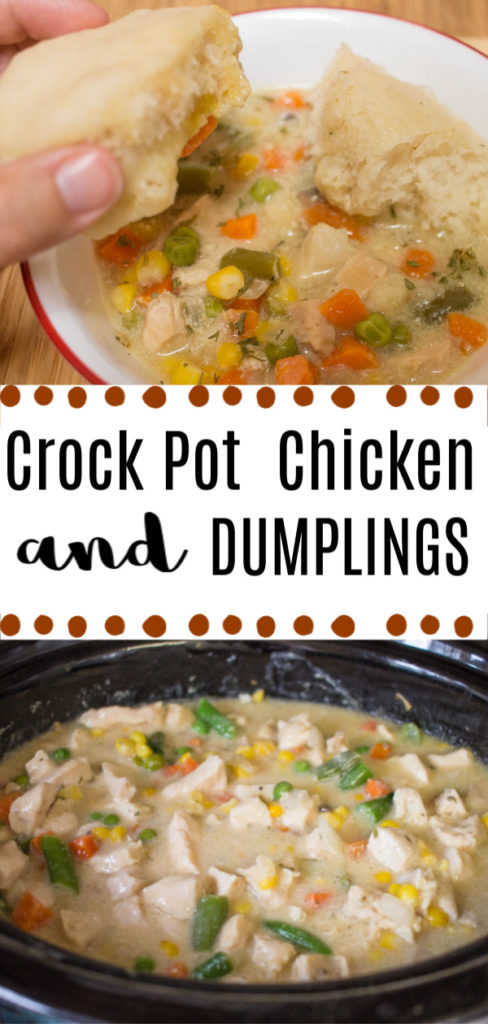
Chicken and dumplings is one of my all-time favorite comfort food recipes. I just love the creamy chicken soup flavor and the fluffy dumplings. Unfortunately, I don’t have a lot of time to spend in the kitchen. I much prefer setting a bunch of ingredients in the crock pot, getting stuff done during the day, and returning to a cooked meal in time for dinner. Our family loves this recipe for crock pot chicken and dumplings!

crock pot chicken and dumplings recipe

I make a batch of crock pot chicken and dumplings over the weekend. It makes enough servings so we have some for leftovers the next night. The biscuits take a while to cook, so you can’t really leave the crock going all day while you’re at work. Be sure and allow for at least 2 hours for the biscuit dough to bake!

Crock Pot Chicken and Dumplings
Ingredients:

3 uncooked skinless, boneless chicken breast halves, cut into chunks
1 (10.75 ounce) can of cream of mushroom soup
1 (10.75 ounce) can condensed cream of chicken soup
1 bag of frozen mixed veggies 
1 cup of chicken broth
1 small onion, diced
1 tsp. cumin
2 tsp dried parsley
1 tsp. poultry seasoning
¼ tsp fresh ground pepper
1 package refrigerated biscuit dough 

ingredients for crock pot chicken and dumplings cooking in the pot

Directions:

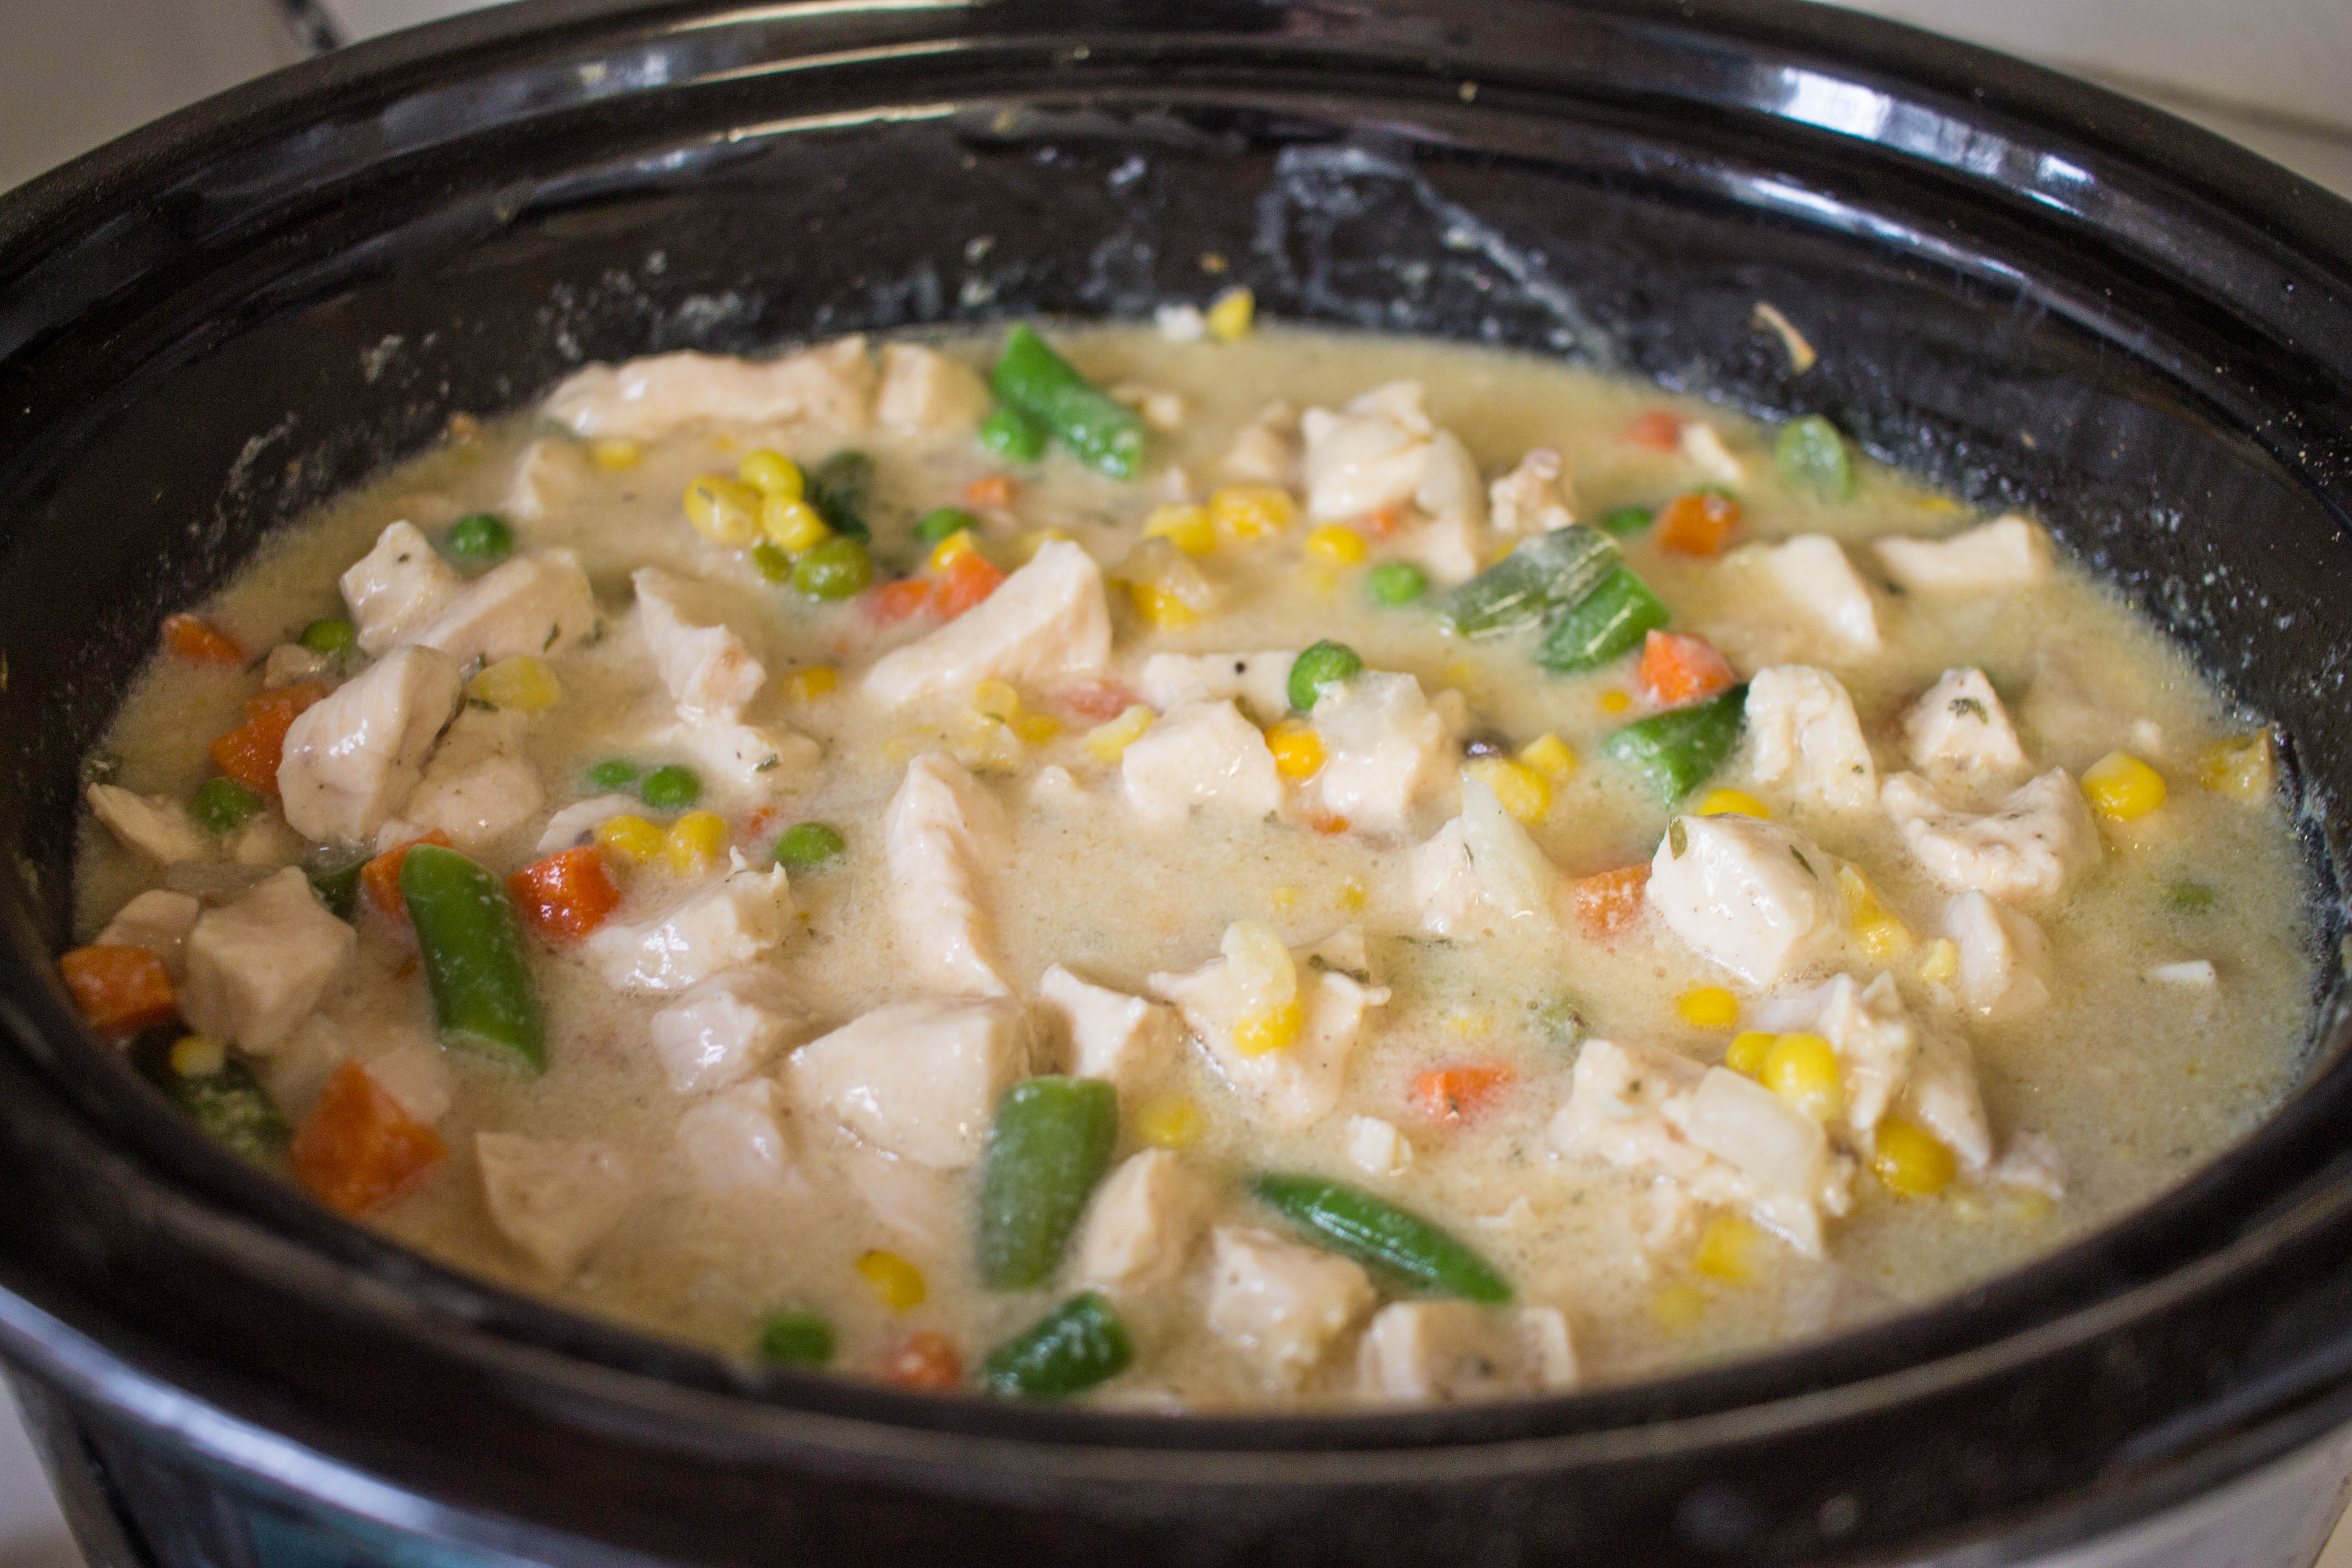
Place everything but the biscuit dough in a Crock Pot (I use this one) and mix together.

Cover, and cook for 4 hours on high. Arrange the biscuits on top of the chicken mixture the slow cooker. Cover and continue to cook until the dough is no longer raw in the center, about 2 hours.

To serve, scoop out some of the soup and add a biscuit on top. 

This recipe warms the belly on a frosty evening. You can serve it all year long because the veggies are always available in the freezer section! I just love the smell of the house when I have crock pot chicken and dumplings cooking. It makes our home feel cozy on the inside!

Some of our other family favorite dinners are

Cheesy Pasta Casserole

Oven Baked Chicken Fajitas

Chicken Divan Casserole

Easy recipe for crock pot chicken and dumplings

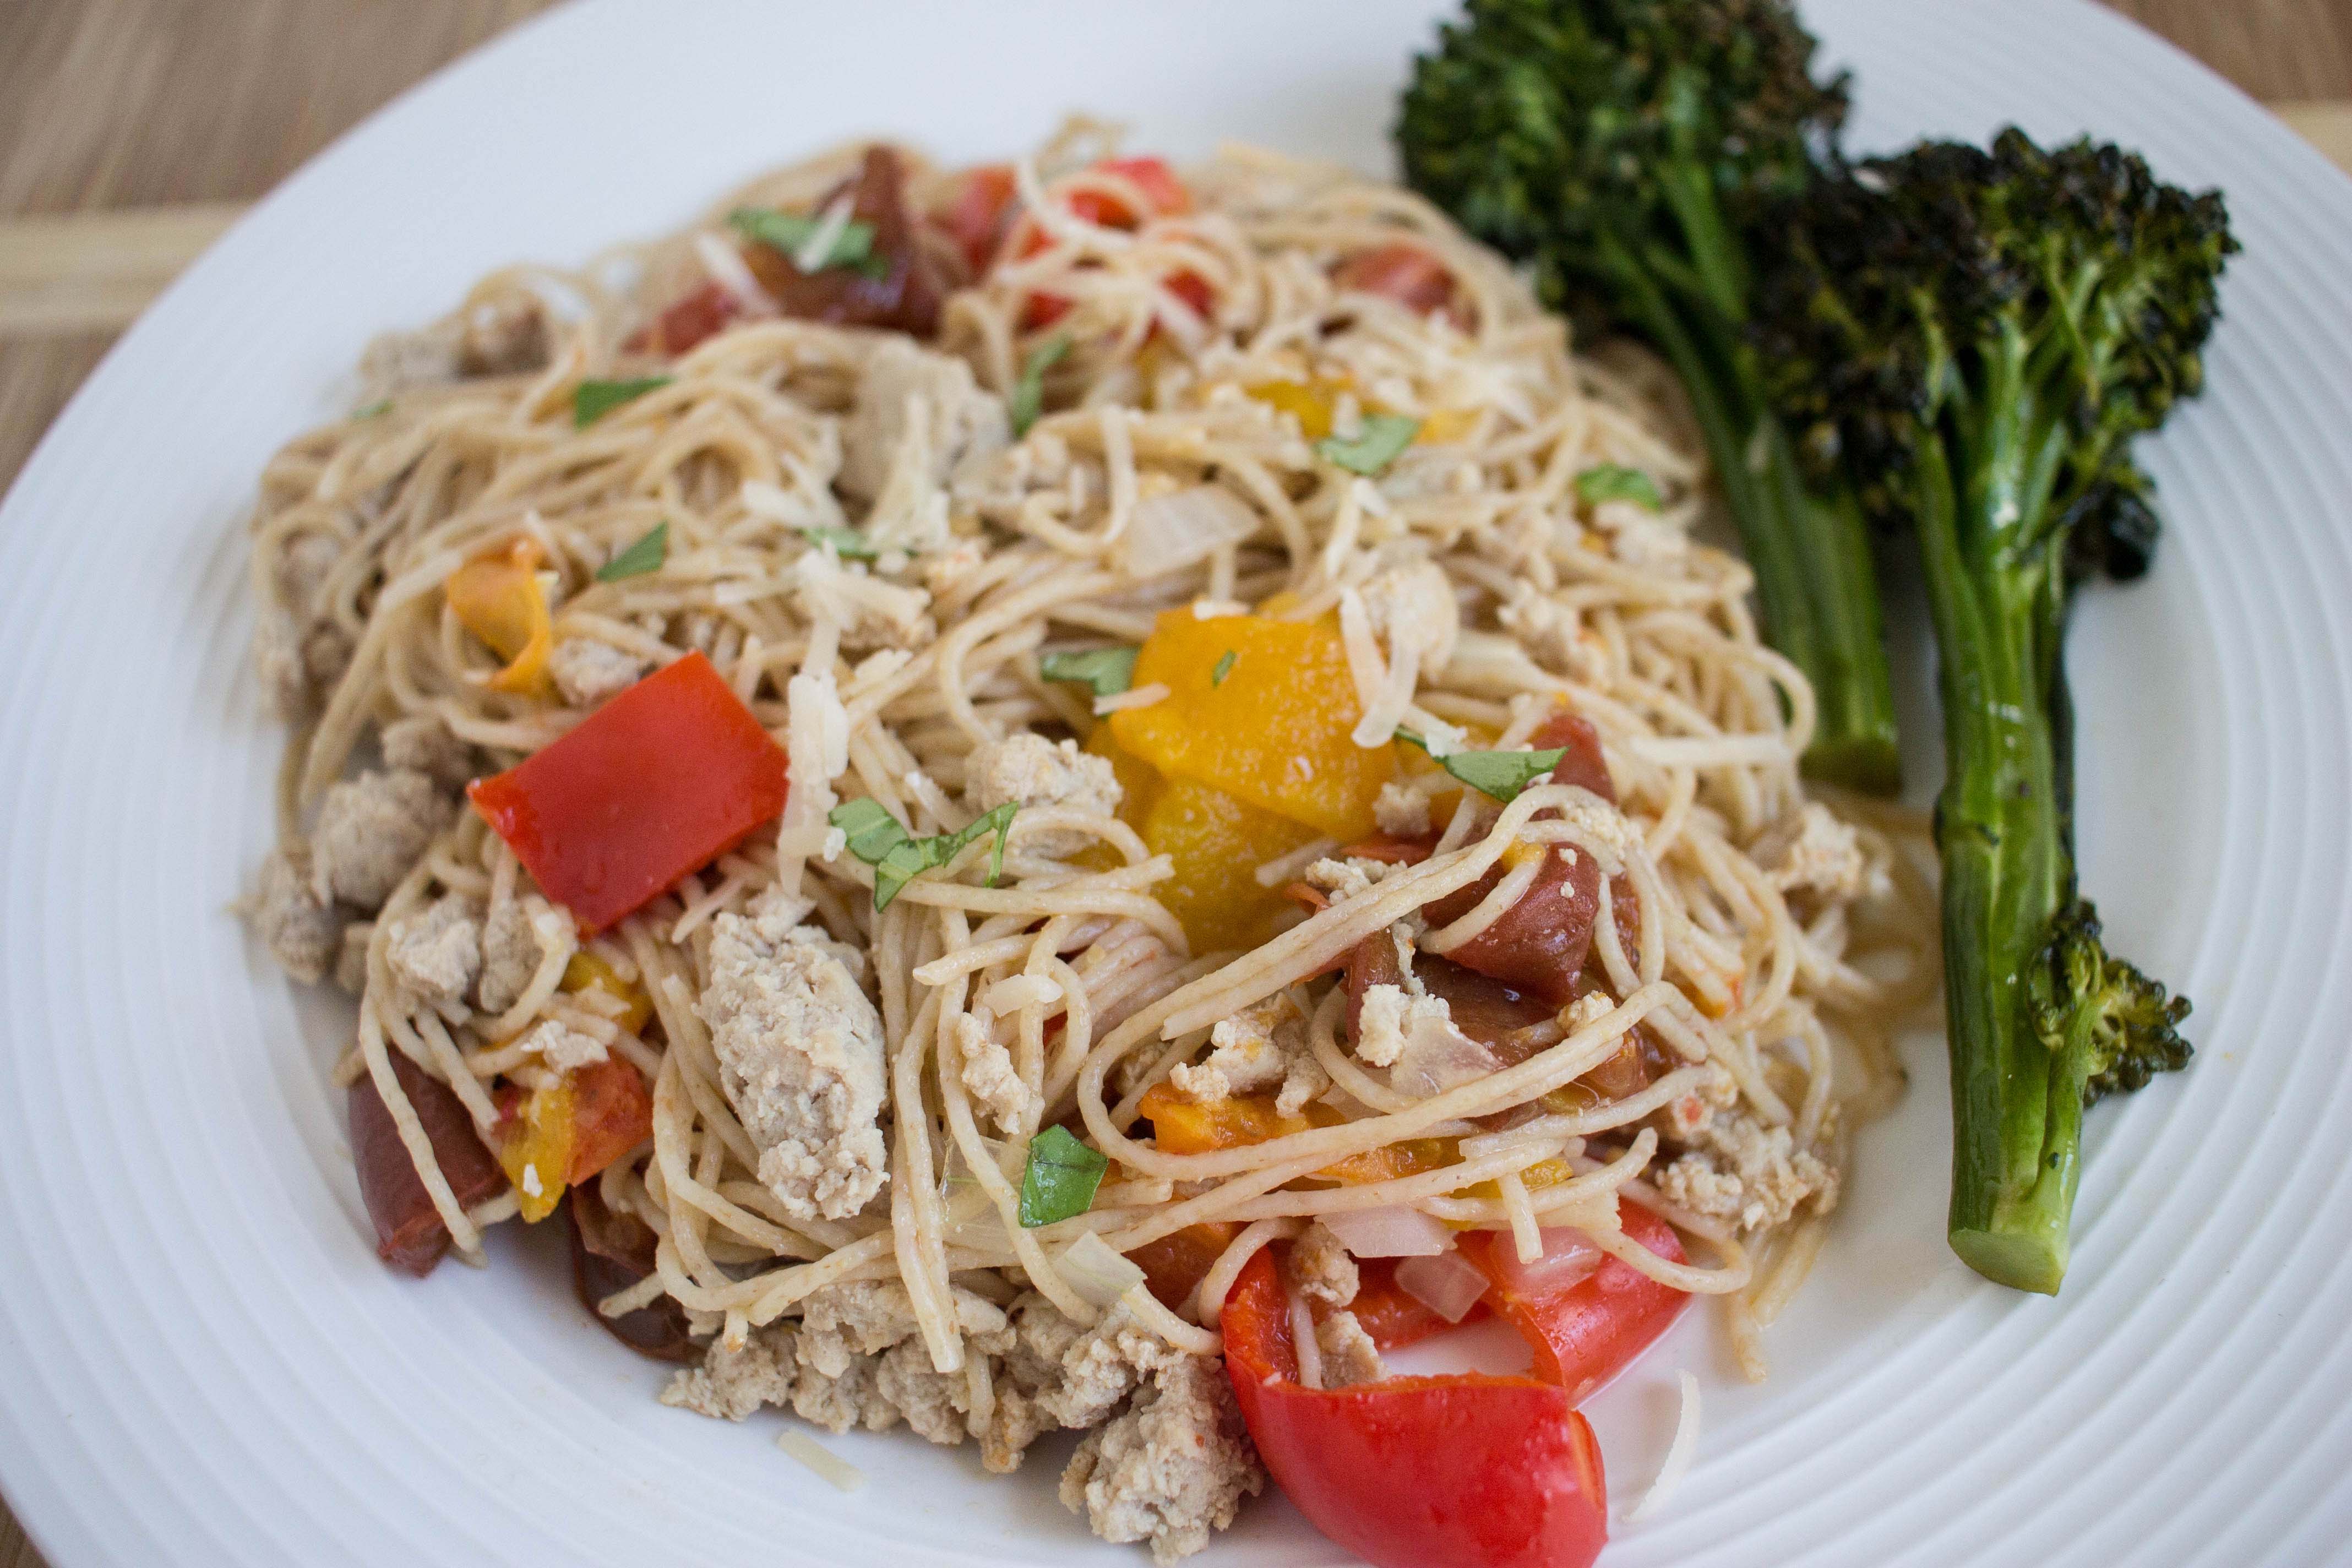
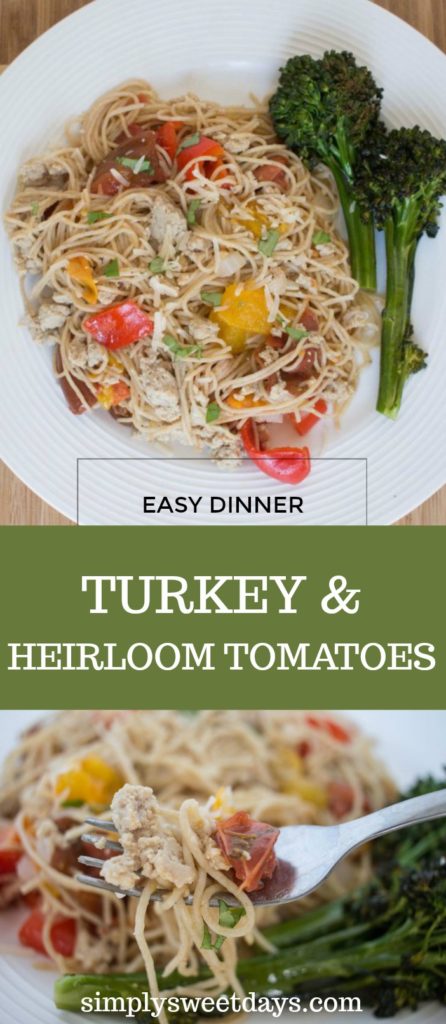
Ground Turkey and Roasted Heirloom Tomatoes

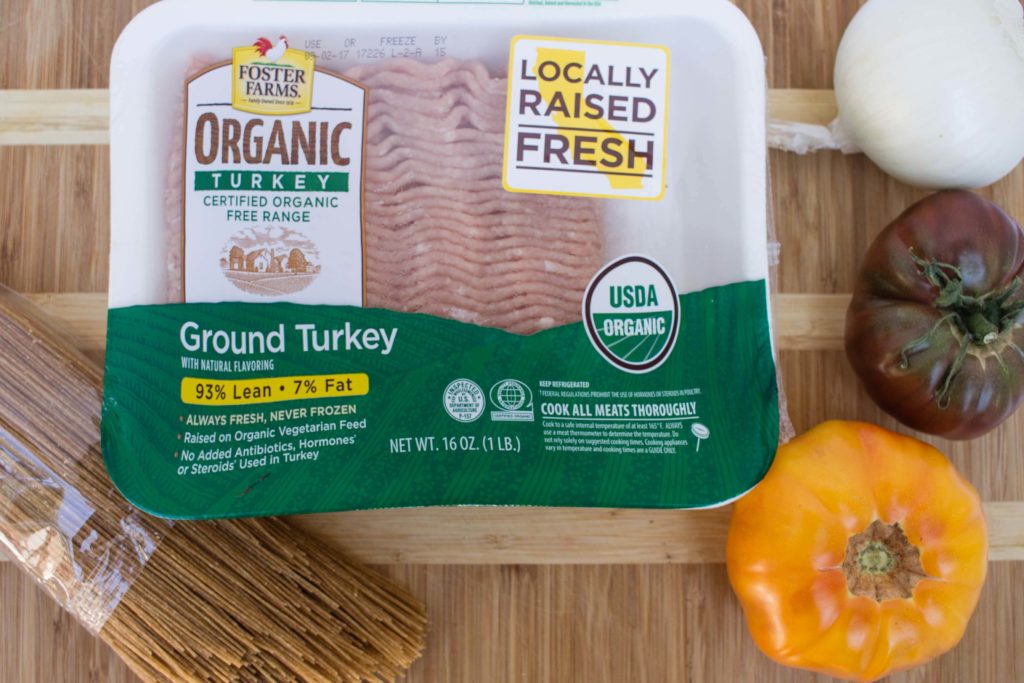
Have you noticed how much easier it is becoming to find organic, all-natural products in the grocery stores? In my local market, they size of the “organic” section in the produce department has doubled in the last few years! I decided to whip up a dinner for my family that uses all-natural, organic ingredients. I was inspired by this organic, free-range ground turkey that I found at my local market. I had this $2 off coupon, so the price perfect. The dinner turned out pretty tasty, and was ready in under 45 minutes! Here’s what I came up with:  

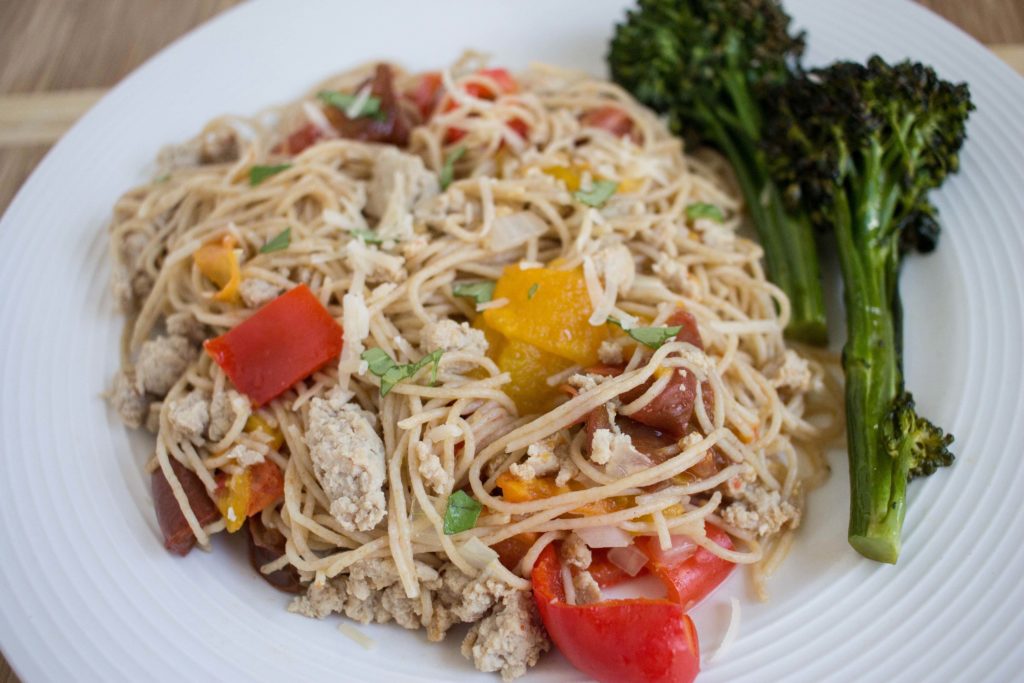
Ground Turkey and Heirloom Tomatoes with Broccolini

This dish is super easy to put together. It uses heirloom tomatoes, which are commonly found in late summer and fall. I love the funky coloring and awkwardly lopsided appearance of these tomatoes. A side of broccolini, asparagus, or some other green can give an added dose of veggies to the meal.

We are a busy working-parent family, so this worked well for me on a weeknight because it didn’t require a lot of monitoring.

Here are the basics. As I said, the veggies are locally-grown. Even the ground turkey was local! I so much prefer serving California-grown poultry to my family than a product that was probably frozen and flown in from Minnesota. 

Start by setting the oven to 450. While it’s heating, prep and chop the veggies and get the pasta pot started.

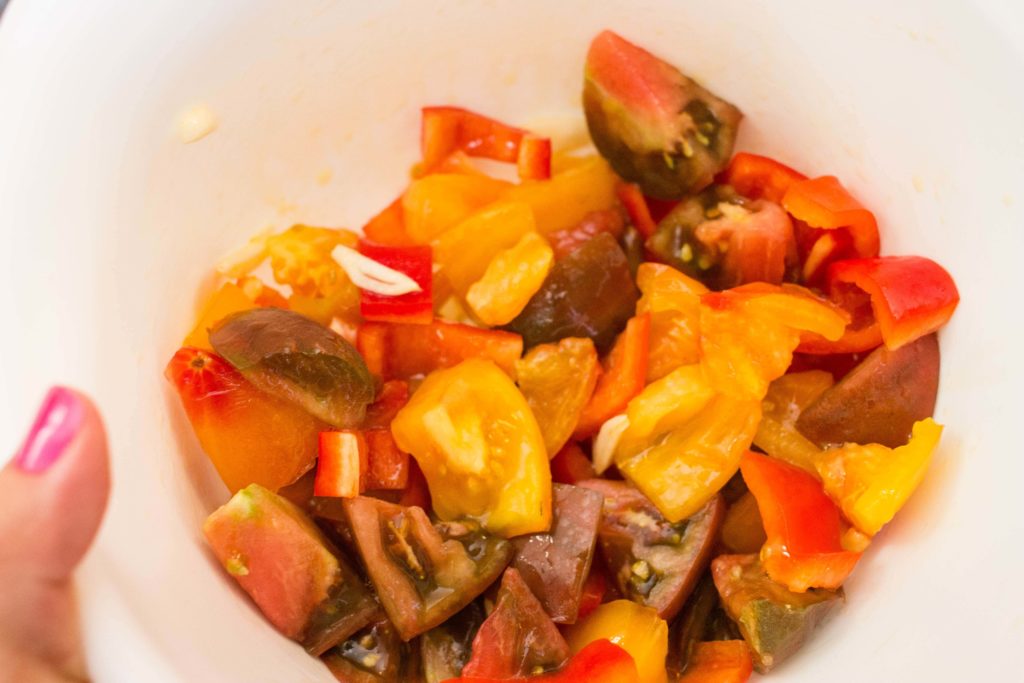
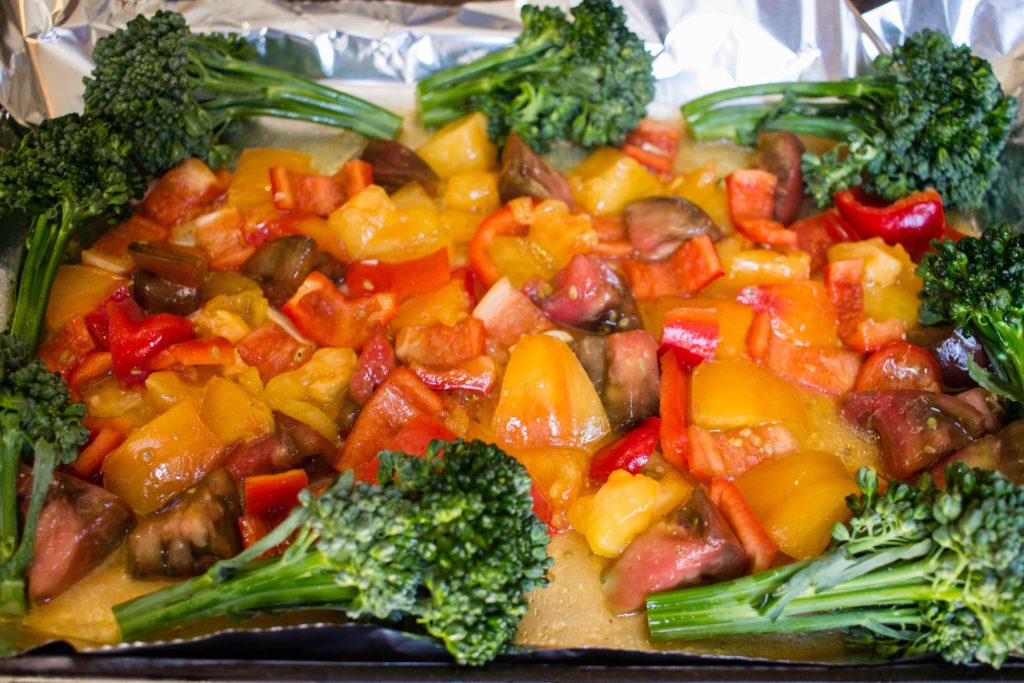
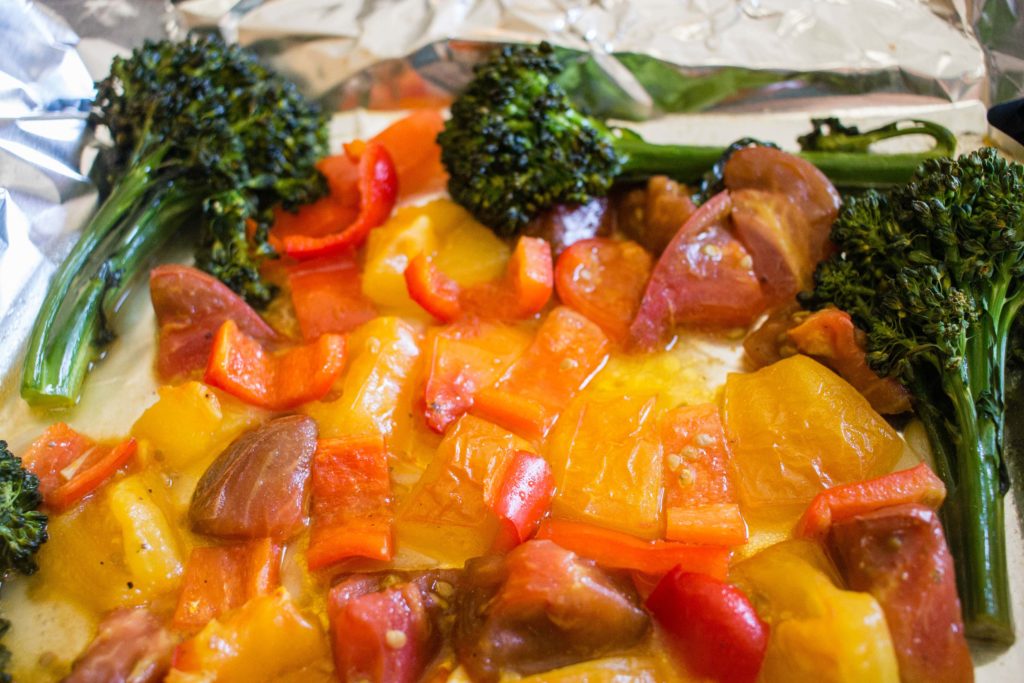
Place the tomatoes, garlic, bell peppers, and 2 Tbsp. olive oil in a medium sized bowl and toss to combine.  Spread the mixture out evenly on a baking pan. I line mine with tin foil to make cleanup a little easier 😉 If you’re serving turkey and heirloom tomatoes with broccolini or asparagus, you can add them to the roasting pan too. Roast the veggies for 11-14 minutes or until the tomatoes are soft and the broccolini is crisp-tender. The tomatoes may get kind of juicy, and this will help add flavor to the pasta and the broccolini in the pan. 

Meanwhile, cook the pasta in boiling water for 5-7 minutes or until al dente. Angel hair pasta cooks quickly, so this doesn’t take long!

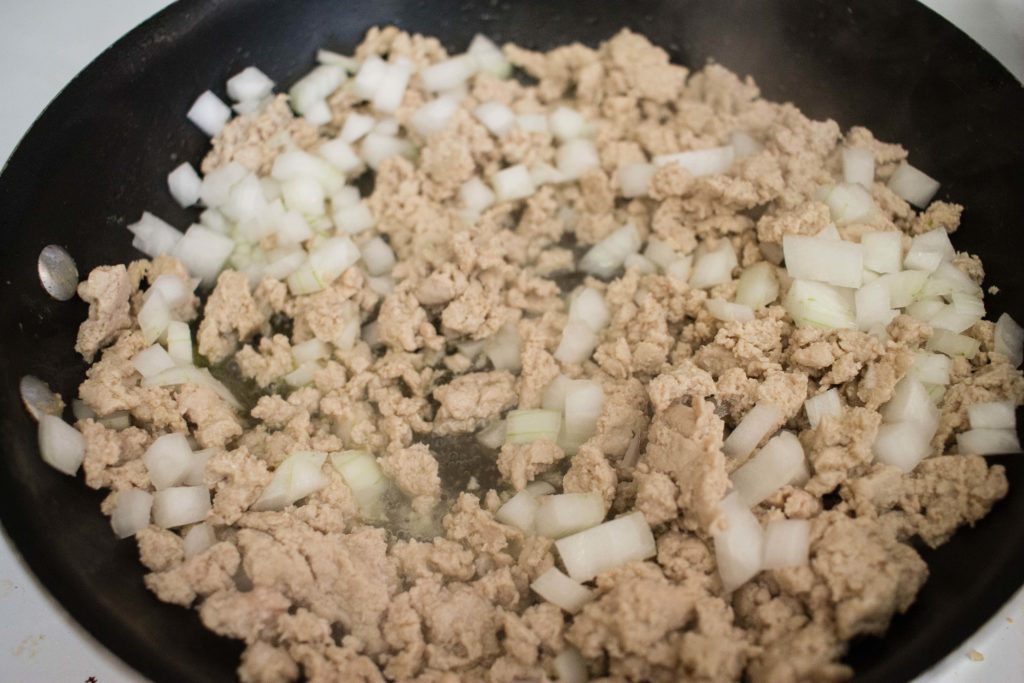
Cooking with ground turkey on a busy weeknight is a cinch because the meat cooks rather quickly. While the veggies are roasting, heat the remaining 2 Tbsp. olive oil in a pan. Add the turkey and cook until beginning to brown. Add the onions and cook another 3 minutes or until the onions are translucent and soft. 

The Foster Farms ground turkey I’m using is lean, and doesn’t leave a lot of fatty liquid in the pan. Even so, you will want to drain off the juices that accumulated during cooking.  

By now your kitchen should be smelling pretty amazing as the different smells from the roasting veggies start to permeate the room. Toss the turkey and heirloom tomatoes with the cooked pasta, top with some shredded cheese and basil and enjoy! 

I saw on Facebook that there is also a chance to win free Foster Farms turkey if you leave a comment on this Foster Farms Facebook post. There will be multiple drawings, so good luck to all who enter!

What’s your favorite way to enjoy ground turkey? 

Print
Yum
Ground Turkey and Roasted Heirloom Tomatoes and Broccolini

Prep Time: 15 minutes

Cook Time: 25 minutes

4 servings

Ground Turkey and Roasted Heirloom Tomatoes and Broccolini

Ingredients

  • 8 oz. angel hair pasta
  • 4 Tbsp. olive oil, divided
  • 16 oz. Foster Farms Organic Ground Turkey
  • 2 large heirloom tomatoes (about 1 lb.), cut into chunks
  • 1 medium red bell pepper, sliced and cut into 1/2 inch pieces
  • 4 garlic cloves, peeled and sliced
  • 1 small onion, diced (about 1/4 cup)
  • 1 bunch broccolini (about 2 cups)
  • Salt and pepper to taste
  • 2 Tbsp. (about 8 leaves) torn fresh basil
  • 1/4 cup shredded parmesan cheese

Instructions

  1. Preheat the oven to 450°.
  2. Cut up vegetables and trim broccolini.
  3. Place tomatoes, bell pepper, 2 Tbsp. olive oil, and garlic slices into a medium bowl and toss to combine.
  4. Arrange the tomato mixture and broccolini in a baking/roasting pan and cook at 450° for 11-14 minutes, or until broccolini is crisp-tender.
  5. Meanwhile, cook pasta in boiling water for 5-7 minutes or until al dente.
  6. While pasta and veggies are cooking, heat the remaining 2 Tbsp. olive oil in a pan on medium heat. Add the ground turkey and cook for 5 minutes or until beginning to brown, breaking it up with a spatula as it cooks.
  7. Add the onions and cook another 3 minutes.
  8. Combine roasted tomato mixture, pasta, and turkey mixture. Season with salt and pepper to taste and stir together well.
  9. Top with a sprinkle of basil and parmesan cheese and serve immediately with a side of broccolini.
Schema/Recipe SEO Data Markup by Yummly Rich Recipes
0.1

https://www.simplysweetdays.com/ground-turkey-roasted-heirloom-tomatoes/

SimplySweetDays.com

Image Map

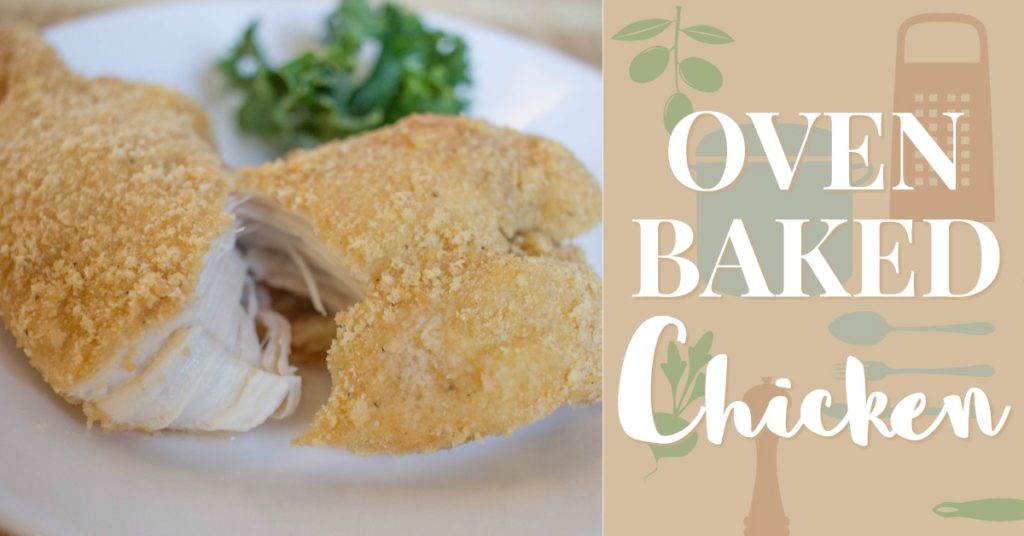
Crunchy Oven Baked Chicken

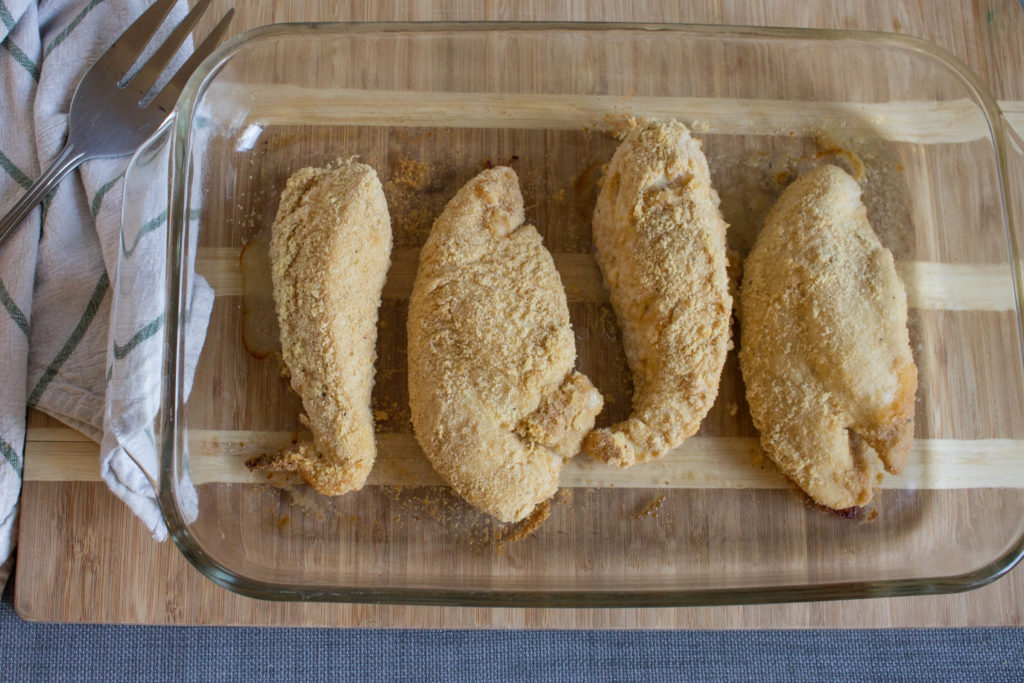
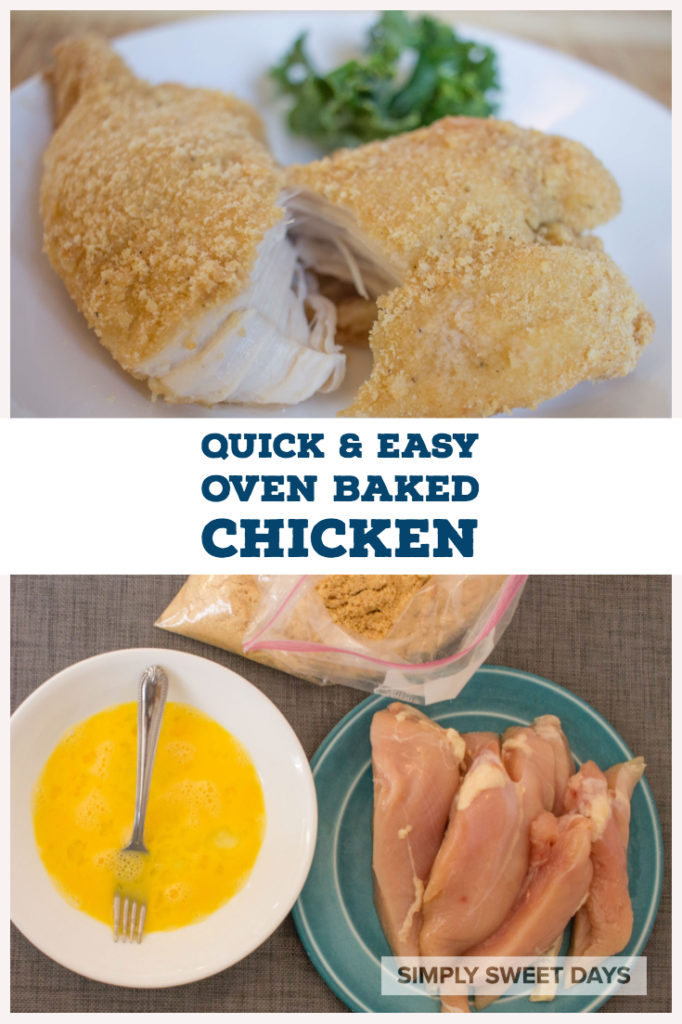
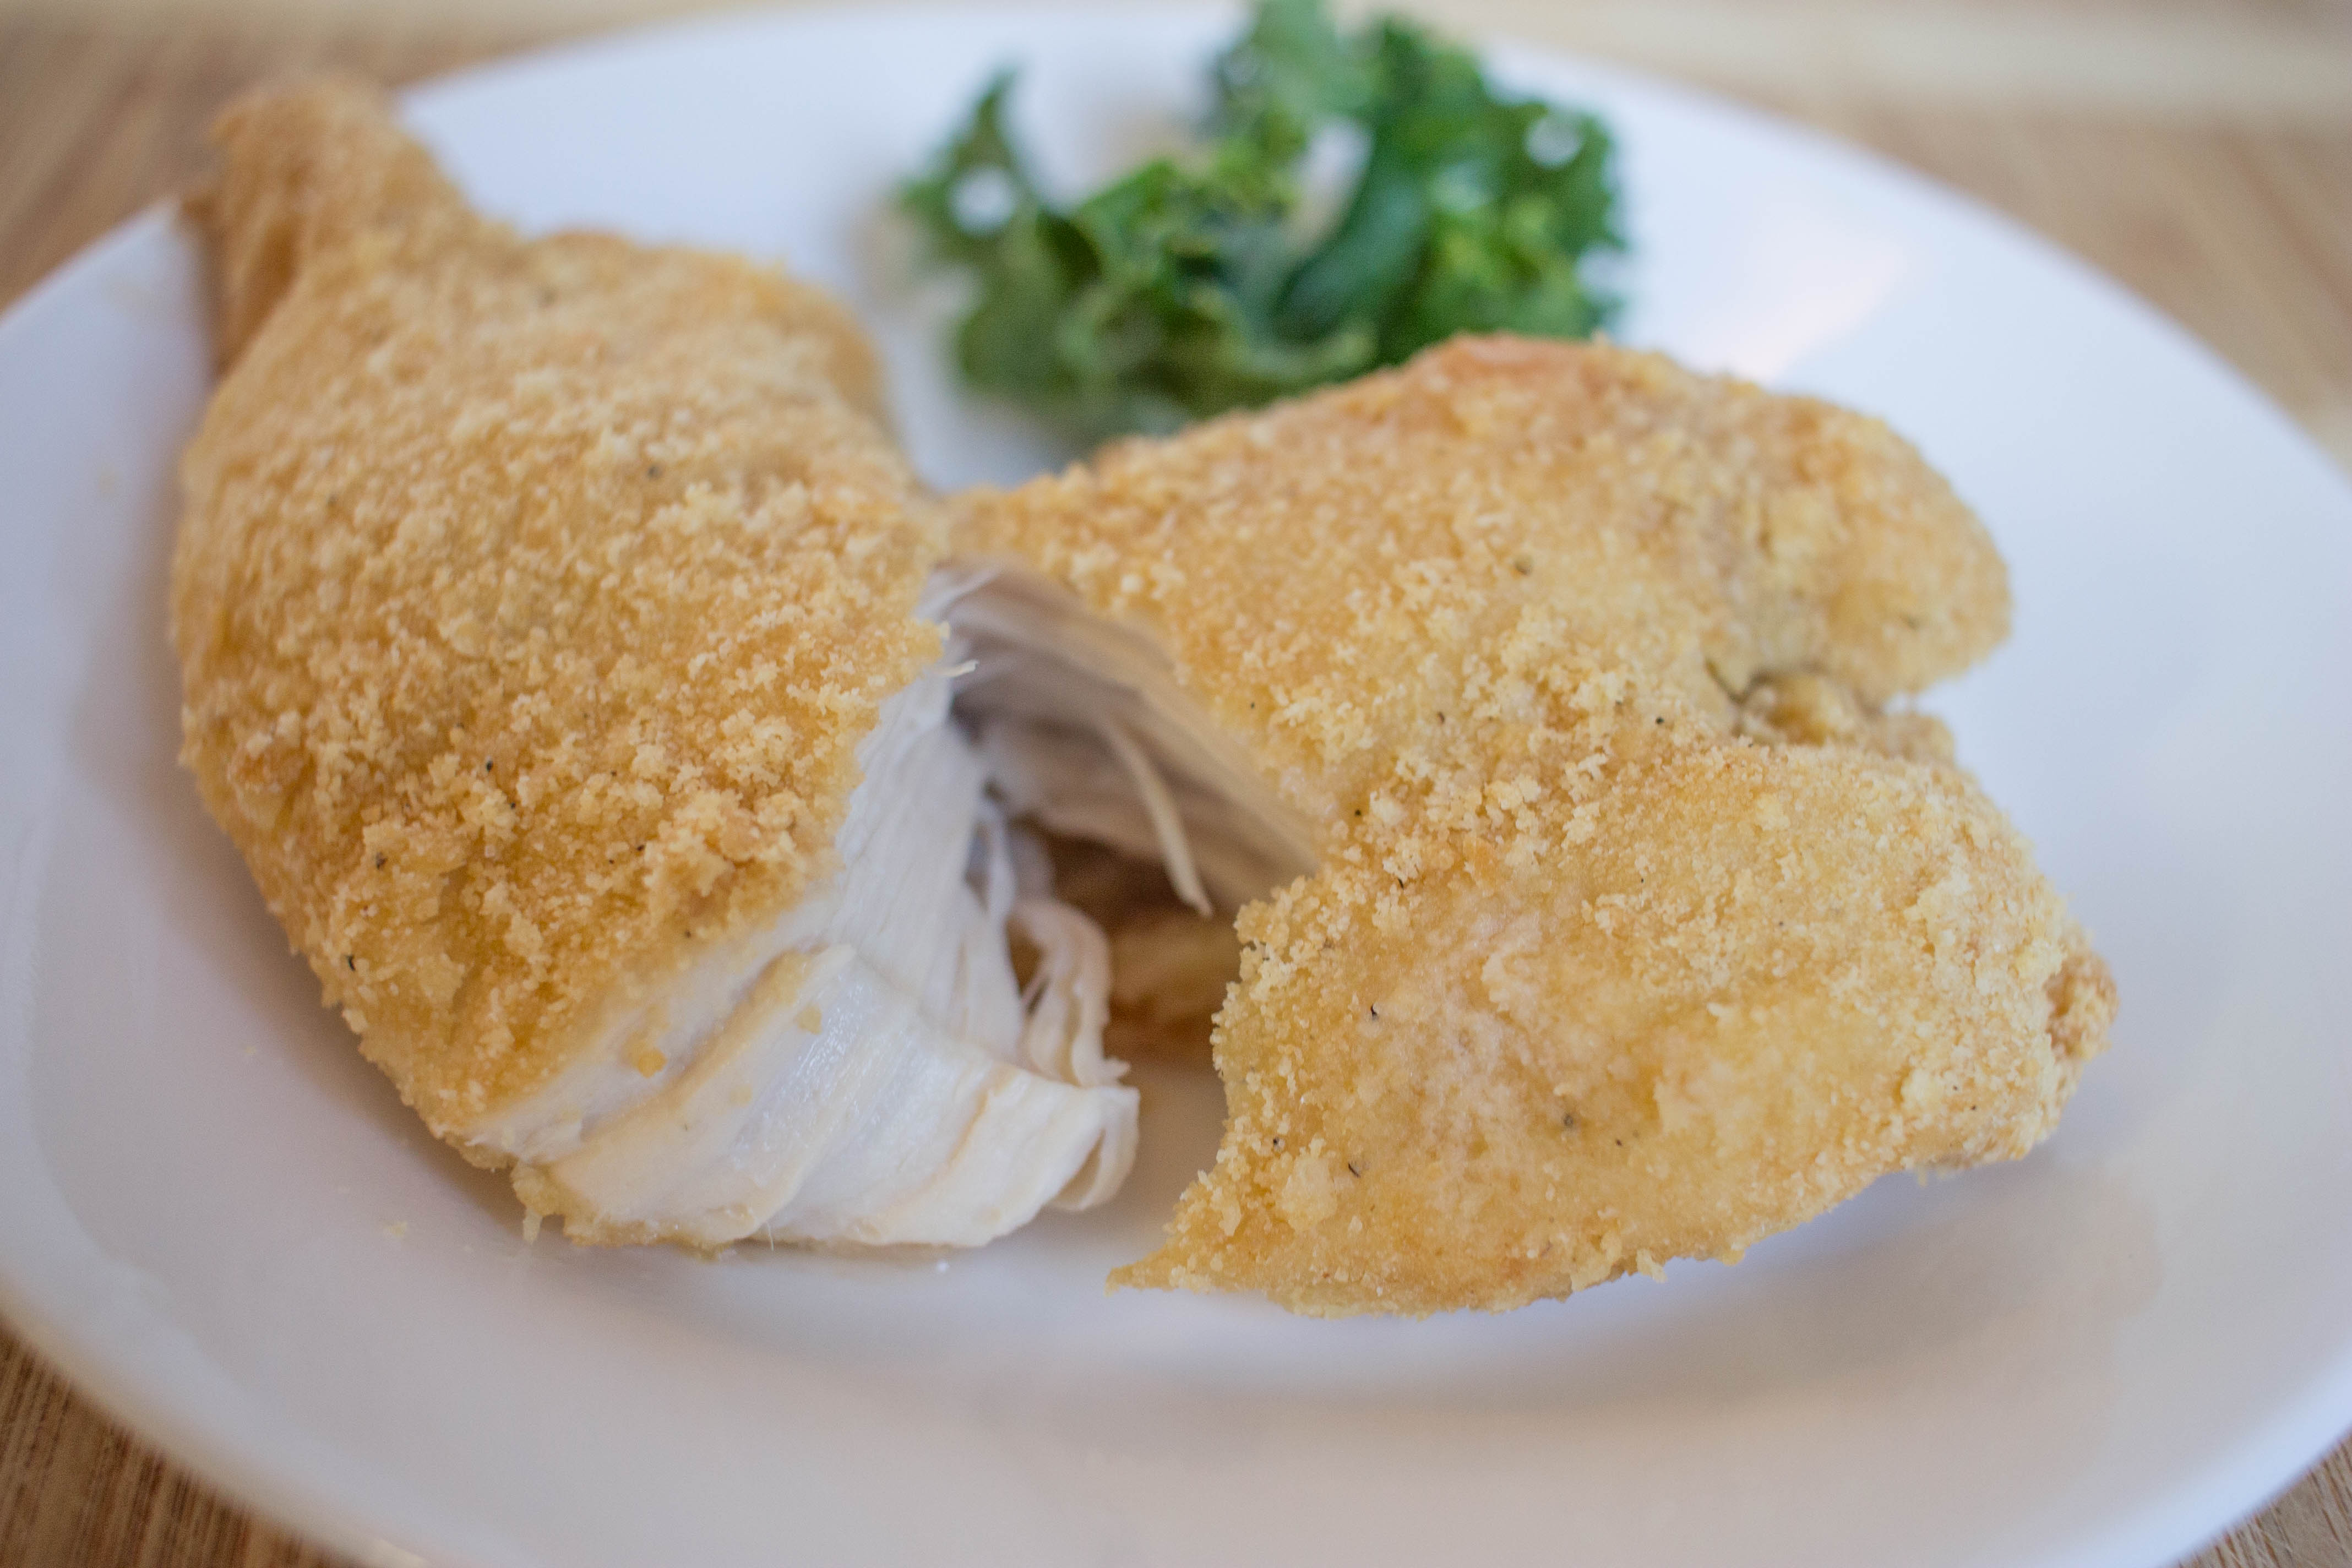
This is a crunchy on the outside, moist on the inside version of oven baked chicken that our whole family loves. It’s easy, no-fuss, and perfect for a busy after-work dinner!  Our family's favorite recipe for oven baked chicken uses simple breading made from crushed cracker crumbs! It is a fast and easy dinner, perfect for busy weeknights.

Crunchy Oven Baked Chicken

We eat chicken a lot in this house. It cooks up quickly for weeknight meals and it’s tender enough for the little ones to enjoy. I usually don’t like oven baked chicken but this recipe is one of my favorites. The breading helps seal in the flavor, so the meat is juicy yet falls apart easily. Since it kind of resembles chicken nuggets, my kids love dunking it in their favorite dipping sauces.

When I make this oven baked chicken for dinner, I usually pair it with some cooked brown rice and steamed veggies. I start cooking the rice while preparing the chicken. Then while the chicken is in the oven I steam the veggies. The whole dinner is ready in under 45 minutes, which is pretty good for a healthy, home cooked meal!  

Oven Baked Chicken Ingredients:

2 eggs
1 ½ – 2 cups of crushed buttery snack crackers
½ teaspoon garlic salt
½ teaspoon ground black pepper
4 boneless, skinless chicken breast halves

YouTube Preview Image

Beat eggs in a shallow bowl.

Place cracker crumbs in a large Ziploc bag with garlic salt and pepper. Shake it well to mix the seasonings with the crumbs.

Dip chicken breasts in egg, then shake (1 at a time) in the Ziploc bag of cracker crumbs. 90’s friends, this might remind you of the Shake ‘n Bake dinners from back in the day. 😉 Arrange the breaded chicken in a greased baking dish and bake at 375° for 30-40 minutes, or until internal temperature reaches 165°. Serve it with your favorite sauce or by itself-it’s got enough flavor to stand on its own!   Our family's favorite recipe for oven baked chicken uses simple breading made from crushed cracker crumbs! It is a fast and easy dinner, perfect for busy weeknights.

Seriously, how easy is that? I hope you enjoy this recipe, and don’t forget to pin it for later! Follow my Family Dinner Recipes board on Pinterest for hundreds of kid-friendly dinner ideas, like oven baked chicken fajitas and this zesty pasta casserole.

Print
Yum
Crunchy Oven Baked Chicken

Crunchy Oven Baked Chicken

Ingredients

  • 2 eggs
  • 1 ½ - 2 cups of crushed buttery snack crackers
  • ½ teaspoon garlic salt
  • ½ teaspoon ground black pepper
  • 4 boneless, skinless chicken breast halves

Instructions

  1. Beat eggs in a shallow bowl.
  2. Place cracker crumbs in a large Ziploc bag with garlic salt and pepper. Shake it well to mix the seasonings with the crumbs.
  3. Dip chicken breasts in egg, then shake (1 at a time) in the Ziploc bag of cracker crumbs.
  4. Arrange the breaded chicken in a greased baking dish and bake at 375° for 30-40 minutes, or until internal temperature reaches 165°.
  5. Serve it with your favorite sauce or by itself-it's got enough flavor to stand on its own!
Schema/Recipe SEO Data Markup by Yummly Rich Recipes
0.1

https://www.simplysweetdays.com/crunchy-oven-baked-chicken/

SimplySweetDays.com

Easy 5-Ingredient Crock Pot Refried Beans

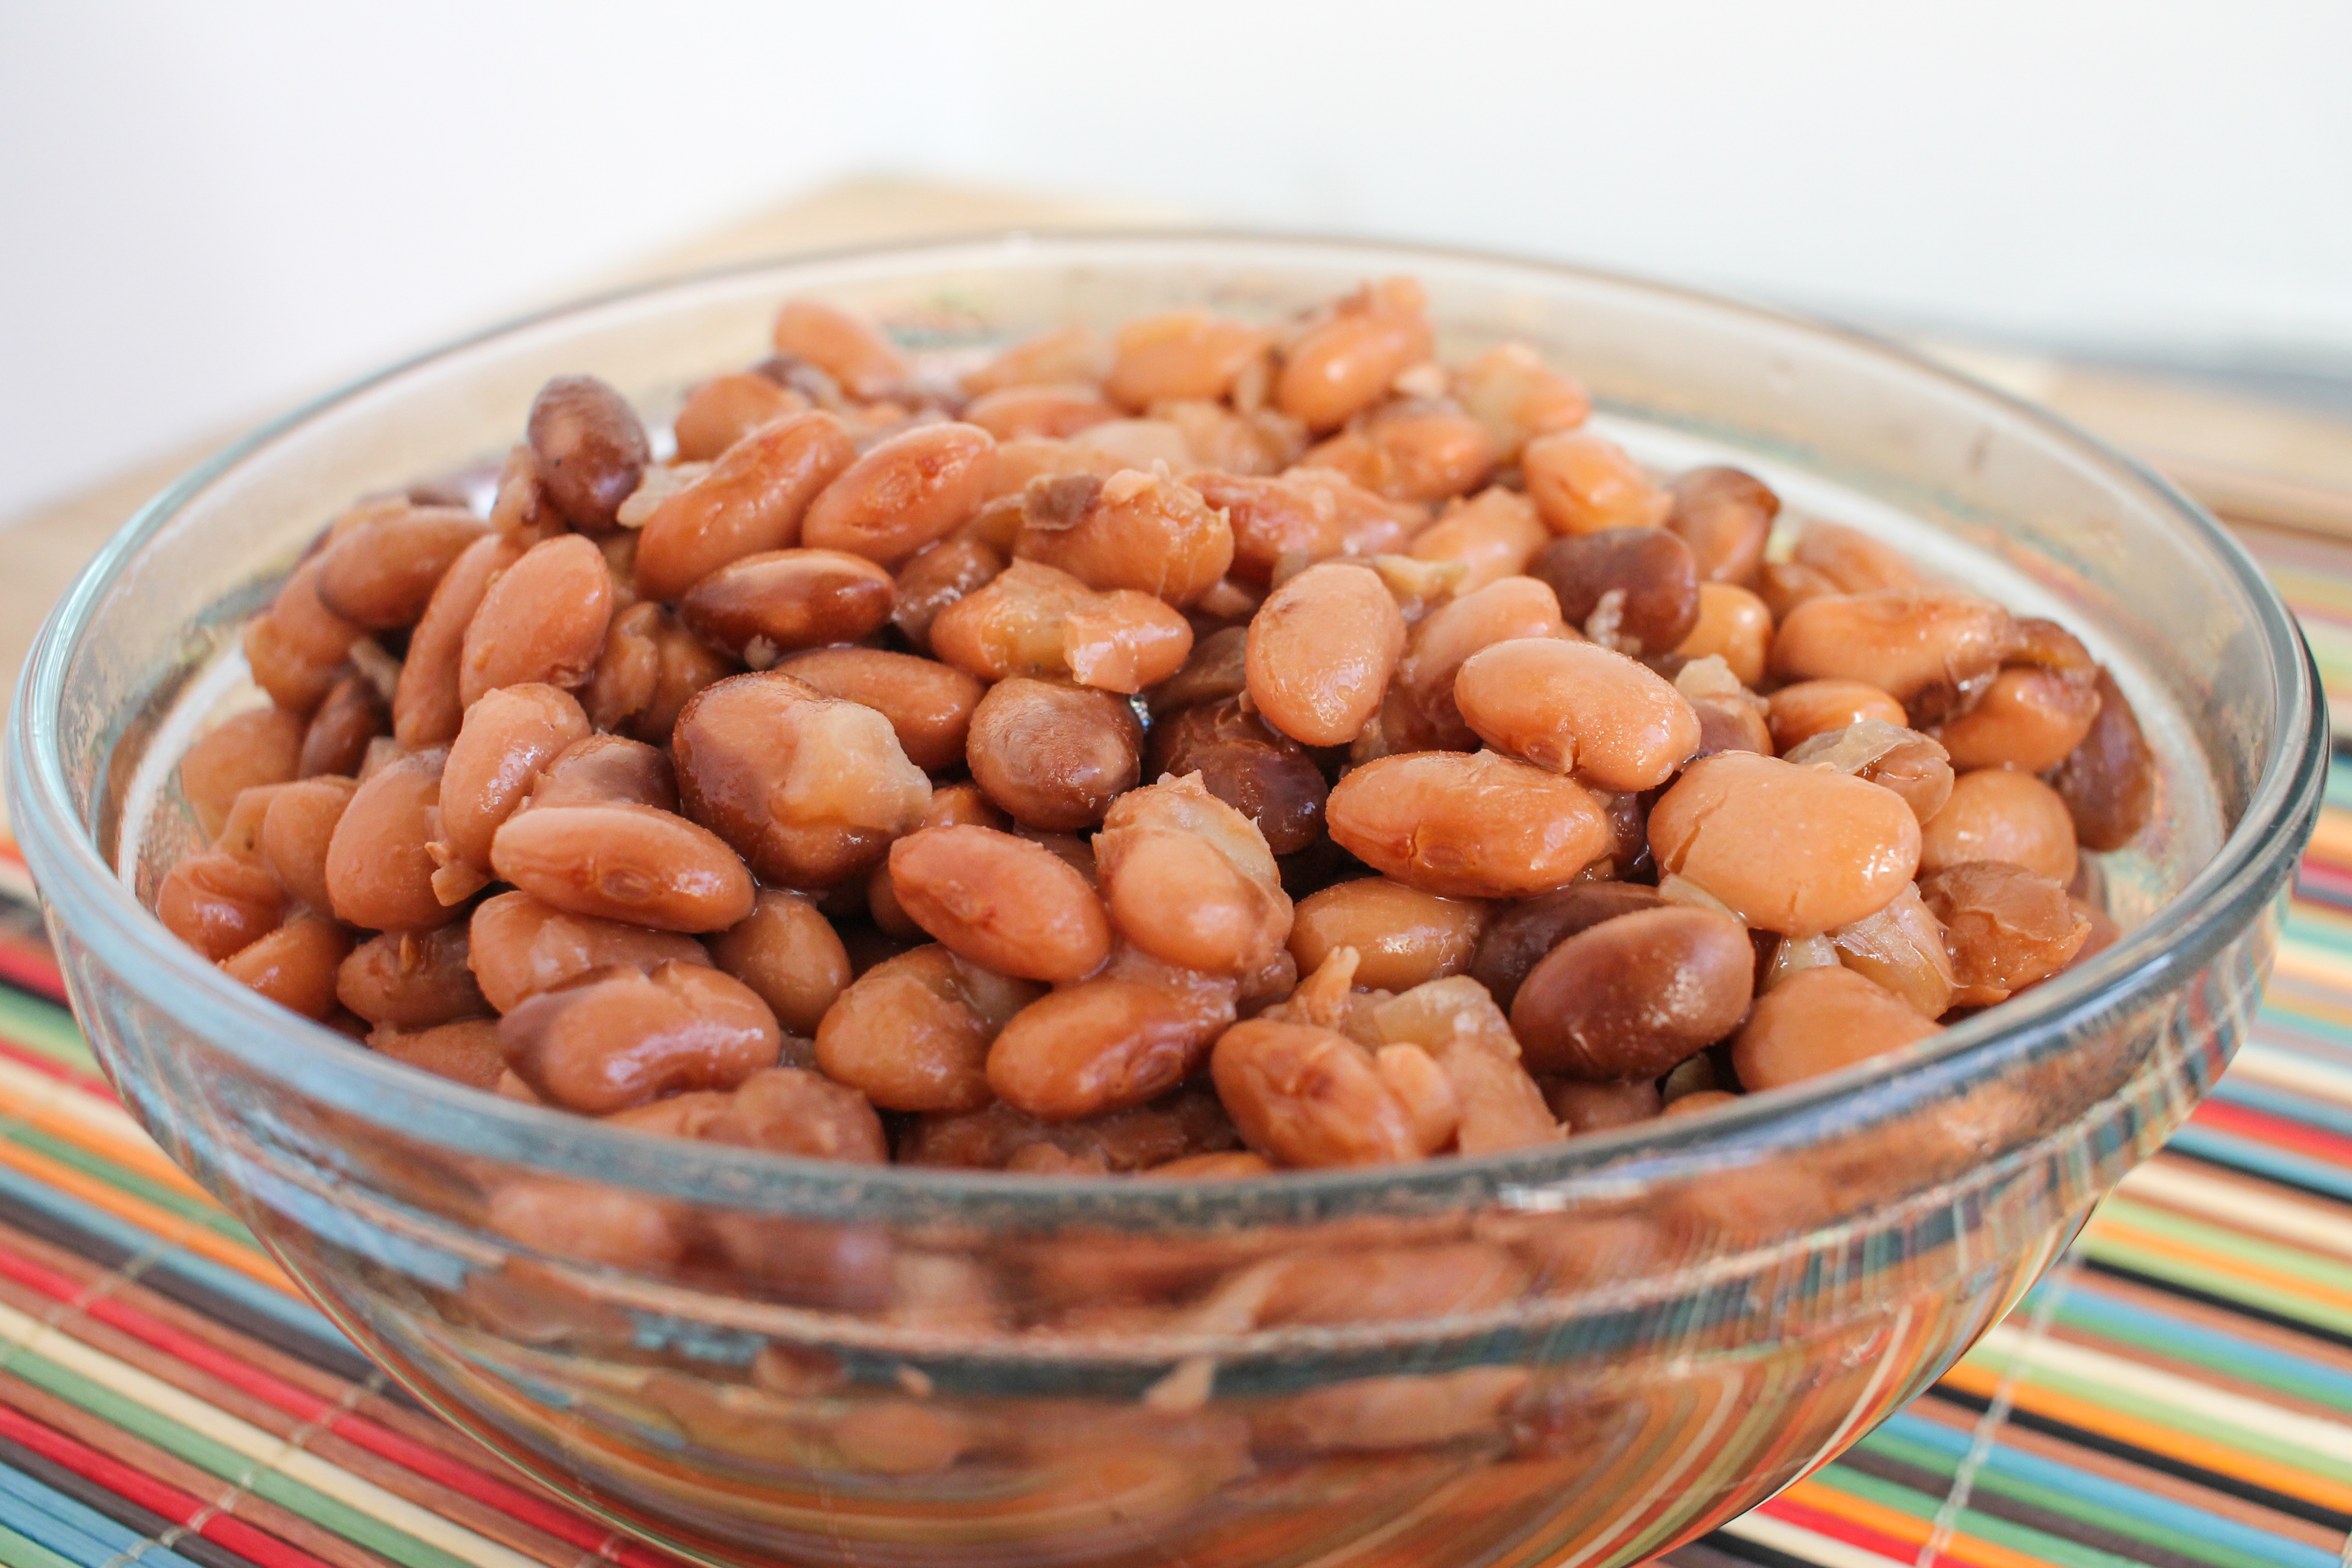
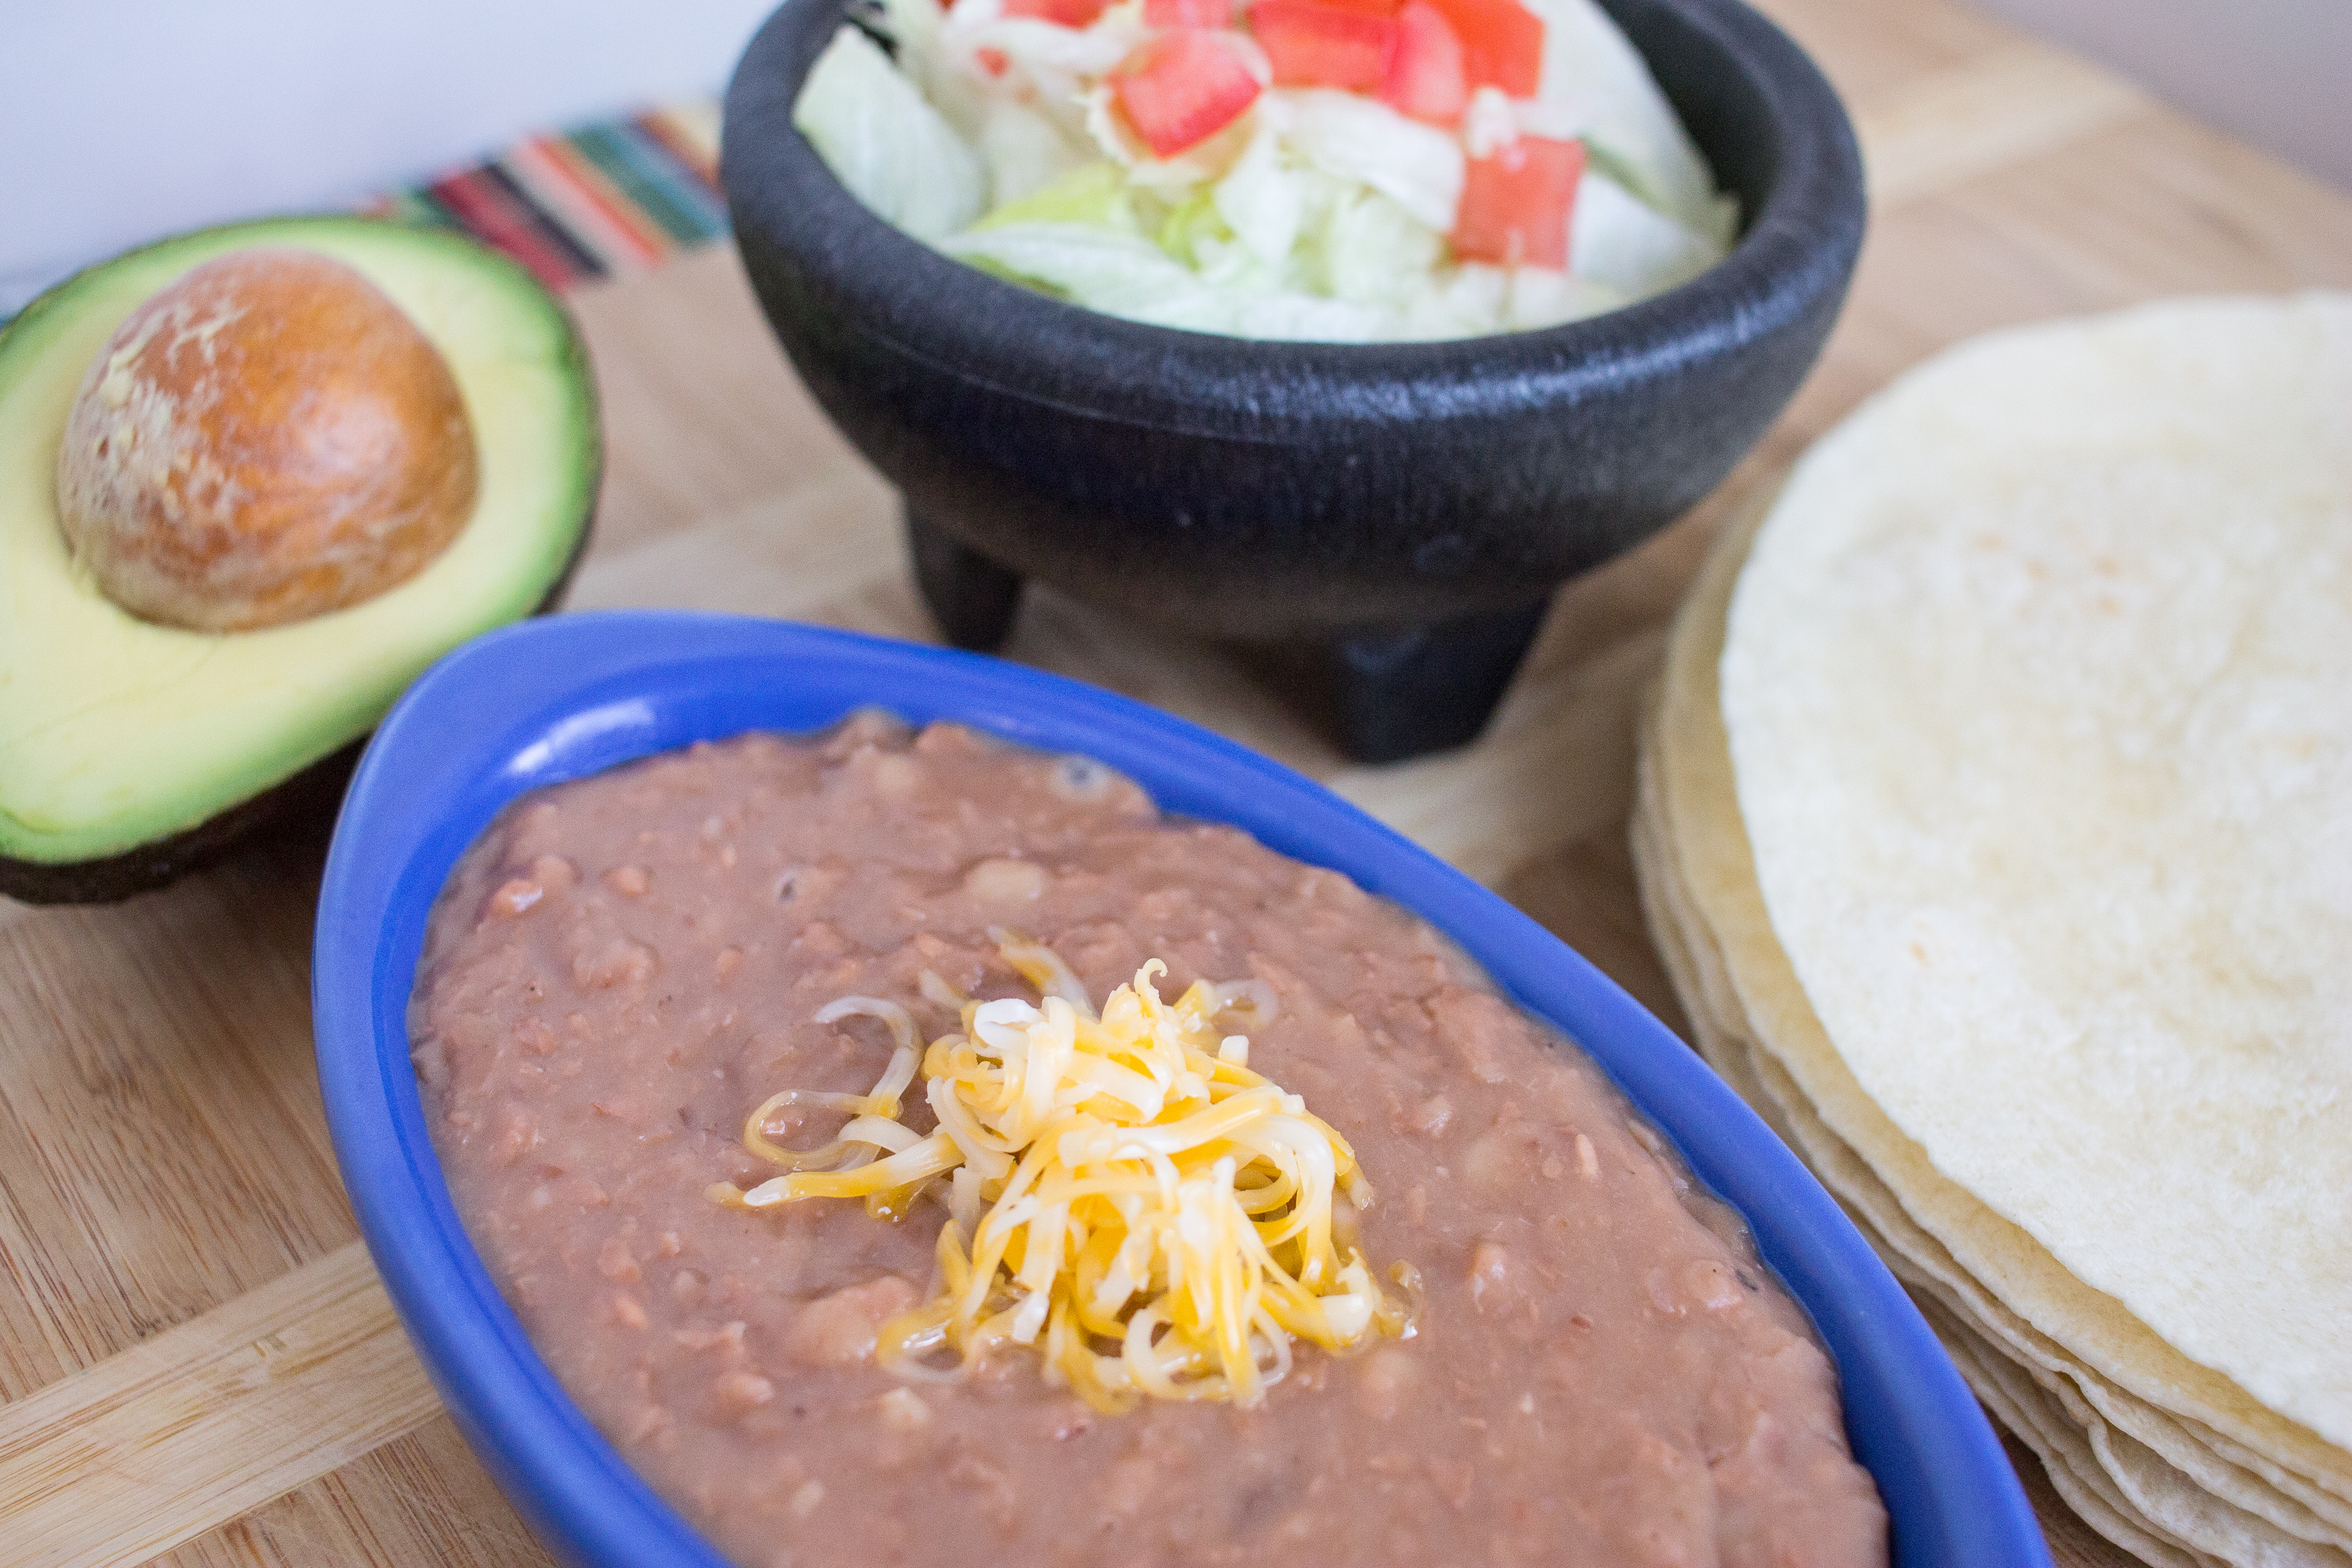
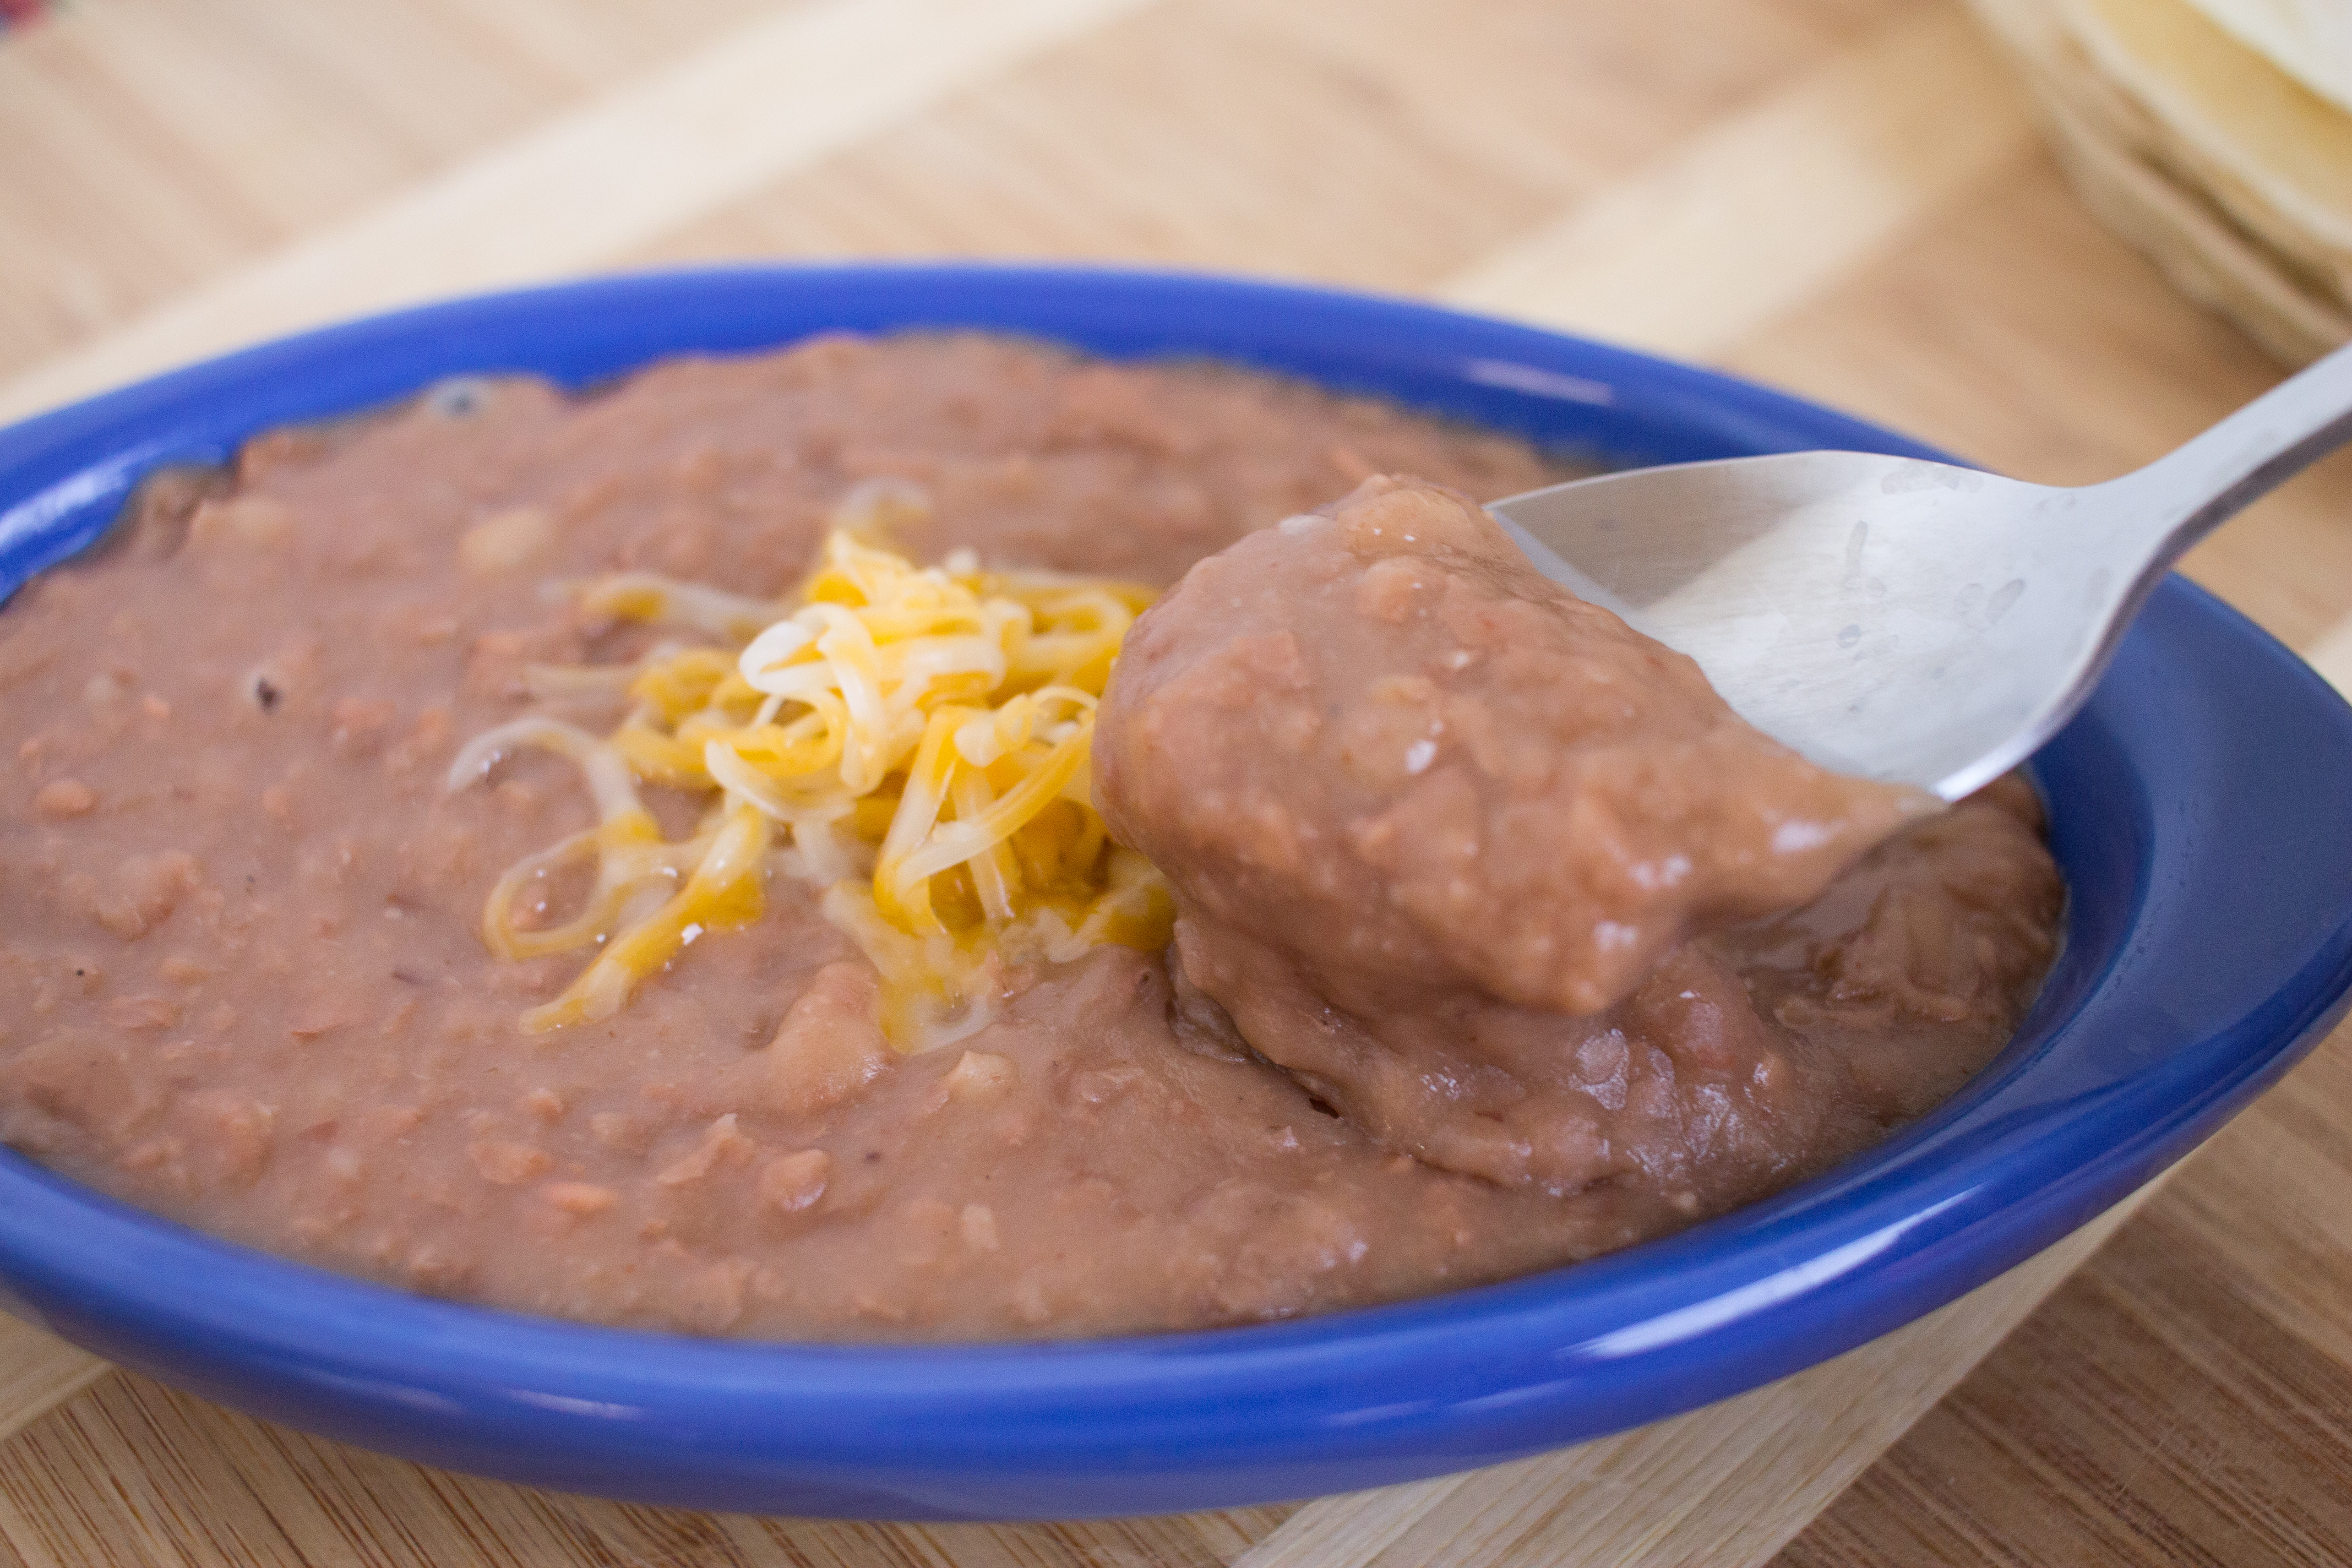
For the last year or so, these crock pot refried beans have been a staple in our home. It started when we took the Dave Ramsey Financial Peace University course and we were really trying to cut our budget down to get out of debt. Now we’re pretty much on a roll with the whole budgeting thing, but it turns out these beans aren’t just for broke people because they’re actually pretty good!   This easy homemade crock pot refried beans recipe can be served whole or mashed!

I whip up a batch of crock pot refried beans just about every other Sunday. This isn’t really a “set it and forget it” crock pot recipe because you have to turn the heat down part of the way through. But once they’re done, they’re so tender! Mashing them is easy work.  

Crock Pot Refried Beans are a Cheap and Healthy Option

I get beans from the bulk section of the grocery store, It’s $.068 for a pound of beans. and about $0.50 for an onion and maybe $0.15 for a few garlic cloves, A traditional refried beans recipe requires you to soak the beans, then boil them, then fry them in lard or oil. It’s a very time-intensive process. With my method, the beans aren’t pre-soaked, and the still turn out well. Not only that, you don’t have to fry them. They still have great flavor even without all the lard.   easy 5-ingredient crock pot refried beans

6 Things to do with Crock Pot Refried Beans  

My kids could eat plain beans for every meal, but I like to mix things up a bit. After cooking our beans, we either 1) eat them plain, 2) serve them with enchiladas, 3) serve them with fajitas, 4) make bean and cheese burritos with them, 5) use them as dip with your favorite corn chip, or 6) make tostadas!

A batch of crock pot refried beans makes way too much for one meal. I put the leftovers in an air-tight container and store them in the fridge for up to one week. Otherwise they go into the freezer if I know I’m not going to use them up soon.   homemade crock pot refried beans

Crock Pot Refried Beans Recipe

Print
Yum
Best Crock Pot Refried Beans

Best Crock Pot Refried Beans

Ingredients

  • 1 lb. pinto beans
  • ½ cup diced onion
  • 2-3 minced garlic cloves
  • 1/2 Tbsp salt
  • 1/2 Tbsp cumin
  • 6 cups water

Instructions

  1. Place all ingredients in the crock pot and stir them together. For an extra kick, add 1 or 2 chopped jalapeño peppers with the seeds.
  2. Cook on high for 2 hours and then on low for 4 hours. No pre-soaking required!
  3. When the beans are done, be sure and reserve some of the excess water before pouring it all out.
  4. Beans can be mashed with a potato masher or left whole. If mashing, add reserved bean water to get your desired consistency. Beans will be drier once they’ve cooled!
  5. Leftovers can be stored in the fridge for up to one week or in the freezer for 3 months.
Schema/Recipe SEO Data Markup by Yummly Rich Recipes
0.1

https://www.simplysweetdays.com/easy-5-ingredient-crock-pot-refried-beans/

SimplySweetDays.com


Cheesy Pasta Casserole

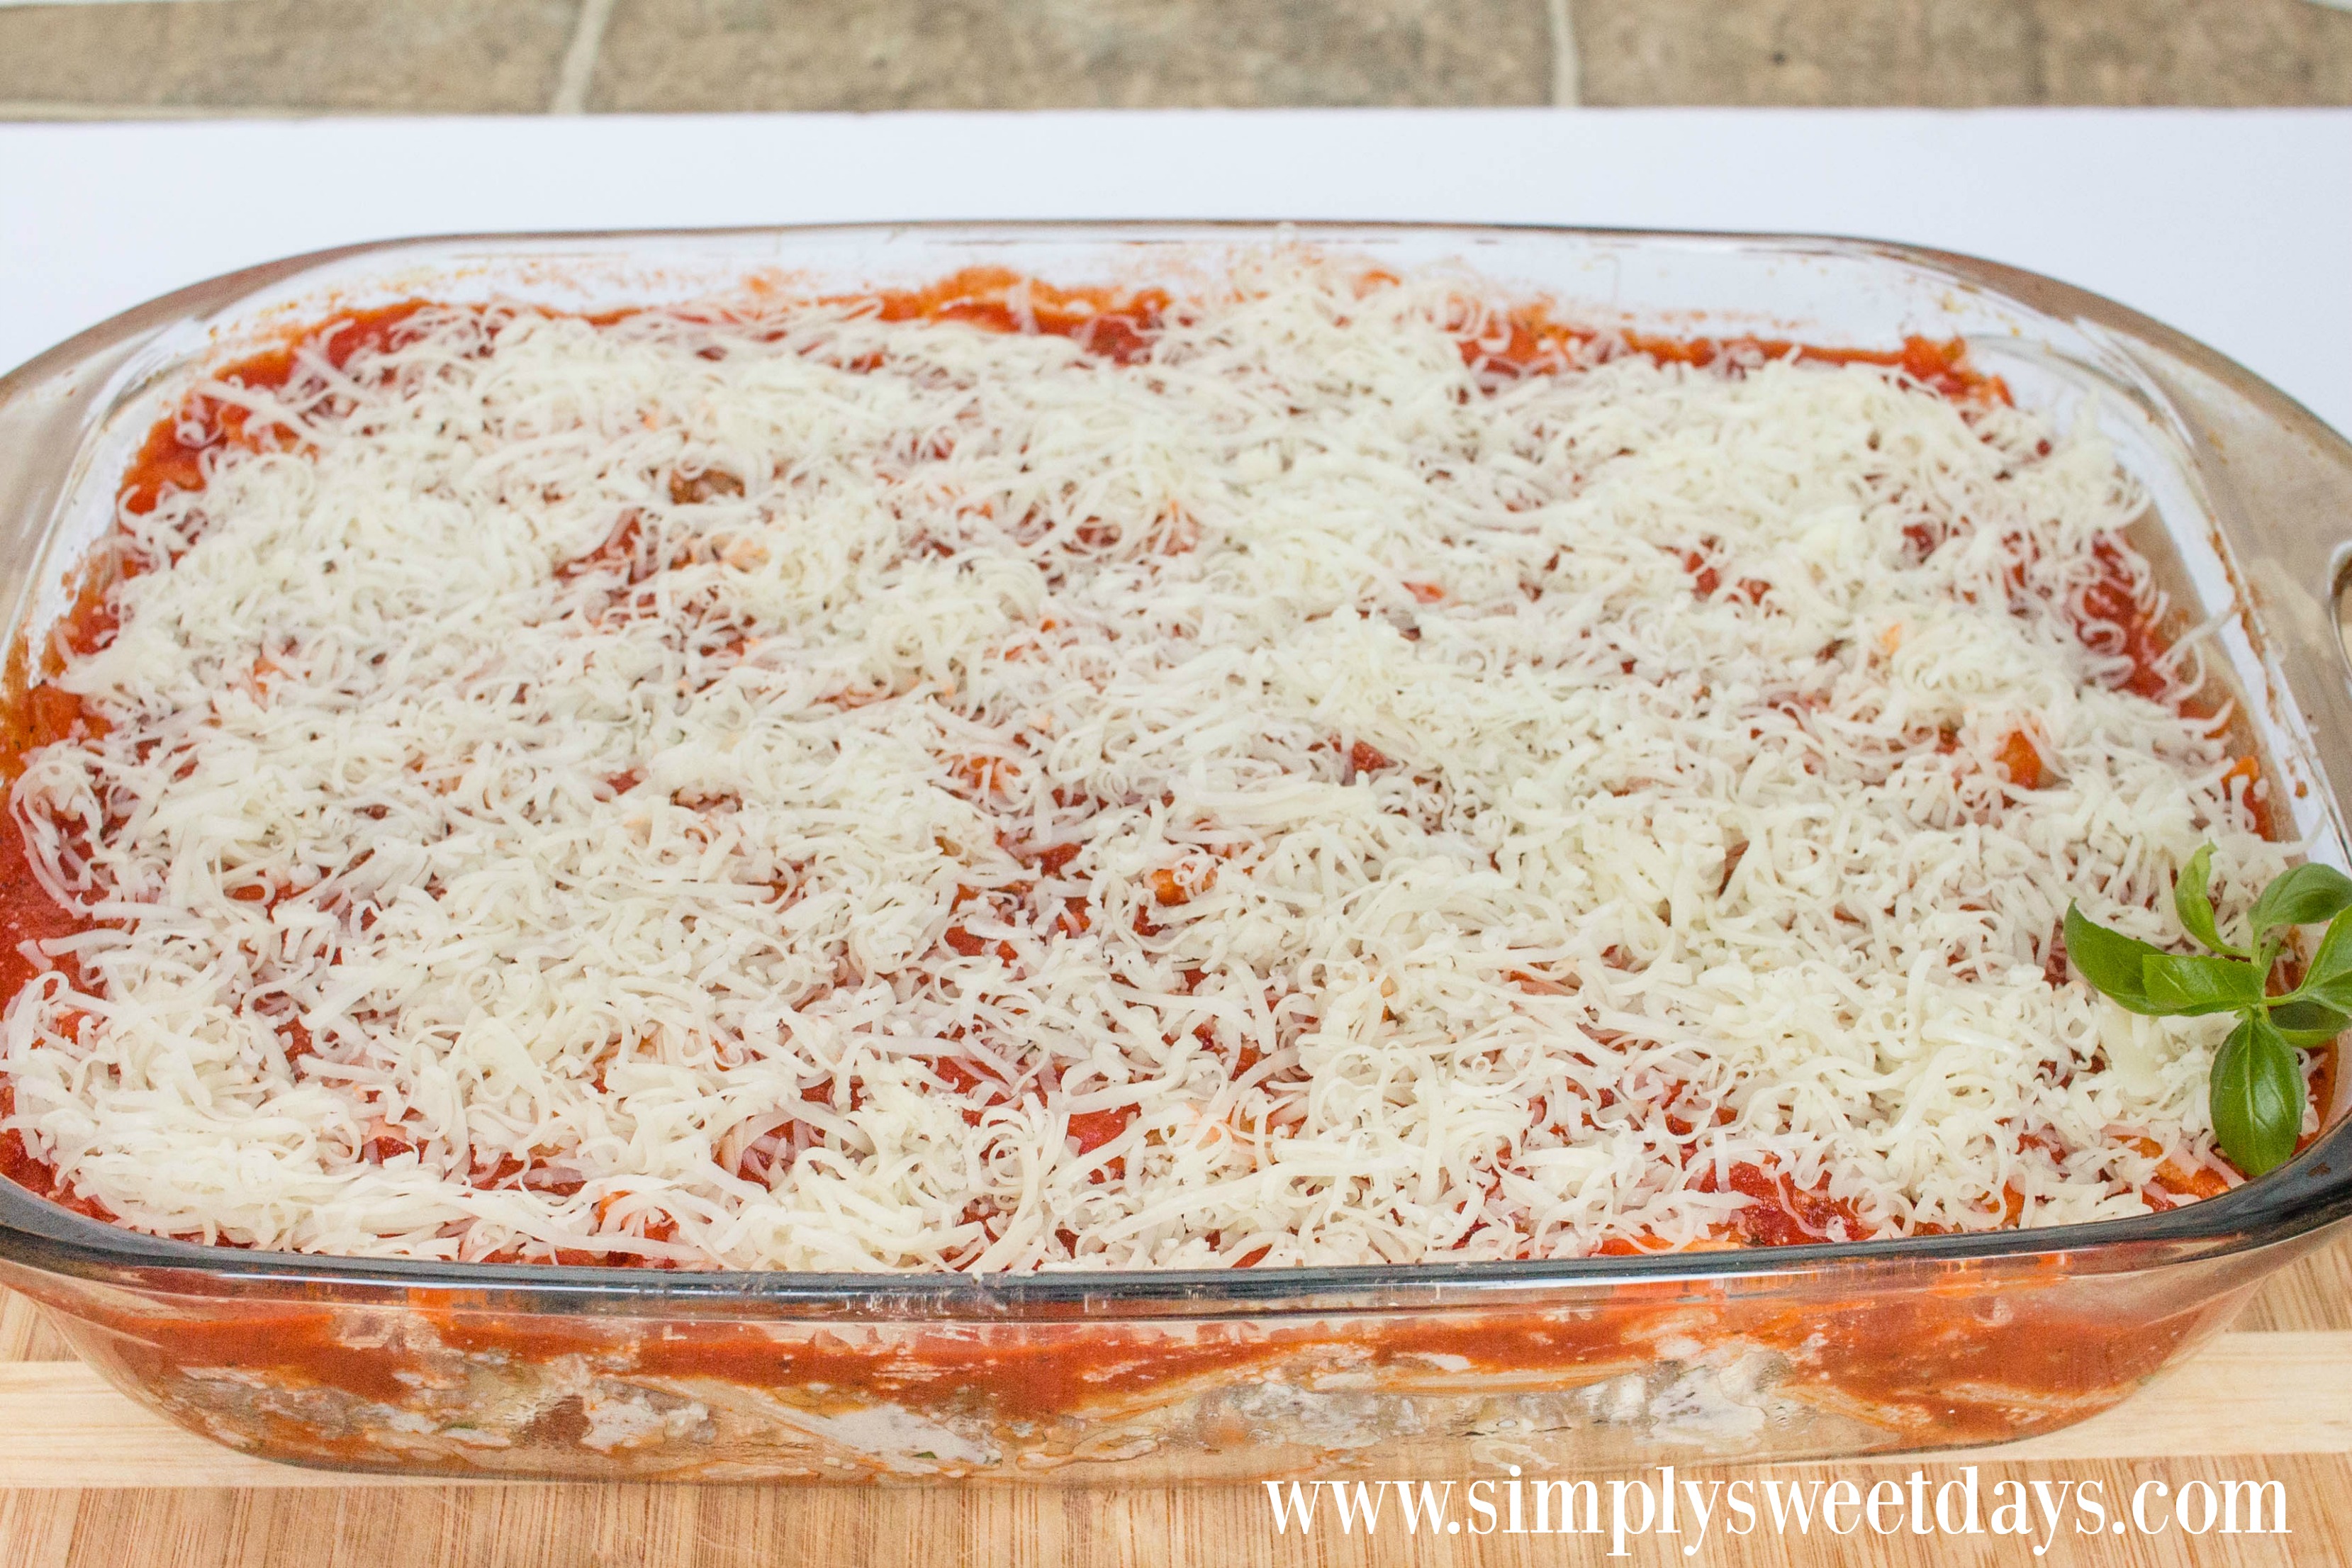
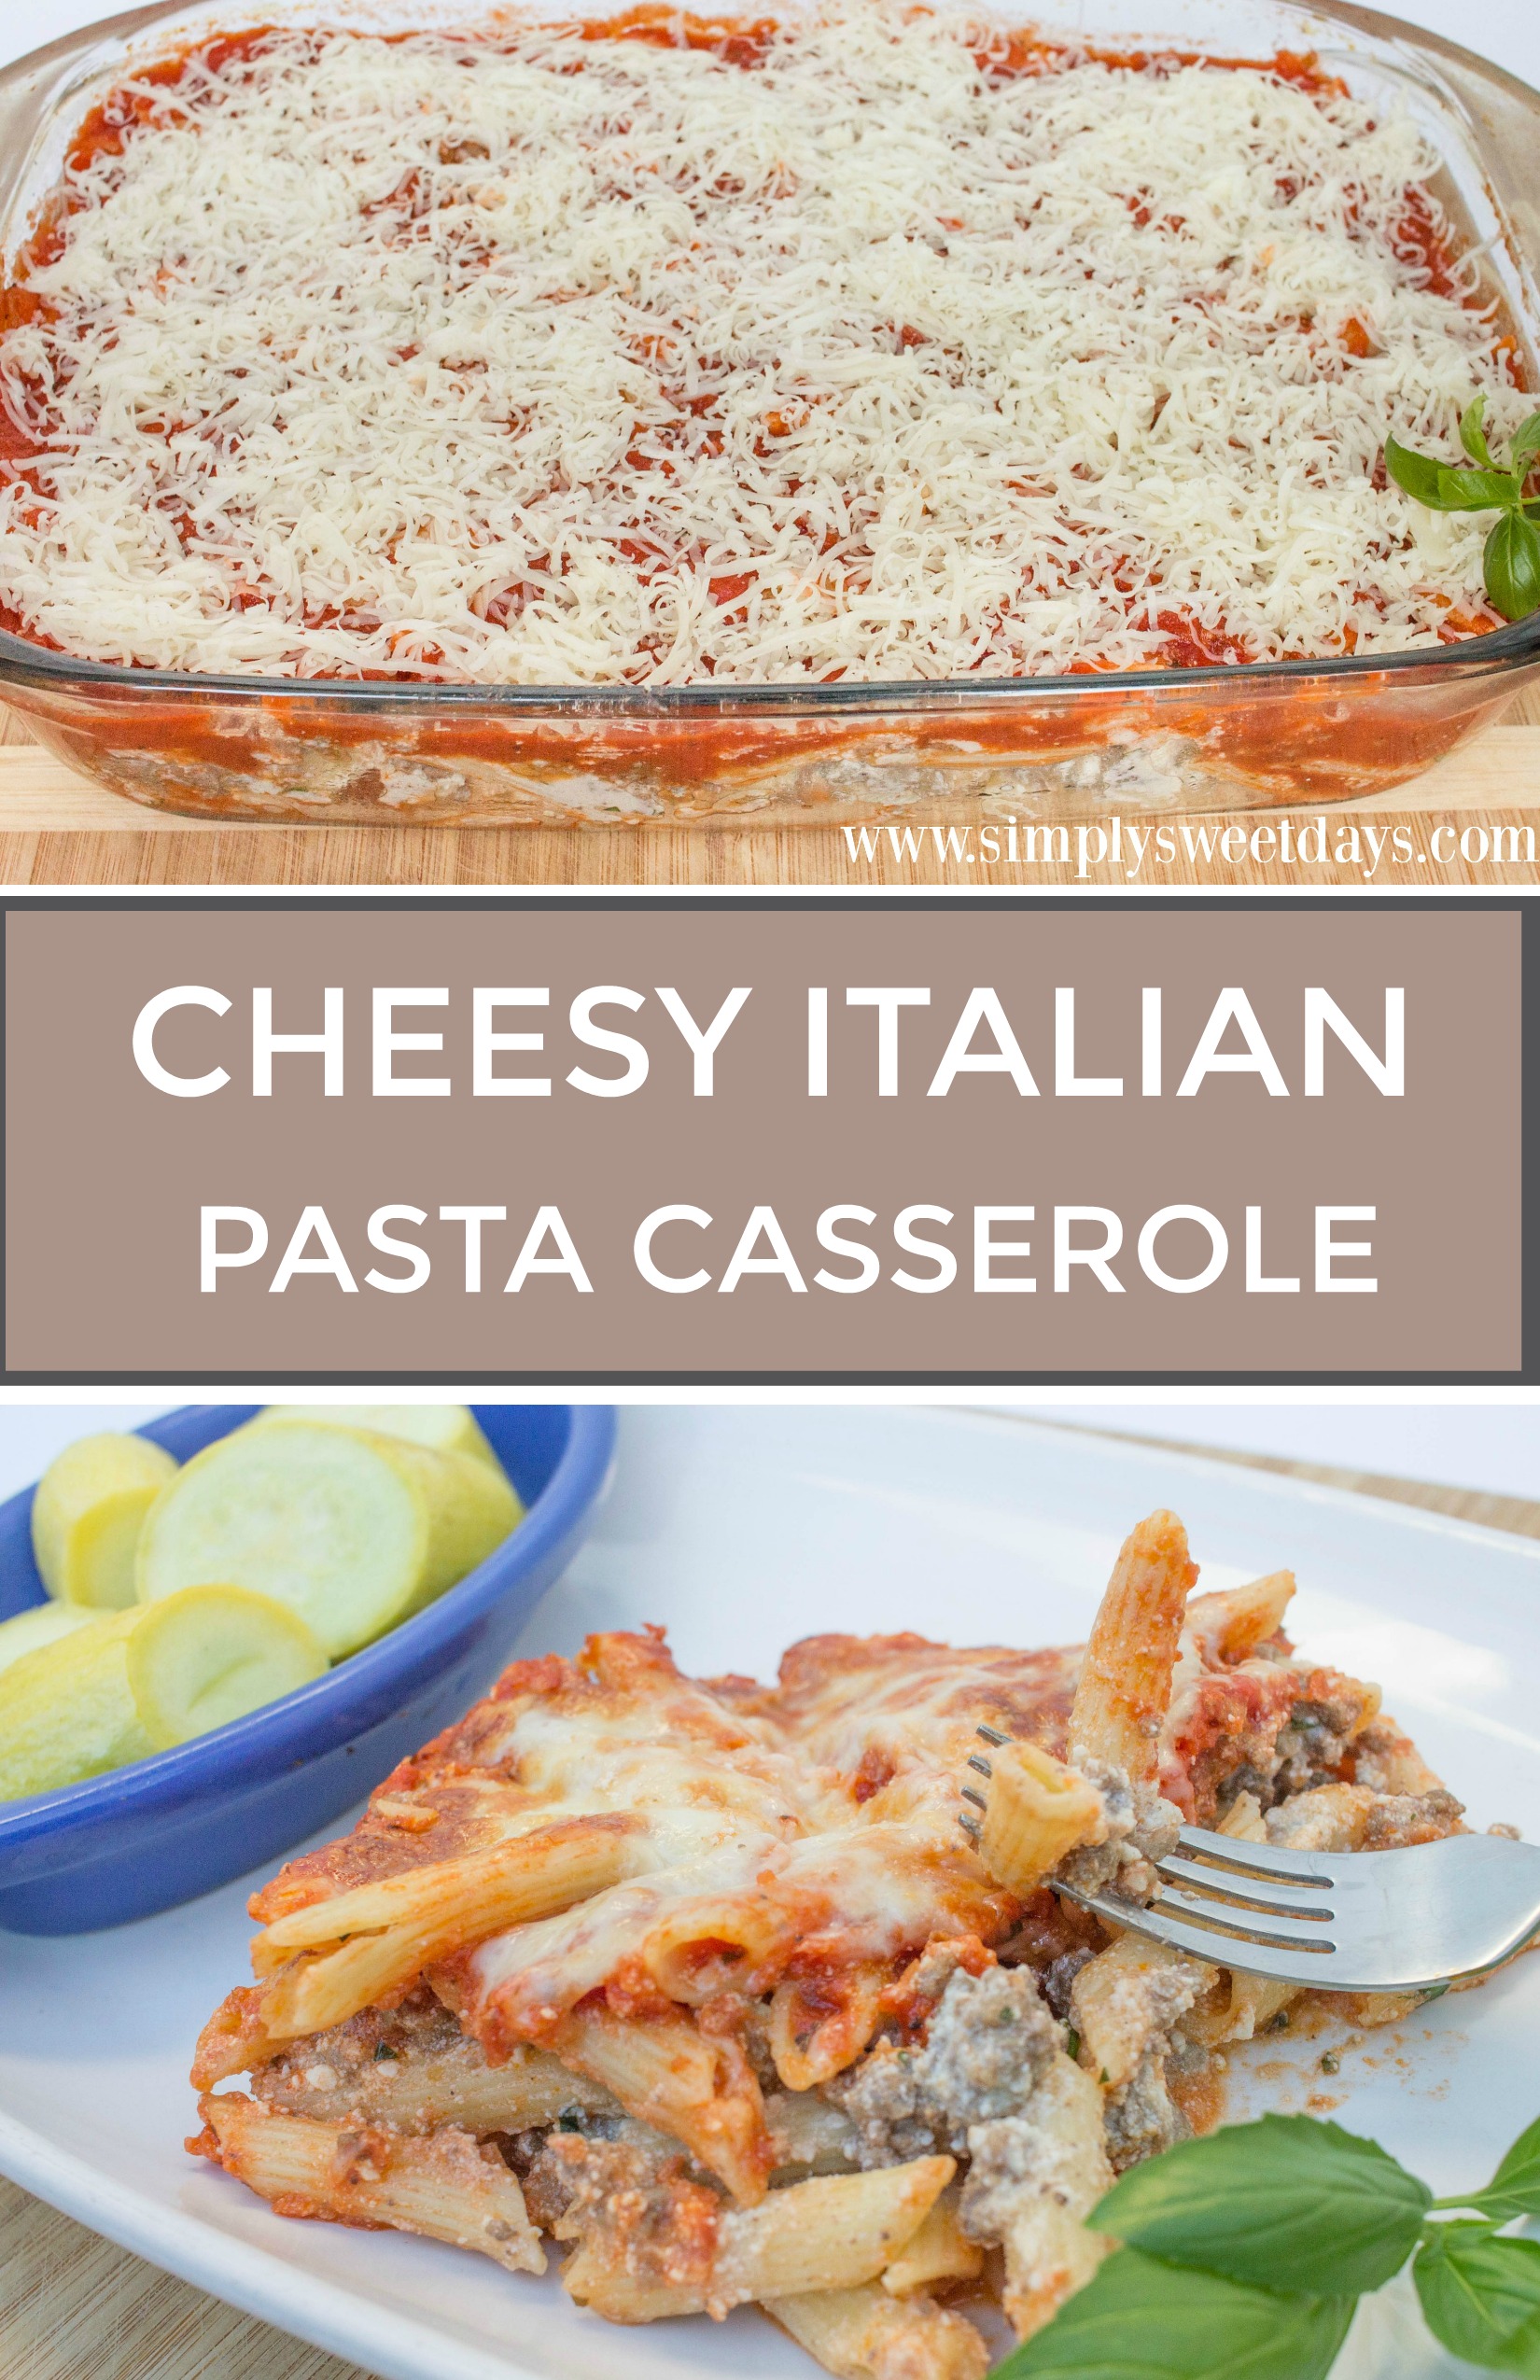
Don’t you just love a saucy casserole dish after a long, busy day? We make this dish year-round, it’s that good! This cheesy pasta casserole is great for a family dinner and it’s really easy to make. I so wish it could be a one-dish meal but, alas, it needs a side of veggies. I suggest serving it up with some zucchini or yellow squash in keeping with the Italian theme. 😉   this cheesy pasta casserole is one of our favorite family dinner recipes

How I make my cheesy pasta casserole

I make this so often, I have all the steps down to a science. If you need a printable recipe card, it’s at the bottom of this post.

You start by cooking the pasta and ground beef. I have these going on the stove simultaneously to save time. 

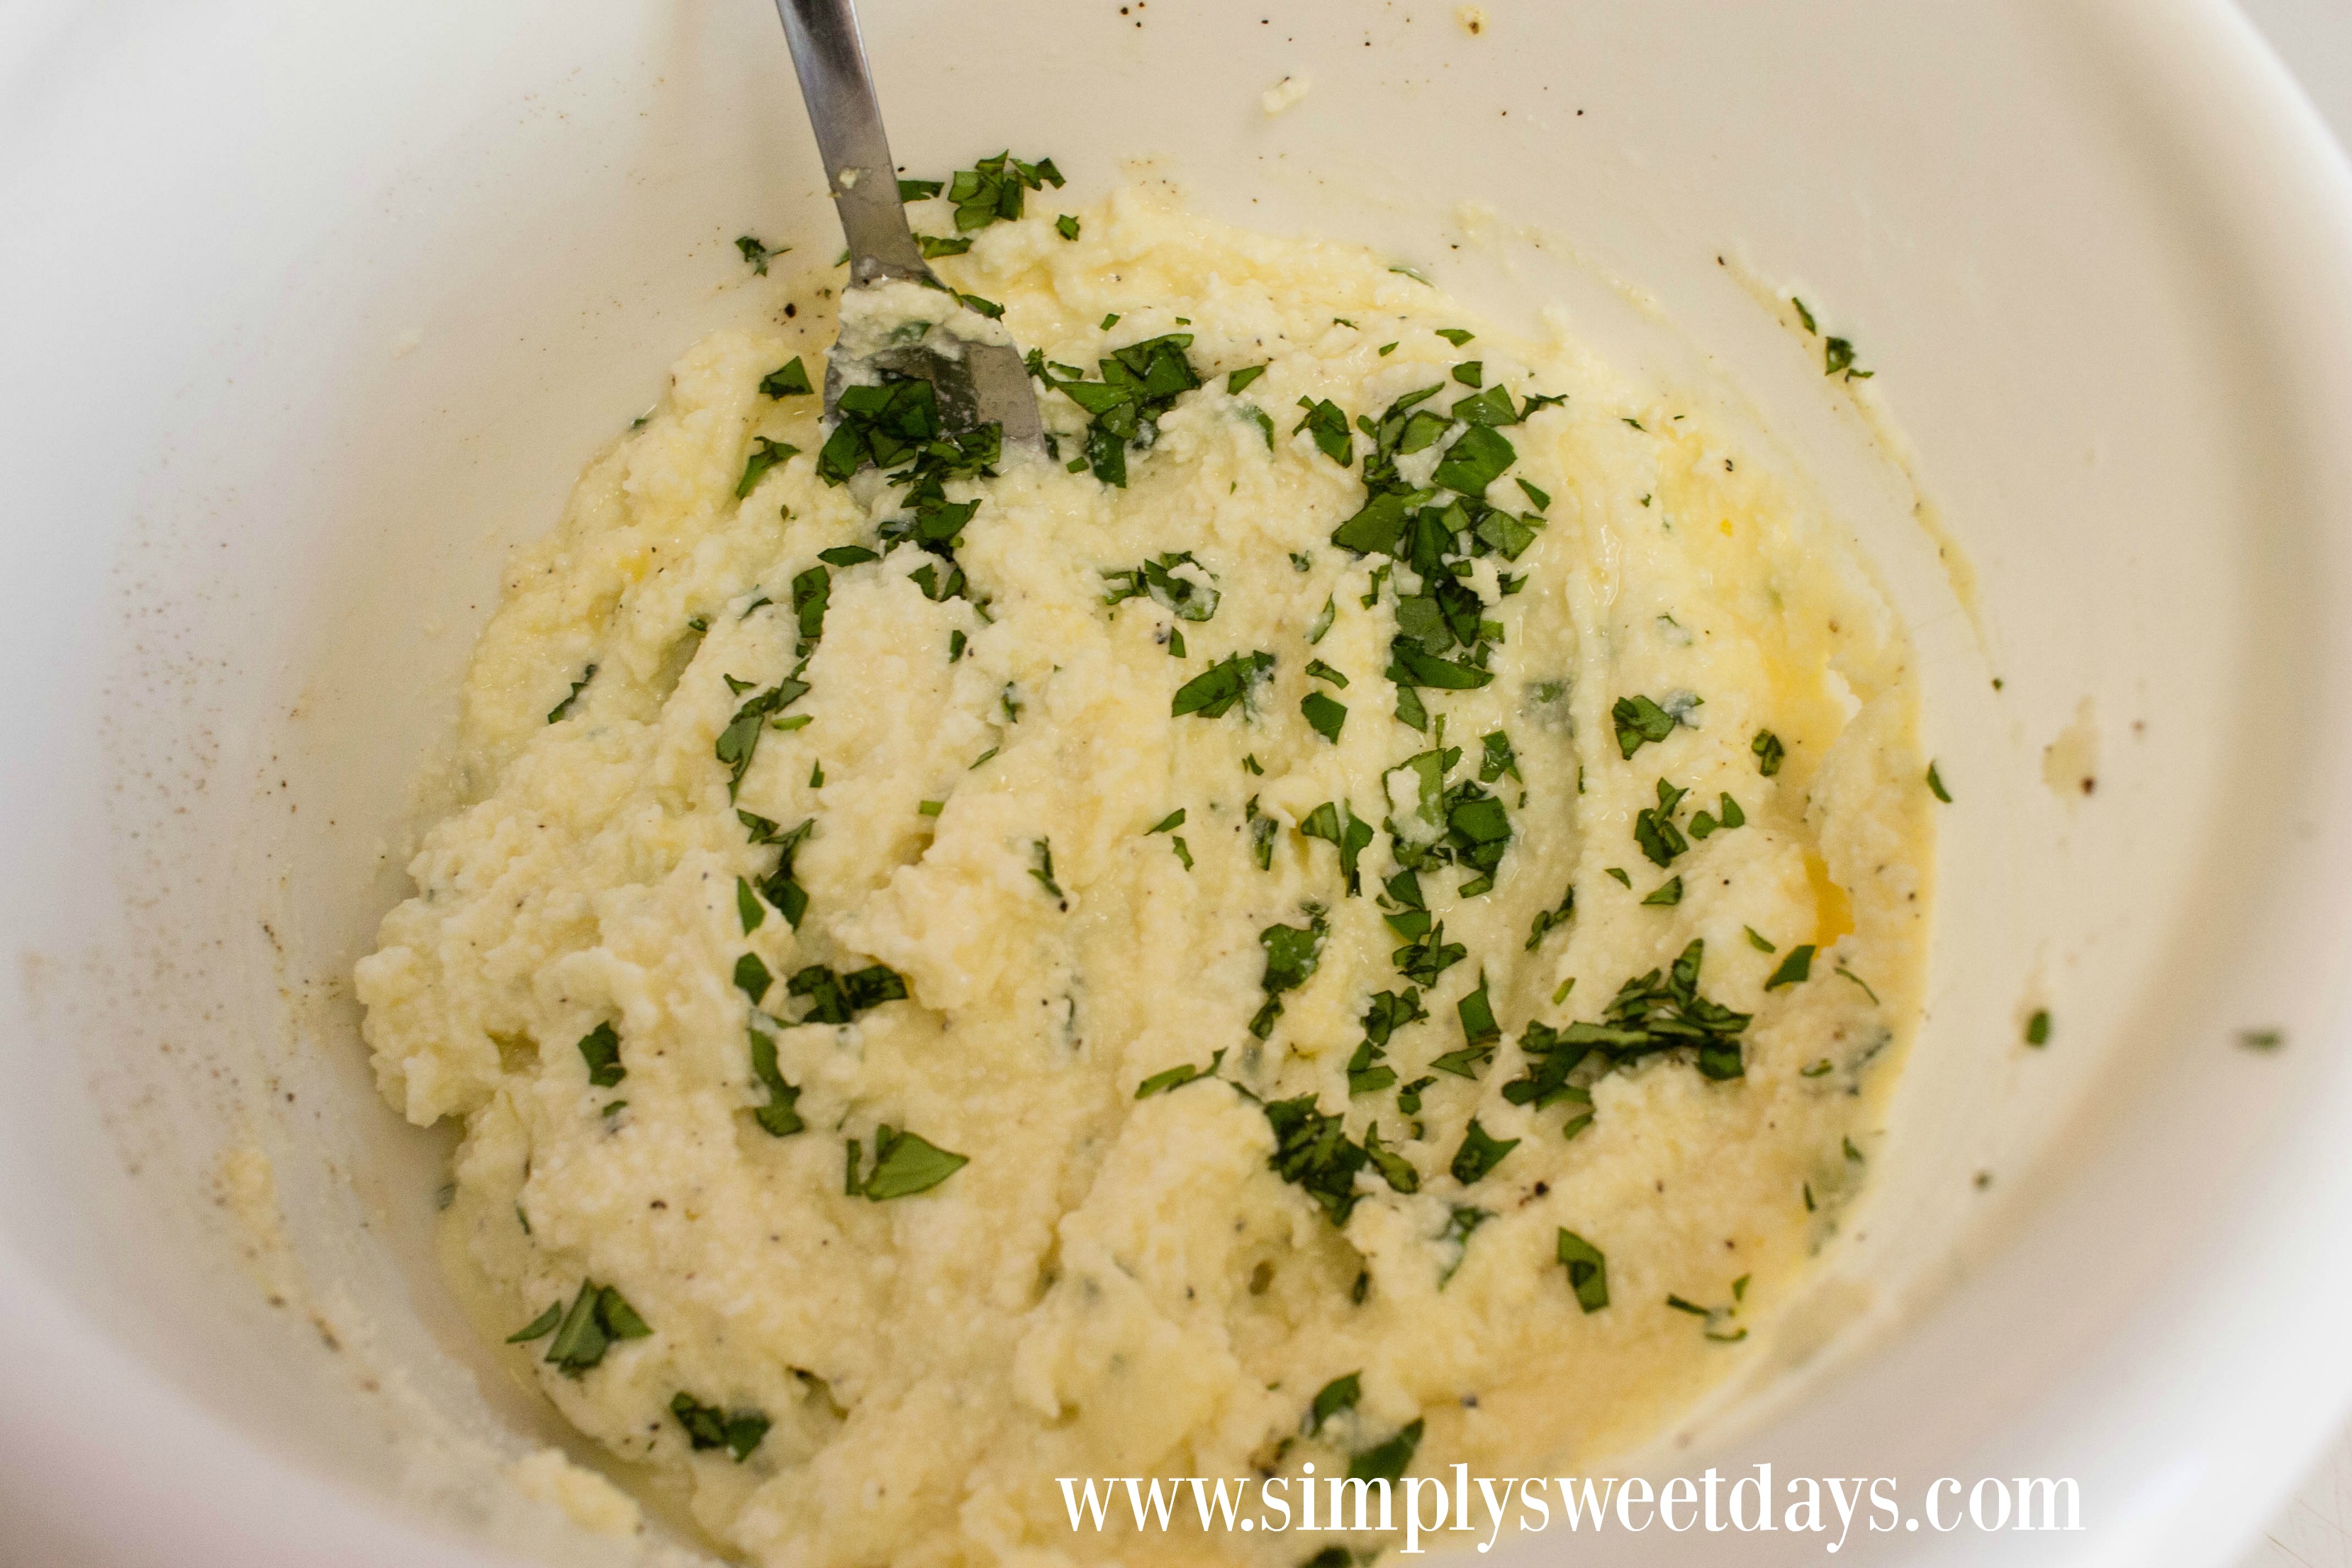
The ricotta mixture is what adds plenty of creamy goodness to this dish. I mix the ingredients together one at a time in a medium-sized bowl. 

There’s nothing like the scent of fresh basil. Even though I use a prepared marinara, it doesn’t quite bring a full Italian flavor. My marinara has plenty of oregano, so adding in some fresh basil gives the dish more flavor. 

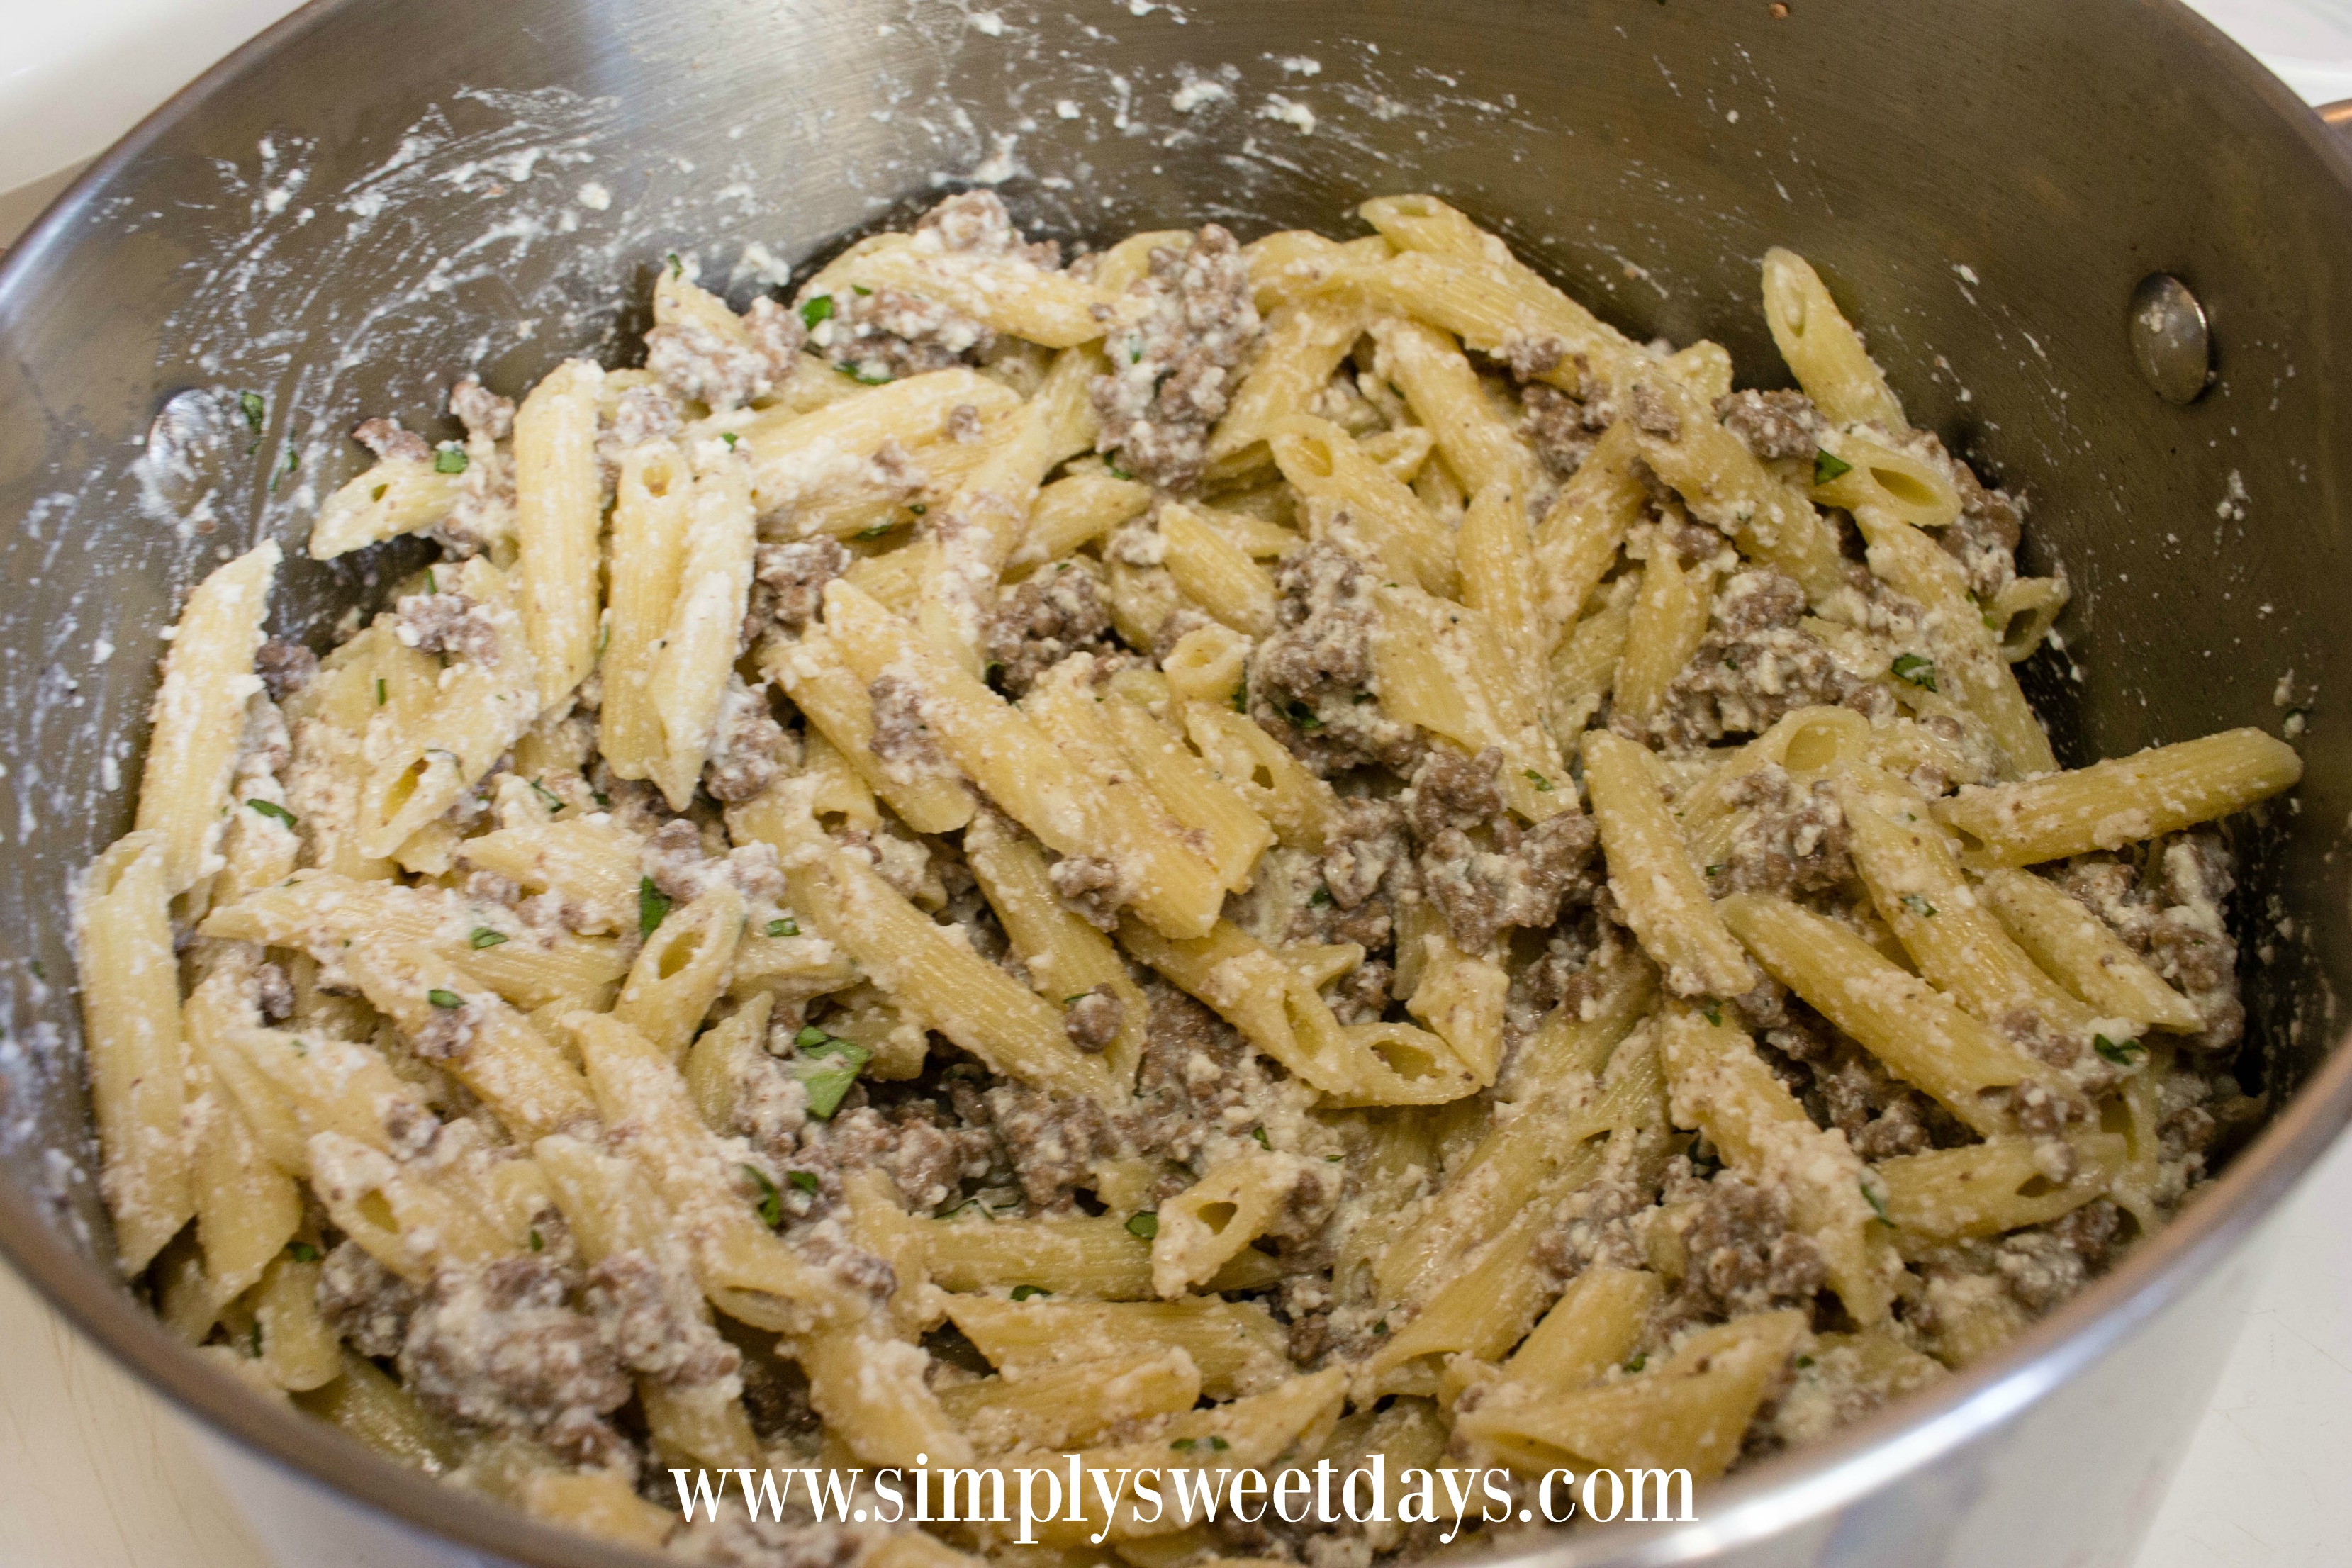
Everything blends together before it goes in the baking dish. 

Adding some marinara to the bottom of the casserole helps to ensure that the pasta mixture won’t stick to my cookware, plus you get that zesty marinara on all sides! 

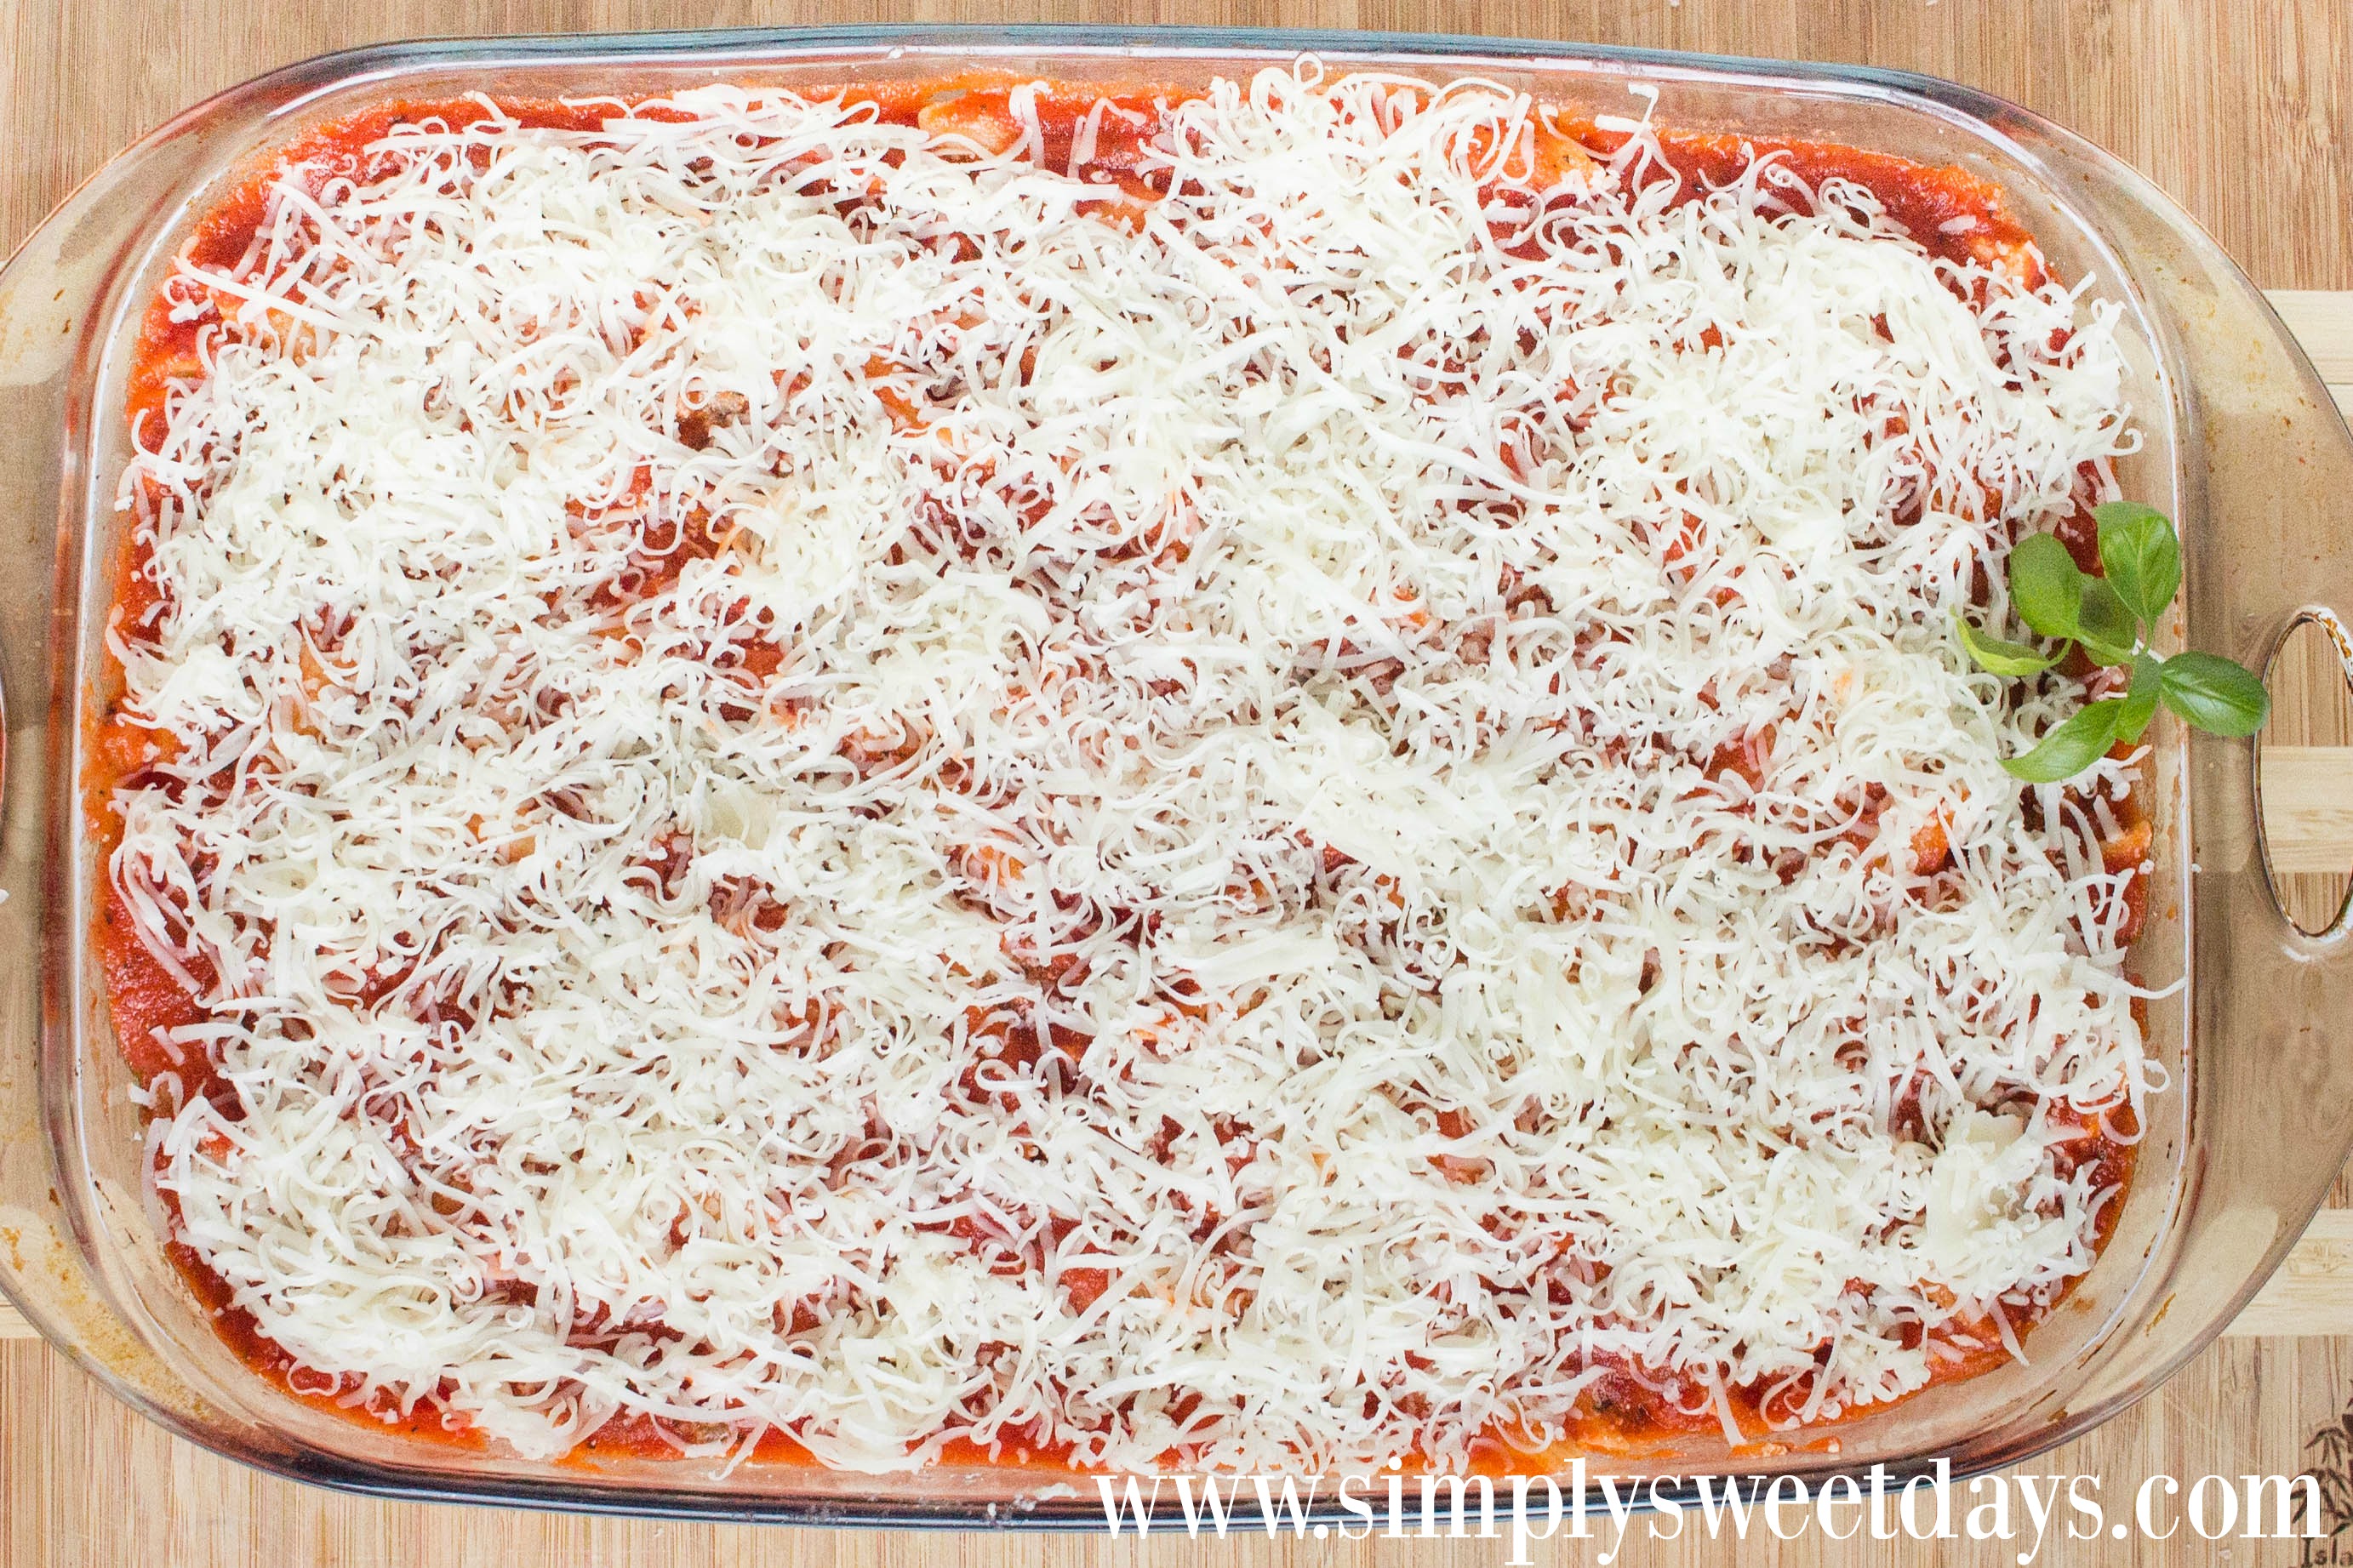
More marinara goes on top, followed by cheese. Then into the oven it goes! 

Choose your ingredients wisely

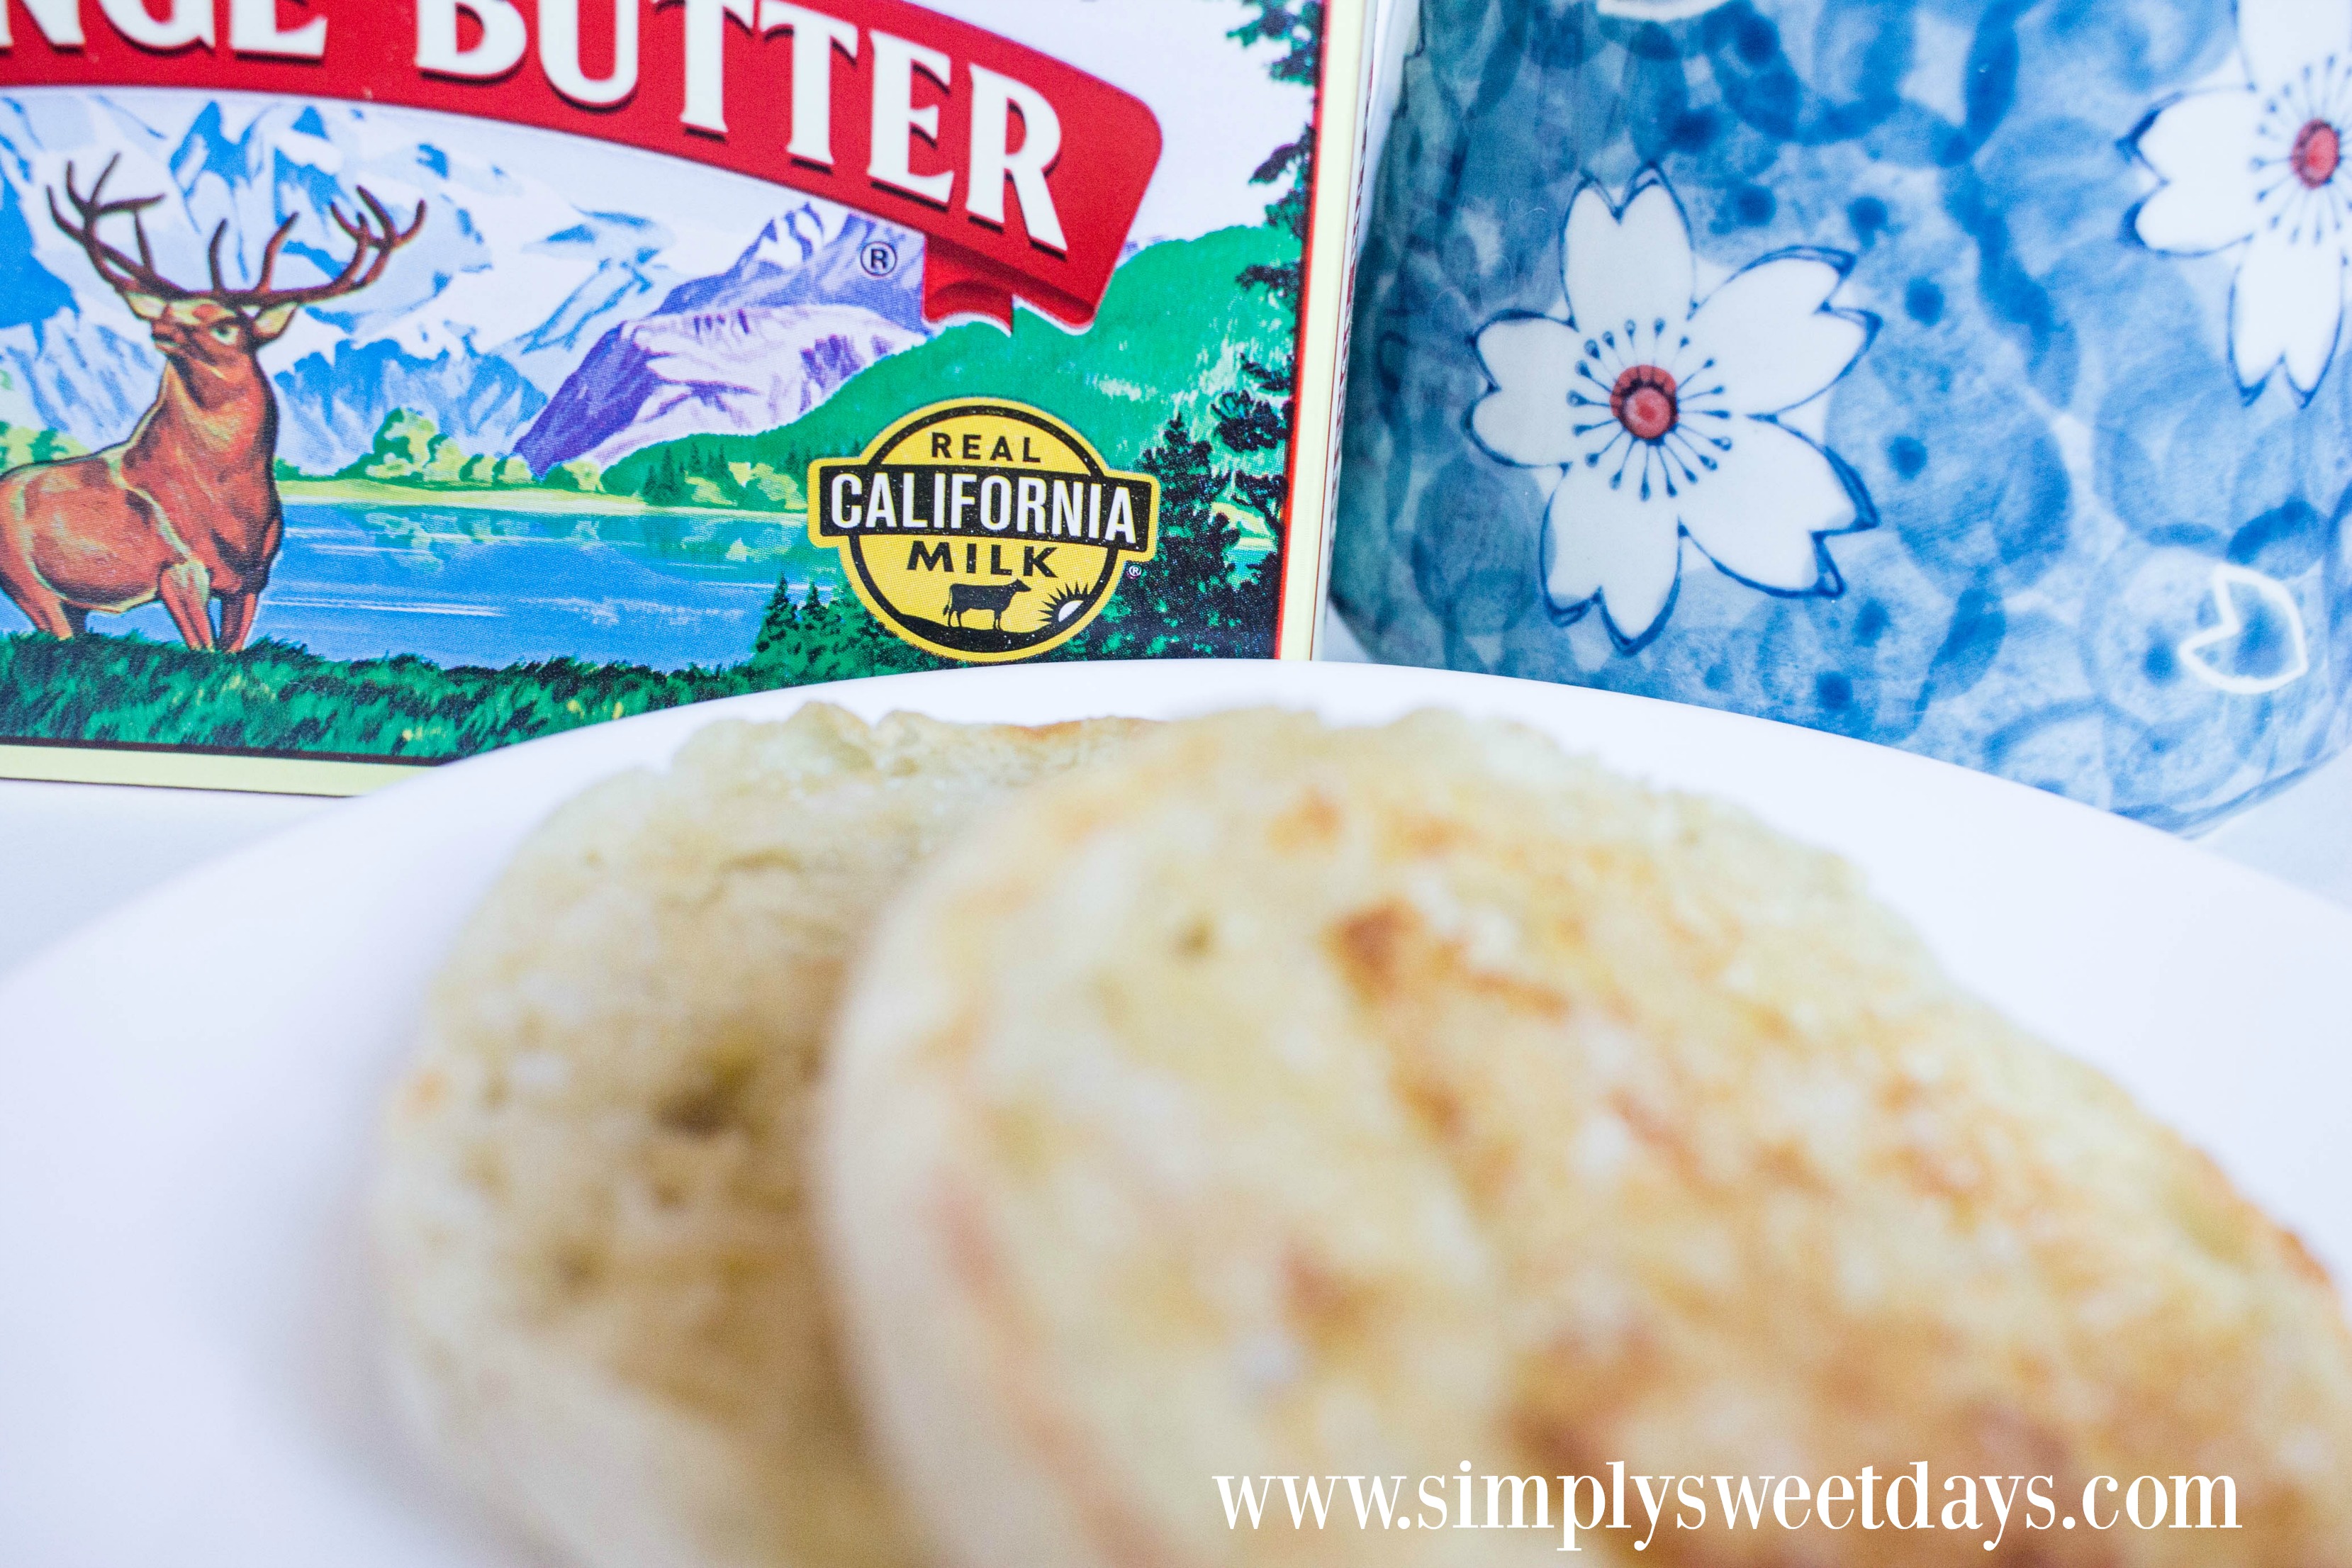
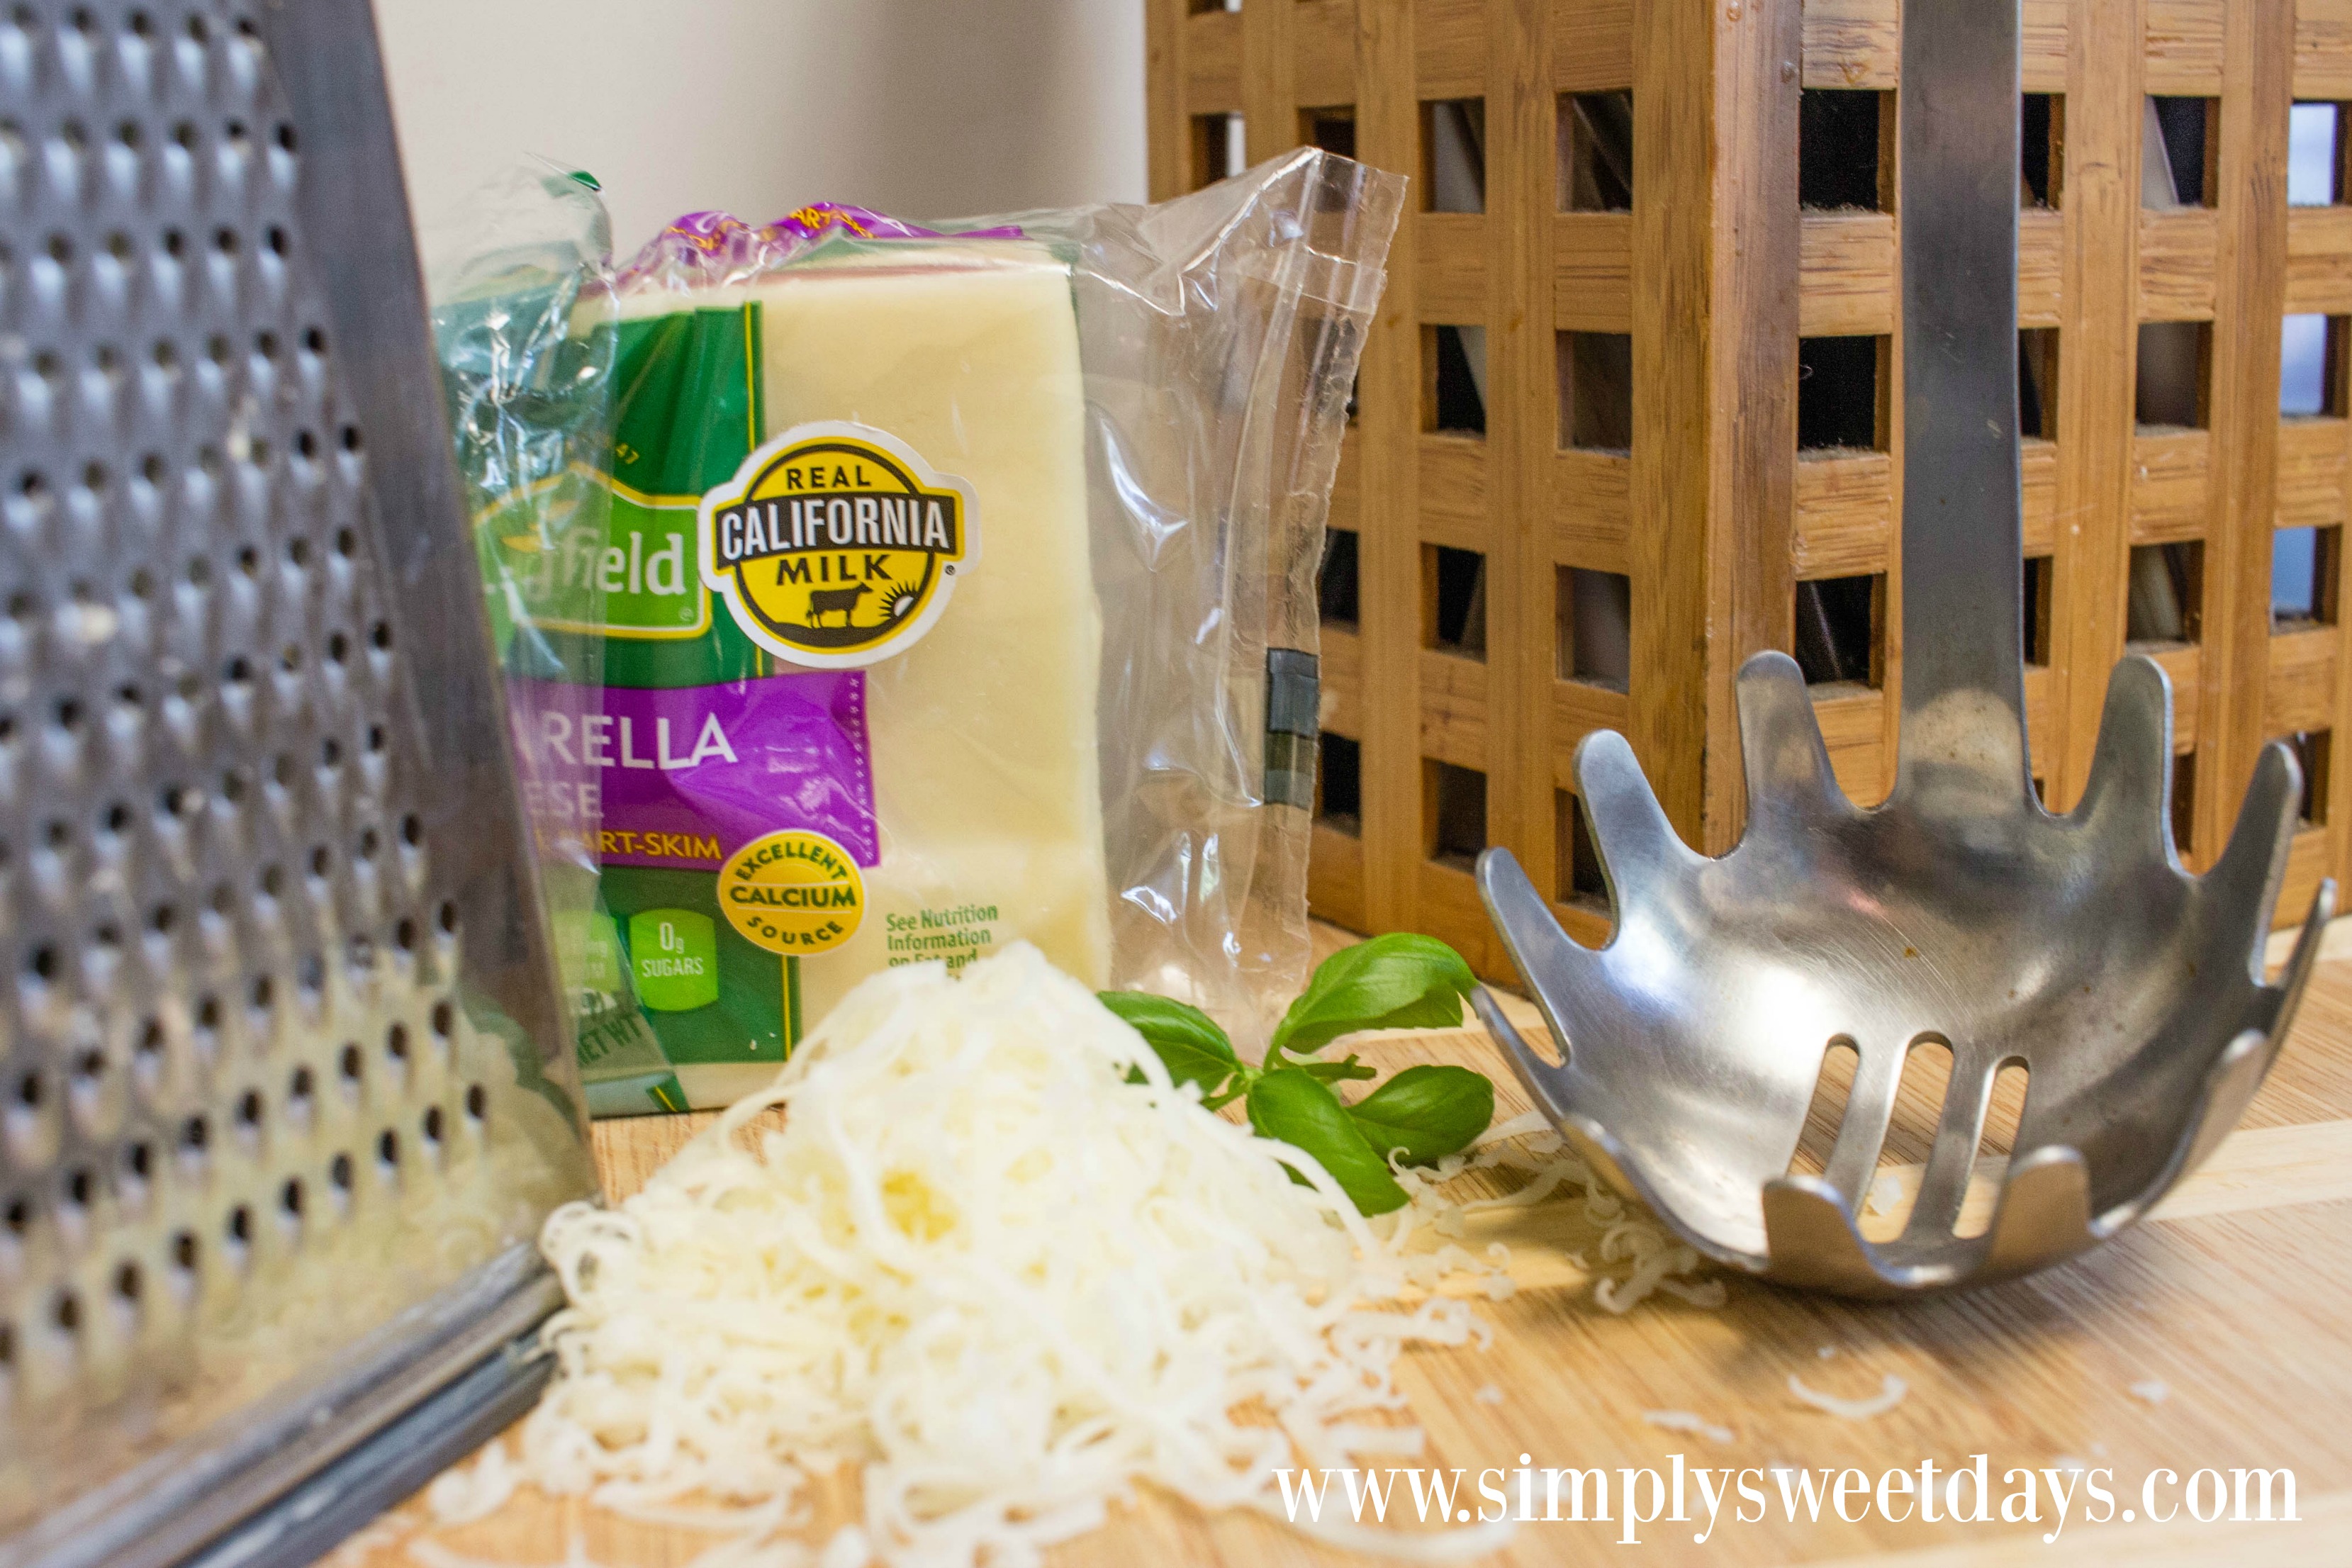
If a name brand item isn’t called for in a recipe, I usually just get whatever brand is most appealing to me at the time. When it comes to dairy products, however, I always stick to the ones with the “Real California Milk” seal on them. These products are made with 100% real California milk from California dairy farms. You’ll find the seal on all your favorite dairy products, like cheese, yogurt, butter, and of course milk.  the real California milk seal is on many dairy products that you use every day!

As a California girl, supporting local dairy farms is reason enough to choose these products. But even better than that is the Spot the Seal campaign. They’re giving back to those living in Texas and Florida who have been affected by hurricanes, and in California who have been affected by the recent wildfires. For every social share of the Real California Milk seal (with the hashtag #SealsForGood), they’ll make a $5 donation to help those communities in need. We have family in Florida and northern California, and I’d love to be a part of the healing for them. 

After you add this cheesy casserole dish to your Pinterest board, be sure and add this chicken casserole recipe as well. The cheese topping on both of them are available as Real California Milk products. Don’t forget to snap and share your #SealsForGood photo on social media. Yummy food and helping those in need is a win-win!   This is one of our favorite recipes for a family dinner. Cheesy pasta casserole is an easy baked dish that feeds a crowd!

Print
Yum
Cheesy Pasta Casserole

Cheesy Pasta Casserole

Ingredients

  • 1 lb. ground beef
  • 1 (12-oz.) package penne pasta
  • 15 oz. ricotta cheese
  • 1 egg
  • ½ tsp. fresh ground pepper
  • 1 Tbsp. snipped fresh basil
  • 24 oz. jar marinara sauce
  • 1 ½ cup shredded mozzarella cheese

Instructions

  1. Preheat the oven to 350°
  2. Brown ground beef in a skillet over medium heat. Drain the grease from the cooked meat.
  3. While the beef is cooking, cook the pasta according to package directions.
  4. In a medium bowl, mix together the ricotta, egg, pepper, and basil.
  5. Drain the pasta and return it to the cooking pot. Stir the meat and ricotta mixture into the pasta until well blended.
  6. Spread ½ cup of marinara into the bottom of a casserole dish.
  7. Add the pasta mixture to the dish and cover with the remaining marinara.
  8. Top with mozzarella cheese.
  9. Cover with foil and place in the oven for 20-25 minutes or until pasta is heated through and the cheese is bubbly.
Schema/Recipe SEO Data Markup by Yummly Rich Recipes
0.1

https://www.simplysweetdays.com/cheesy-pasta-casserole/

SimplySweetDays.com

Image Map

Slow Cooker Broccoli Cheese Dip Recipe


This week we had a potluck with a bunch of other families one evening before church. I like to bring dishes that are tasty, snack-able, easy to make, and not too expensive to put together. This slow cooker broccoli cheese dip was a slam-dunk!

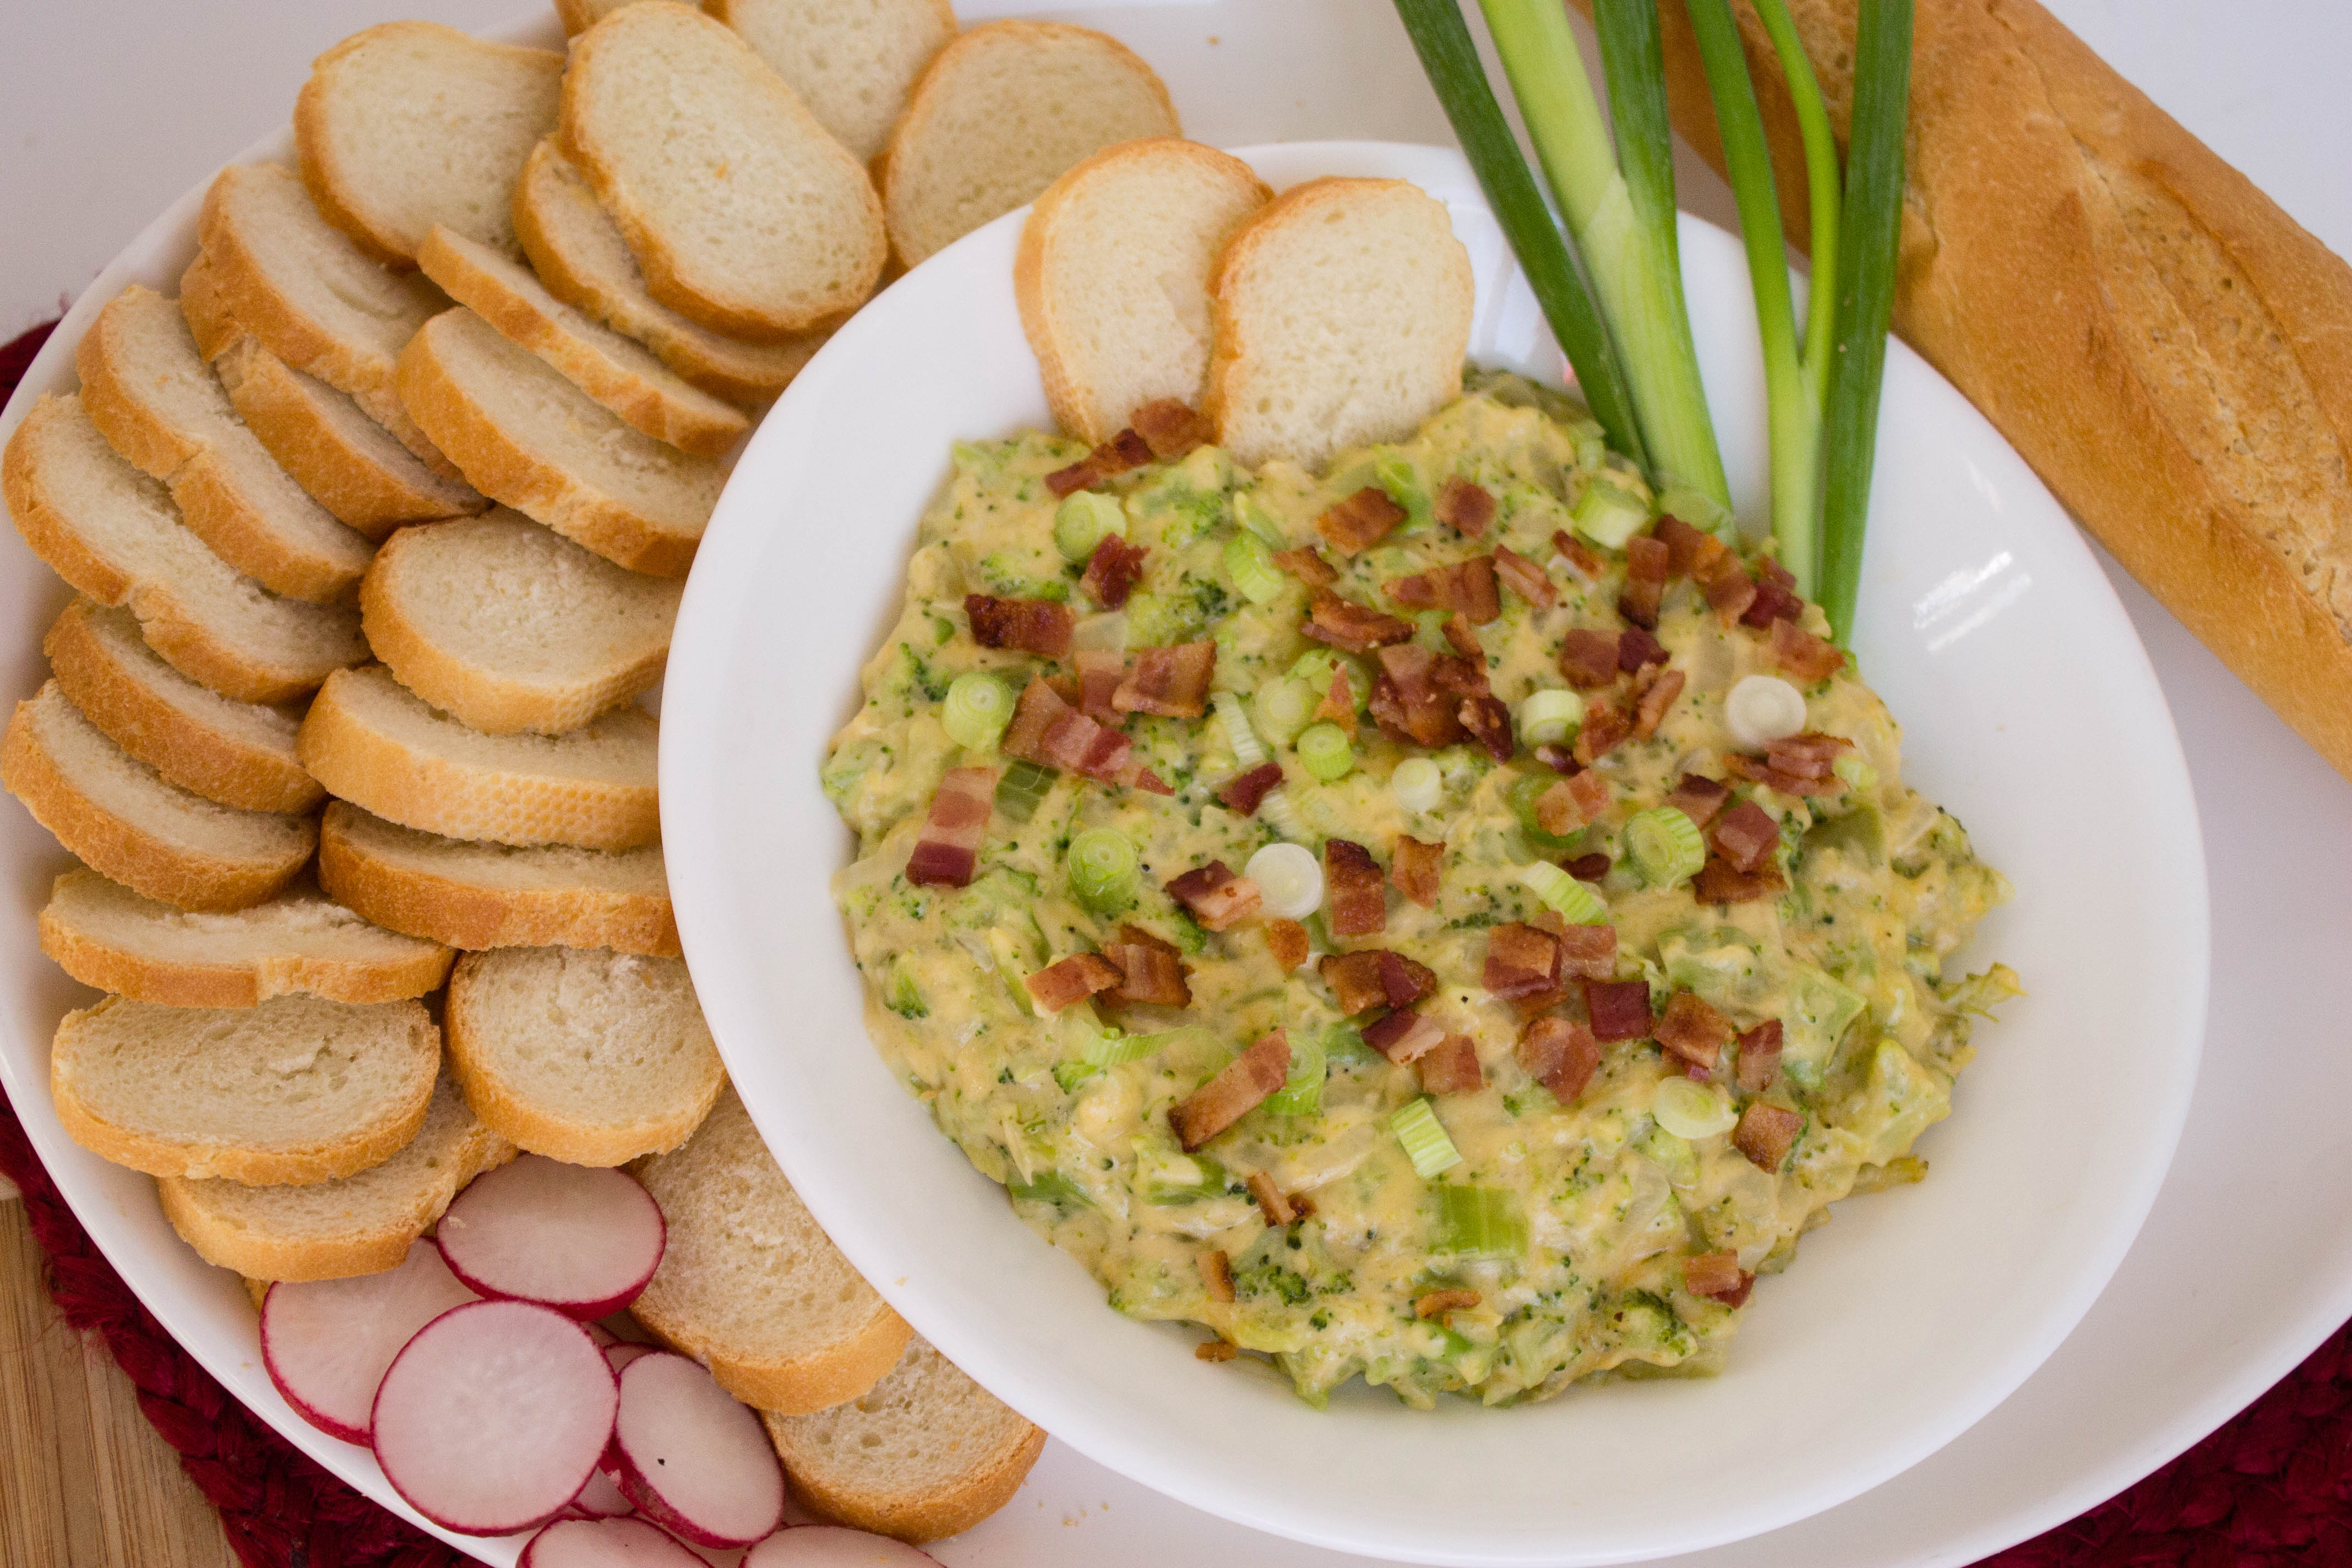
What makes this broccoli cheese dip recipe unique is that I add a sprinkling of crunchy bacon crumbles on top at the very end. I like to serve it with thin slices of sourdough bread or crisp fresh veggie sticks. Check out the recipe video!  YouTube Preview Image

As an added bonus, if you choose to make this dip with Real California Cheese between now and December 31, 2017, you’ll be contributing to the support efforts for hurricanes Irma and Harvey. In response to the recent devastation, Real California Milk is generously contributing $5 to the Great American Milk Drive every time someone shares a photo of the Real California Milk seal, with the hashtag #SealsForGood. The donations will be a huge help to the families affected by Hurricane Irma and Hurricane Harvey in Florida and Texas. There’s no purchase necessary, so it’s an easy way to join the relief efforts! Check out the Great American Milk page to learn more.

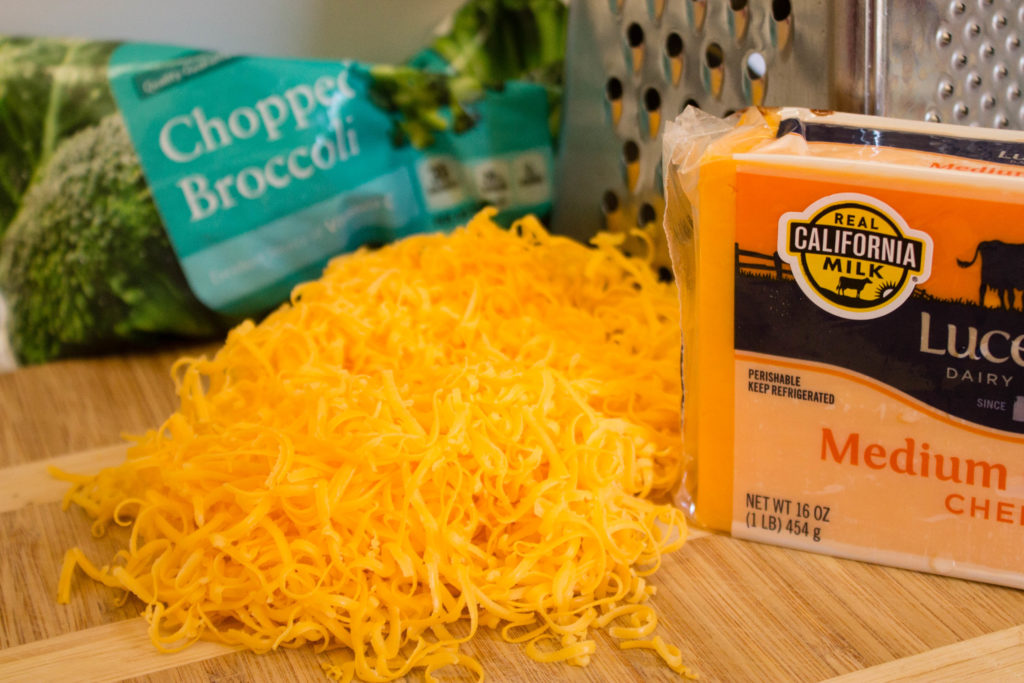
My recipe for broccoli cheese dip uses cheese and butter, both of which are Real California Milk products because they’re made with wholesome milk that’s not overly processed.

Making Slow Cooker Broccoli Cheese Dip  

First you saute the veggies to bring out their flavor and soften them up a bit.

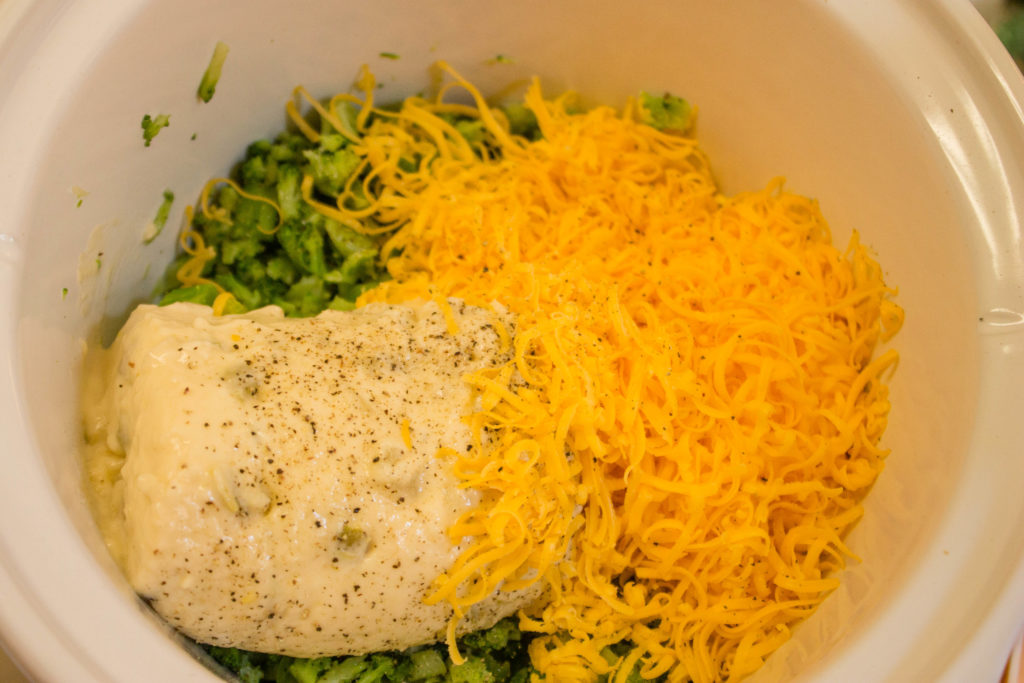
The veggies go into a slow cooker, then you stir in the broccoli, cheese, and cream of celery soup. Add a dash of salt and pepper and mix everything up well. 

Set the slow cooker on high for 2 hours or low for 3 ½  to 4 hours. When it’s done, just spoon it into a bowl with some bread, chips or veggie sticks for dipping.

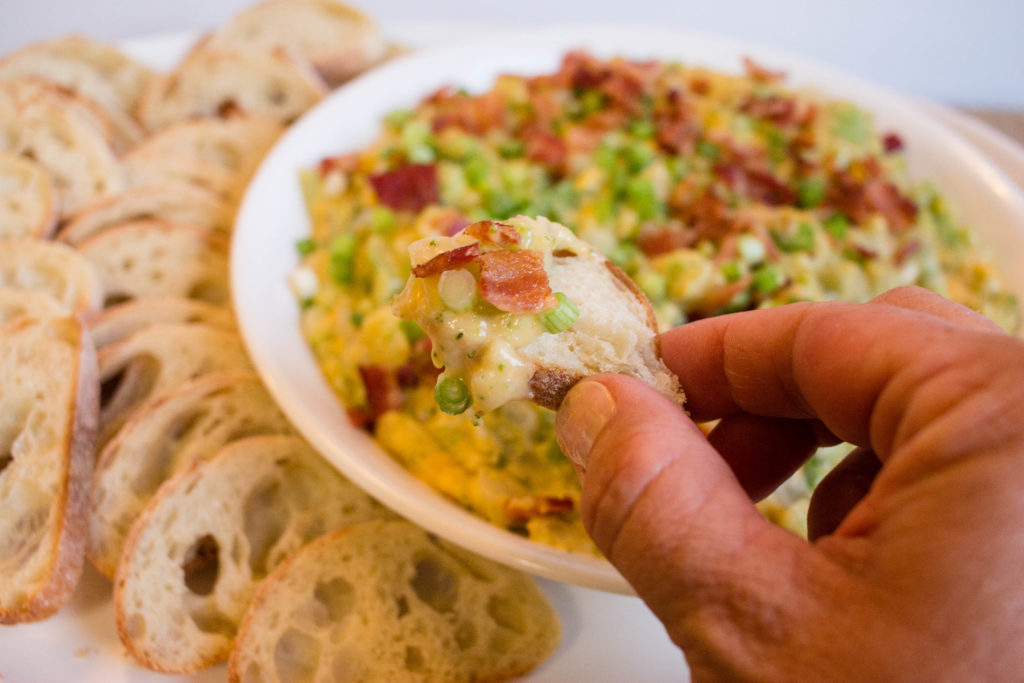
This dip works great for a family event, potluck, or a big game with lots of people over. It makes enough for a large crowd, and it’s pretty filling too!   broccoli cheese dip recipe made in the slow cooker

After the tragic destruction left from the recent hurricanes, I appreciate the opportunity to partner with Real California Milk in the relief efforts for families in Texas and Florida. You can find products with the Real California Milk seal in stores all over the U.S., so anyone can participate in the Great American Milk Drive. We are big cheese eaters, but the seal is also on other dairy products like butter, cottage cheese, cheese, and yogurt. Which dairy product will you look for in stores? And don’t forget the share a photo of the seal!


Print
Yum
Slow Cooker Broccoli Cheese Dip Recipe

Prep Time: 15 minutes

Cook Time: 2 hours

2 hours, 15 minutes

Slow Cooker Broccoli Cheese Dip Recipe

This recipe is great for a potluck or big game party. Serve the broccoli cheese dip with celery sticks, chips, or slices of firm sourdough bread.

Ingredients

  • 2 Tbsp. butter
  • 1/4 cup diced broccoli
  • 1 or 2 cloves minced garlic
  • 1 stalk of celery, diced
  • 2 Tbsp. flour
  • 1 can cream of celery soup
  • 1 1/2 cups shredded cheddar cheese
  • 10 oz. bag frozen broccoli, defrosted
  • 3 green onions, sliced
  • 2 strips cooked, crumbled bacon

Instructions

  1. Melt the butter in a medium saute pan.
  2. Add the onions, garlic, and celery and cook until soft and onions turn translucent (about 5-7 minutes)
  3. Stir in 2 Tbsp. flour
  4. In a 4-quart slow cooker, stir together the cooked veggie mix, cheese, broccoli, and cream of celery soup.
  5. Cook on high heat for 2 hours or low heat for 4 hours. Serve warm.
Schema/Recipe SEO Data Markup by Yummly Rich Recipes
0.1

https://www.simplysweetdays.com/slow-cooker-broccoli-cheese-dip-recipe/

SimplySweetDays.com


Image Map

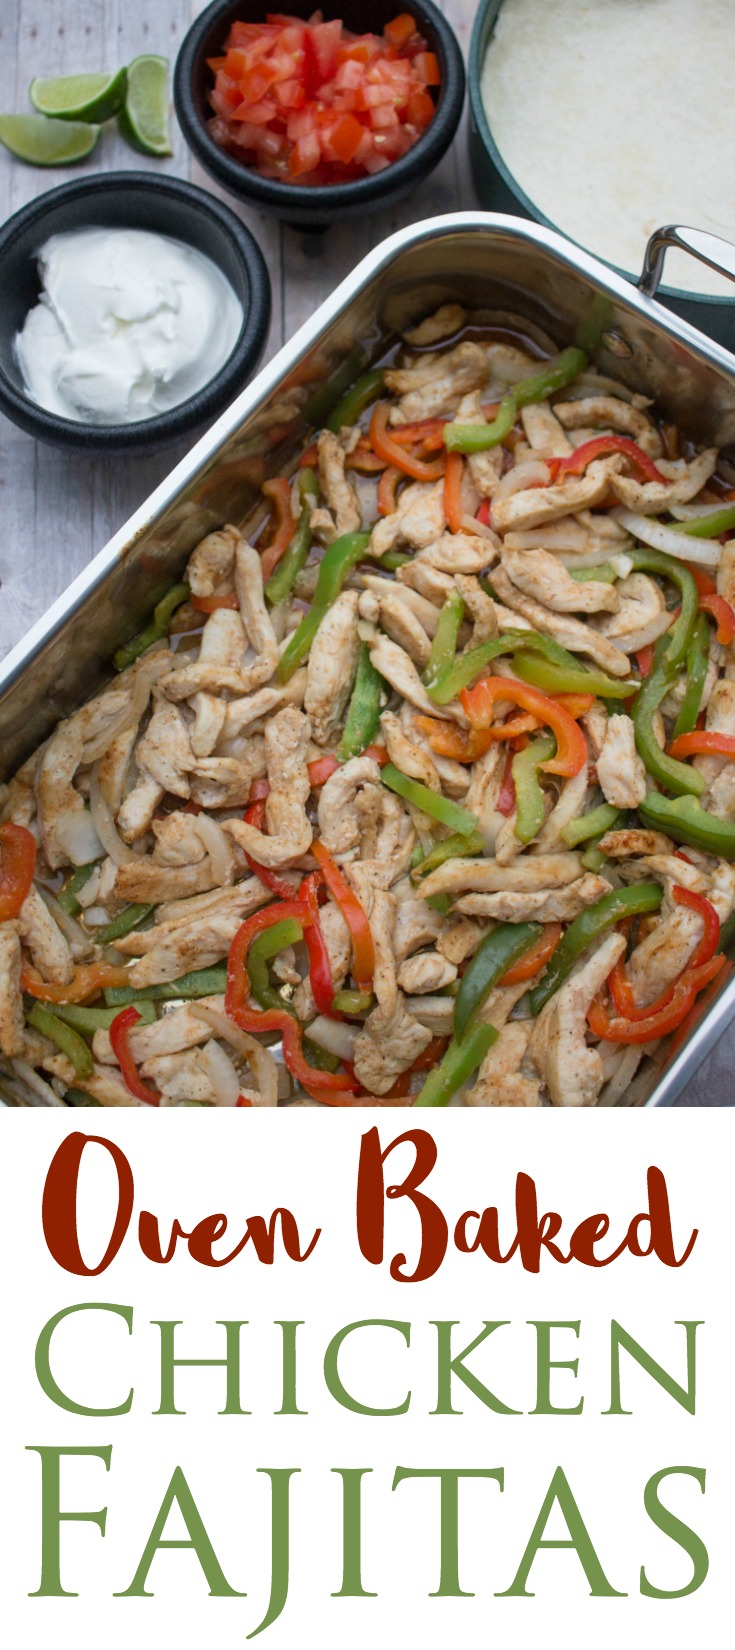
Oven Baked Chicken Fajitas

We’ve officially hit summer in the our home. 3 weeks ago I envisioned my summer days being spent in the kitchen, spending hours dishing up elegant meals made with love and care. In reality, I’m having way too much fun soaking up the Southern California sunshine to bother with cooking dinner every night. But, the kids gotta eat (who knew?), even though it’s summer. I’d like to share with you one of my one-dish meals that take very little effort besides cutting veggies and chicken: Oven Baked Chicken Fajitas.    

Disclosure: Some links may be affiliate. quick dinner idea for busy families: oven baked chicken fajitas
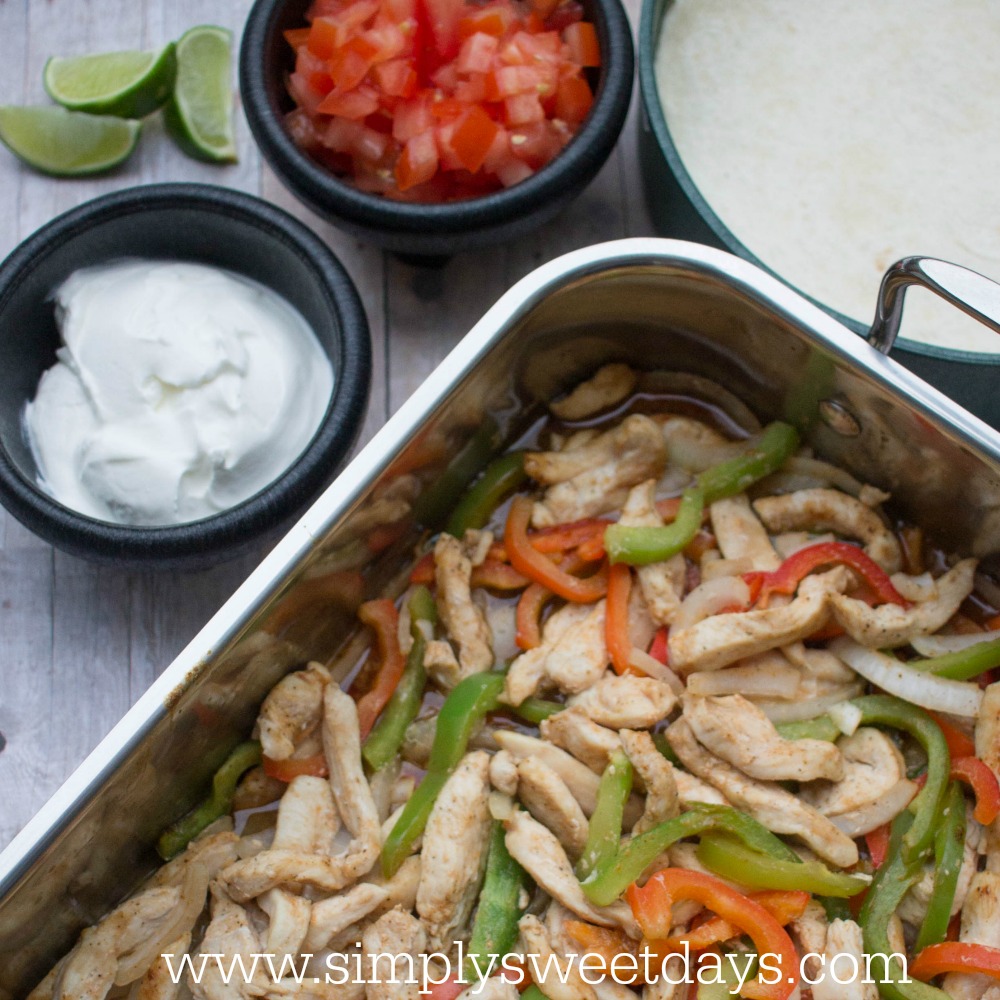
Fajitas are one of my favorite things to order at Mexican food restaurants. I love how they always come out steaming on a hot iron skillet like this one. But on busy evenings, you can still get that traditional fajita taste without all the hassle of grilling and sautéing.

Oven Baked Chicken Fajitas  

Ingredients
4 small chicken breasts
1 red bell pepper
1 green bell pepper
1 white onion
1 packet fajita seasoning such as McKormick
Tortillas
Optional toppings: Lime, cheese, sour cream, salsa, guacamole, beans
Directions
Preheat the oven to 375.
Thinly slice the veggies and spread them evenly on the bottom of a greased roasting pan. We use this Cuisinart pan  for everything, and it worked great in this recipe.
easy dinner idea: oven baked chicken fajitas
Sprinkle some fajita seasoning over the veggies, to taste.
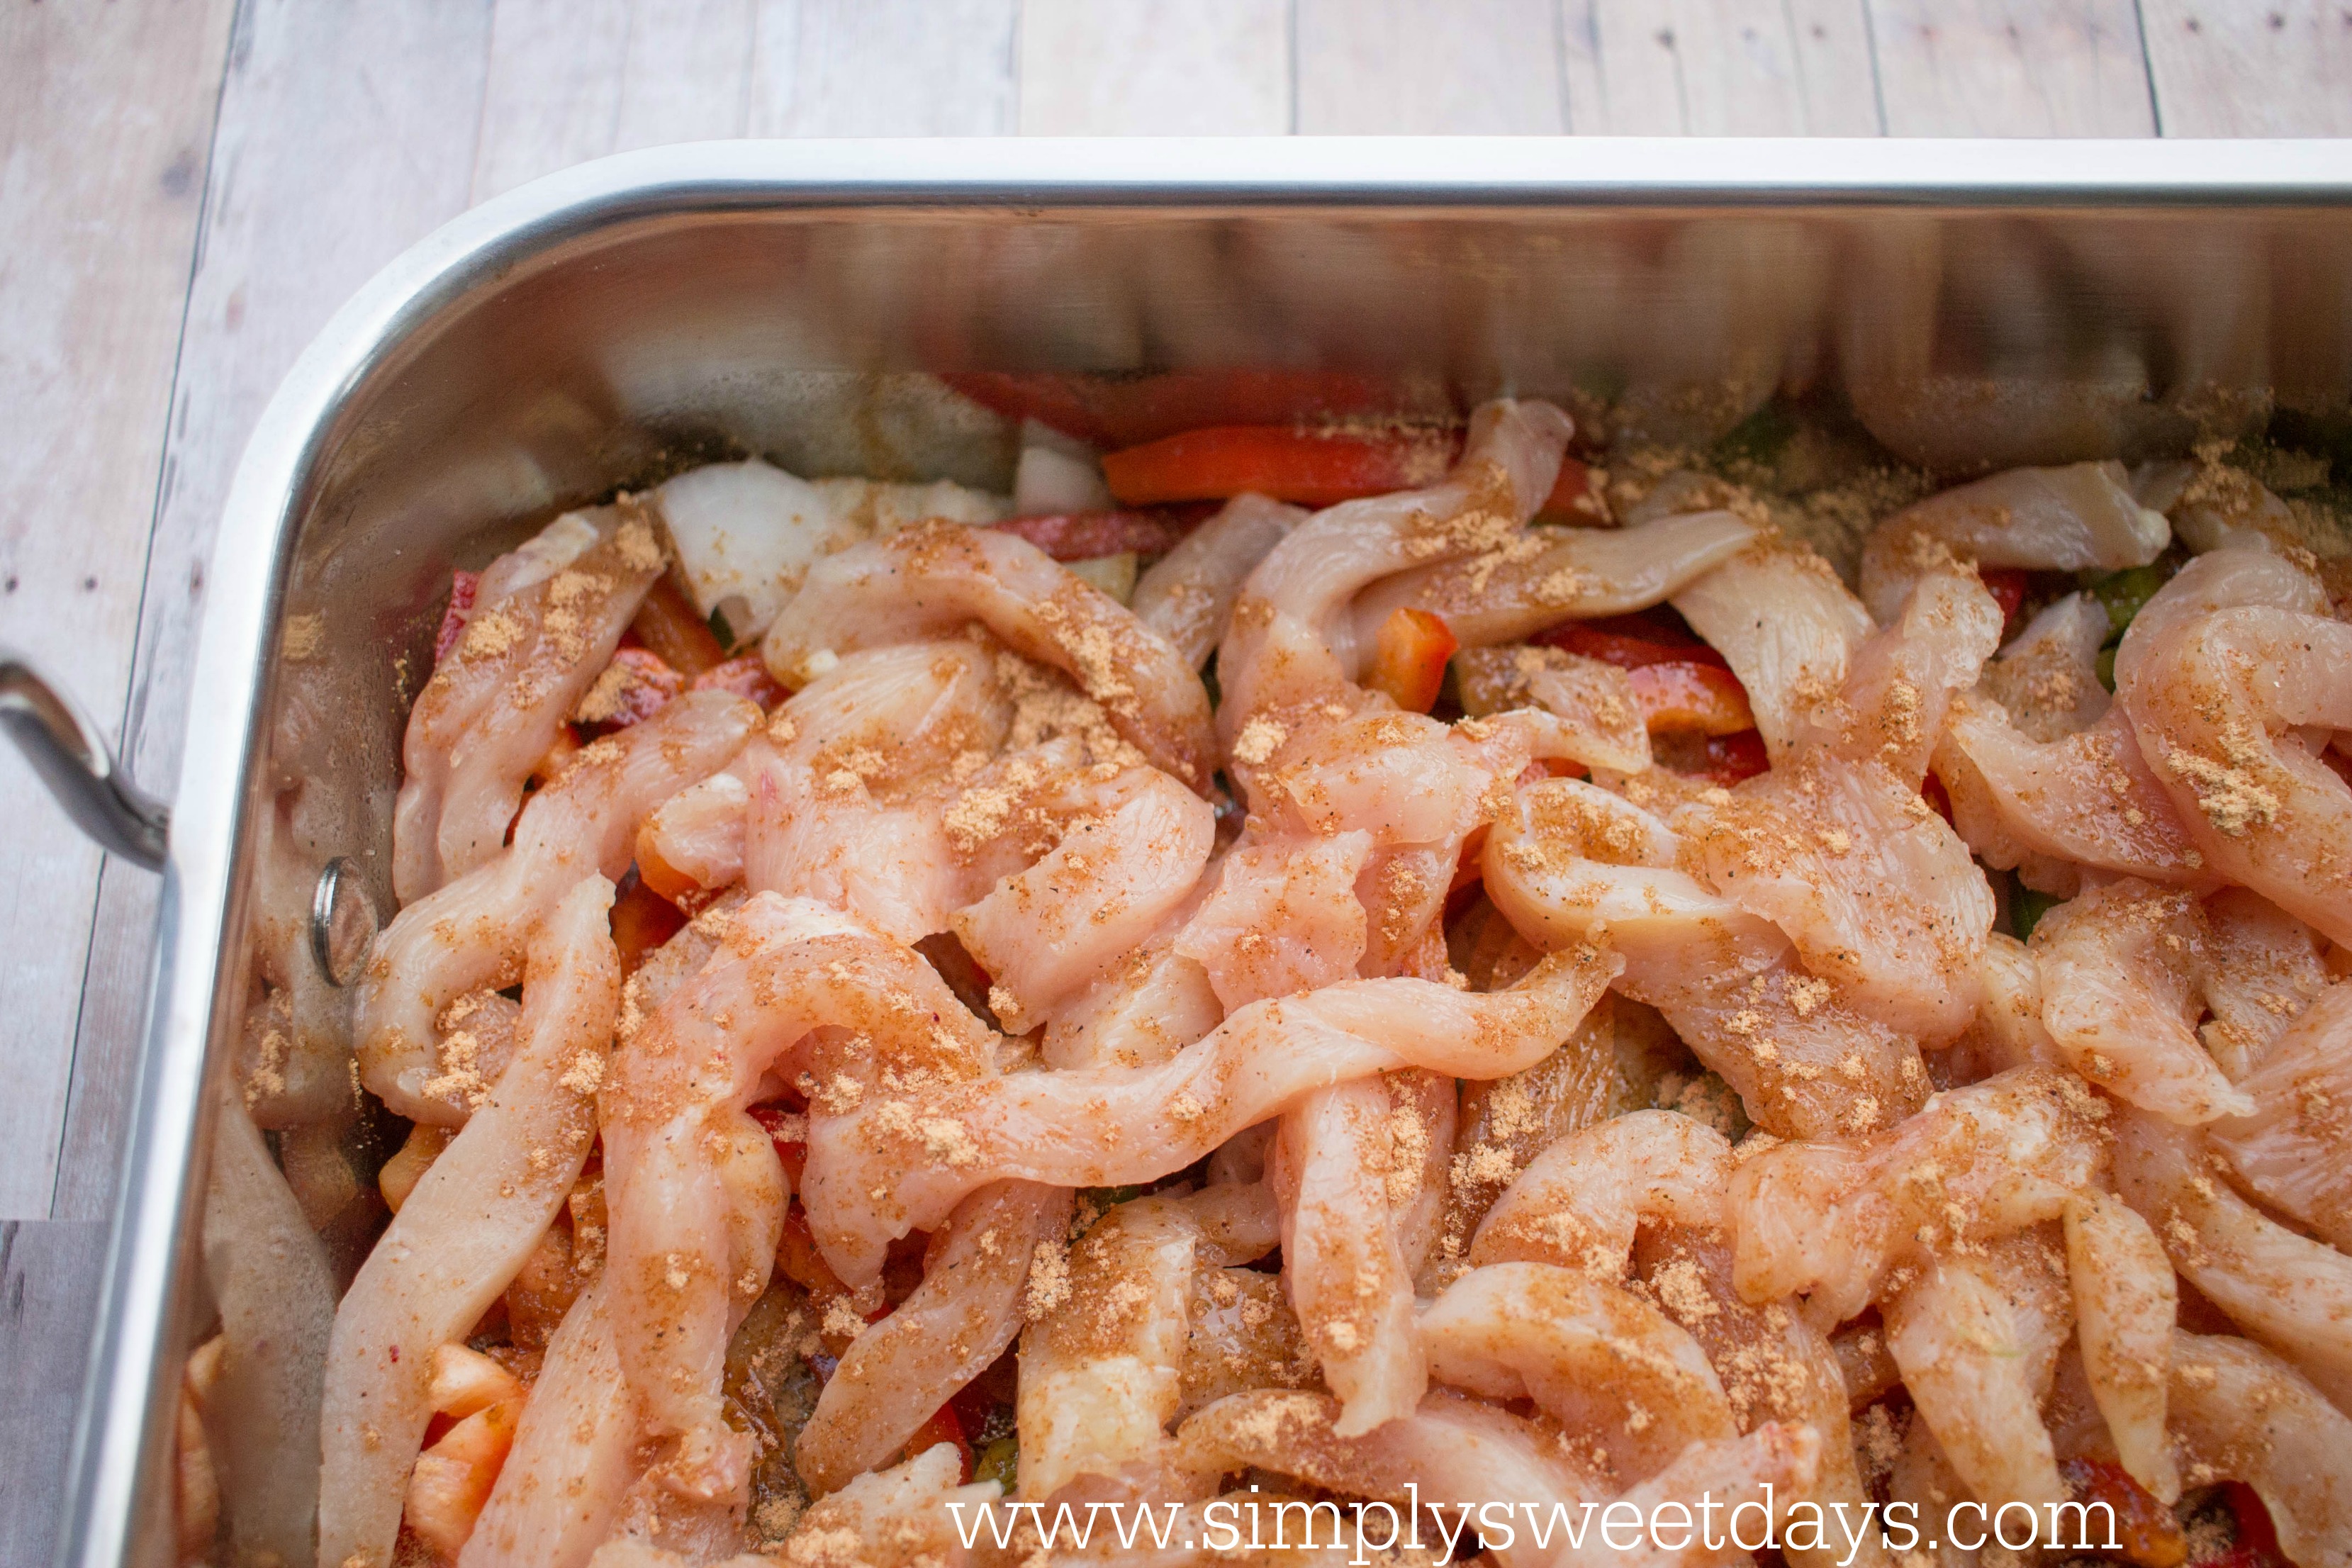
Thinly slice the chicken and layer the pieces over the veggies. Sprinkle with more seasoning.  
Place the roasting pan in the oven and bake for 15 minutes, then mix the veggies and chicken up. Return the pan to the oven for another 10-15 minutes or until the chicken is cooked through (you can check if it’s cooked by making sure it reaches an internal temperature of 165 F).

To assemble the fajitas

Line the center of a tortilla with the fajita mixture and your choice of toppings. Squeeze lime over the filling, fold your tortilla up like a taco and enjoy!

Even though I love baking, on a beautiful summer day I’d much rather be enjoying some of our favorite staycation activities than sweating in the kitchen making dinner. Thankfully, this oven baked fajita recipe takes about 30-45 minutes from start to finish.

Are you a fan of fajitas? What’s your favorite fajita topping?

  
Next Page »

Primary Sidebar

Hi, I’m Nikki!

I'm Nikki, a lover of coffee, chef for 6, elementary teacher, and expert in the art of wrangling twins. I'm also a working mom with a passion for having fun and keeping a cozy home. Come along with me on the journey of a joyful mom! Learn More…

  • Facebook
  • Instagram
  • Pinterest
  • Twitter

Simply Sweet Days

Reader Favorites

  • Bedtime Reward Chart when...
  • Free Printable Weekly Hab...
  • Beach tips and tricks for kids to have a fantastic day at the beach. Before you start packing (especially if you have a baby or toddler), check out these ideas for a family beach trip. If you are planning on going to the beach this summer, I know you will find something useful in these easy tips for a fantastic beach trip! Family Beach Day | Tips f...
  • printable calendar template color Free Printable Calendar T...